Two outdoor projects to create for Easter
24 Mar 2022
Easter is just a few bunny hops away with Easter Sunday falling on April 17 this year. To get kids excited for the Easter Bunny’s arrival we have two outdoor projects for you to try that are bound to get bunny tails a-wagging. If the weather allows it, you can use these decorations as part of an egg hunt on Easter Sunday, or for colourful additions to your garden which will remind you and your family of spring all through autumn and winter.
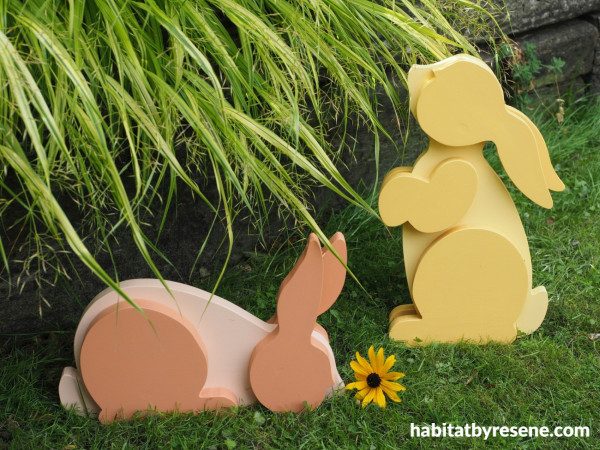
Easter garden bunnies
These gorgeous bunnies will be ready to hop into your garden just in time for the Easter holidays.
You will need:
- Print-out of bunny templates or you could draw your own. Fleur downloaded designs from Scrollsawer.com
- Scissors
- 1.8m of H3 180mm x 18mm pine plank
- Pencil
- Band saw or jig saw
- Sandpaper
- Resene Quick Dry
- Resene testpot paints in your choice of colour, Fleur used Resene Wax Flower, Resene Japonica, Resene Tulip Tree and Resene Bardot
- Testpot paintbrush
- Wood glue
- Electric drill
- Contact filler
- Small metal rods
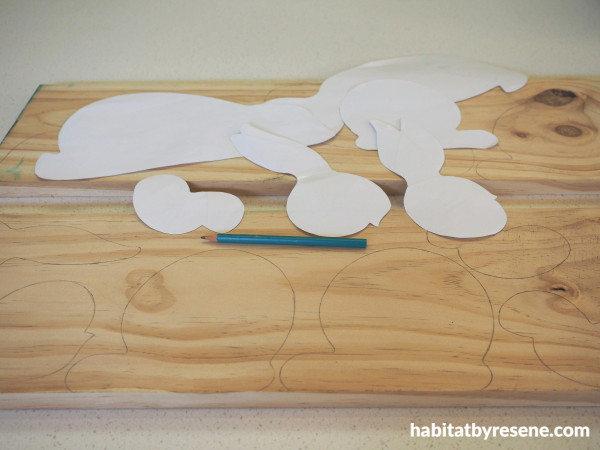
Step 1: Start by creating a bunny template. Either create your own or download a template online and cut out each of the body parts with scissors. Place these on your piece of wood and use a pencil to carefully trace around each one.
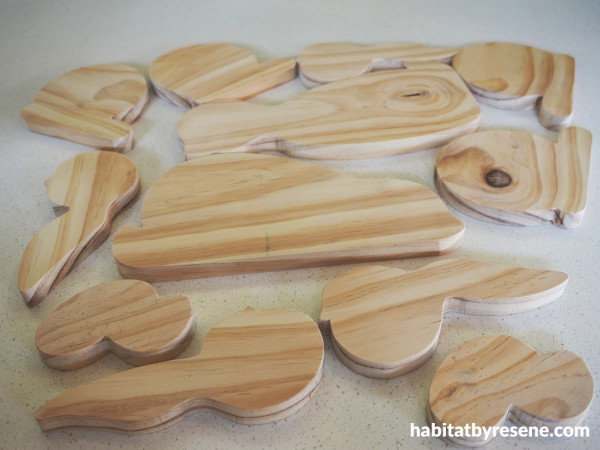
Step 2: Use a band saw or jig saw to cut out each piece from the wood. Sand down any rough areas with some sandpaper.
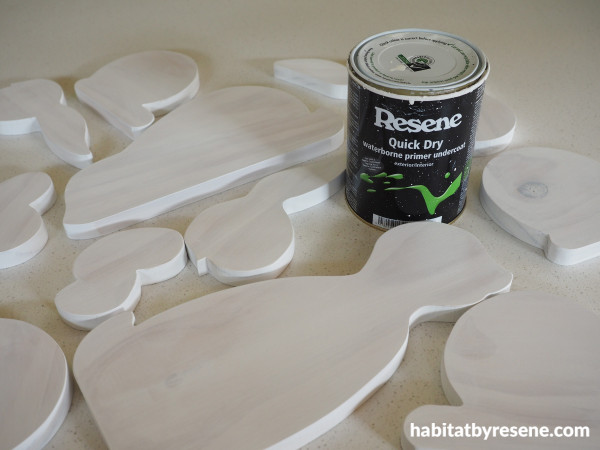
Step 3: Prime each body part with one coat of Resene Quick Dry on all sides. Once this is dry, give it a quick sand with a fine grit sandpaper and wipe clean of sanding dust.
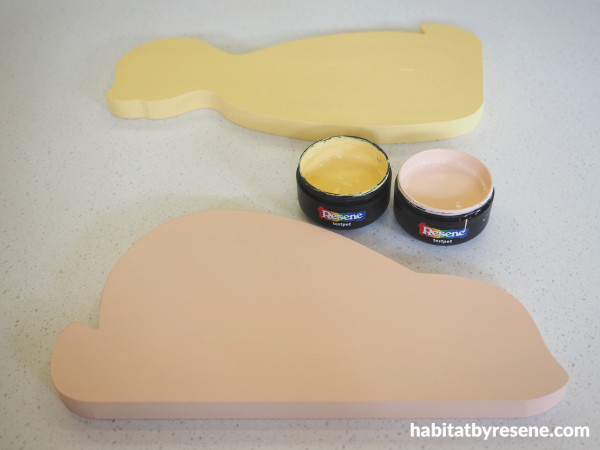
Step 4: Paint one of the bunny’s torsos with your favourite Resene colour, Fleur used Resene Wax Flower and Resene Tulip Tree for the smaller bunny torso.
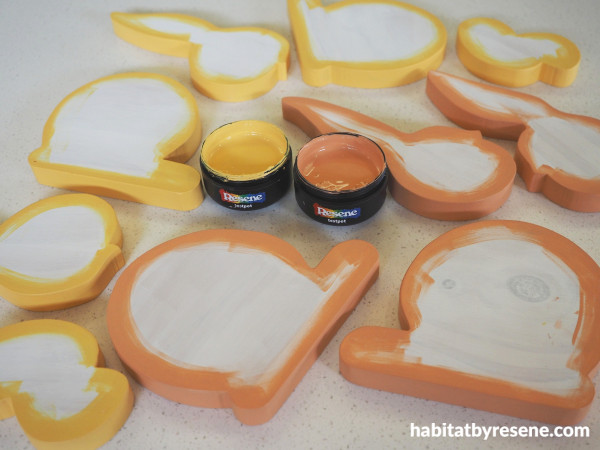
Step 5: Paint the edges of remaining body parts (arms, legs, head) in your second colour. Fleur used Resene Japonica for the body parts that belong to the Resene Wax Flower bunny, and Resene Bardot for the body parts that belong to the Resene Tulip Tree bunny. Only paint the edges of the body parts at this stage, as screw holes need to be patched and primed later.
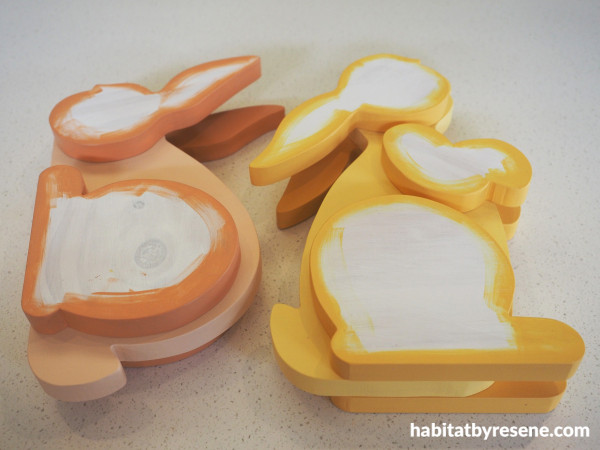
Step 6: Glue the body parts on to the torso. Once the glue is dry, pre-drill pilot holes and screw the body parts on with an electric drill. Remember to countersink the drill holes so that the screws will be hidden.
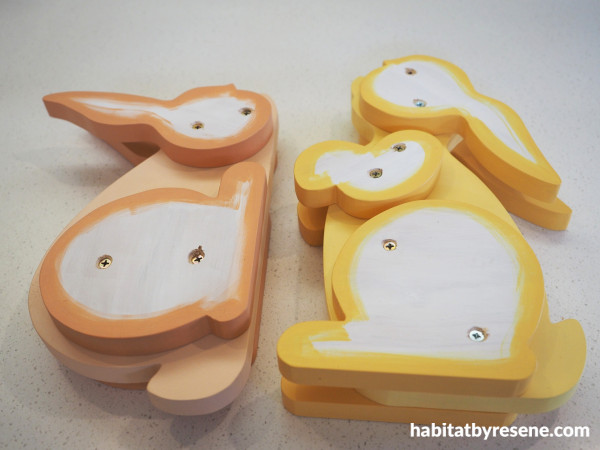
Step 7: Adding screws will hold the bunny together throughout winter.
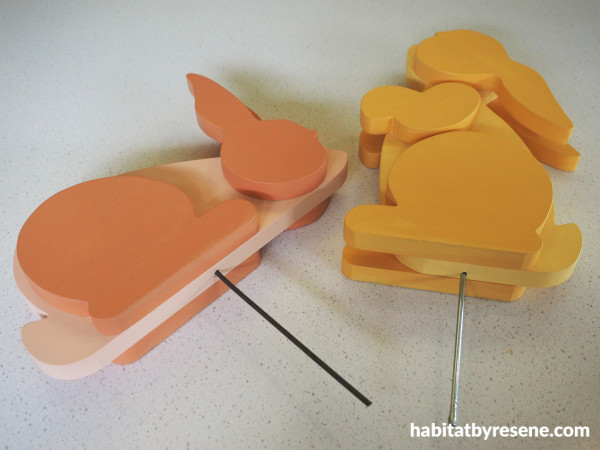
Step 8: Use some contract filler to cover the screw heads. Once this is dry, sand it smooth and use Resene Quick Dry to prime over the patched area. Finish painting the unpainted parts of the bunnies, Fleur used Resene Japonica and Resene Bardot. Drill a hole in the underside of each bunny and insert a small metal rod. This will work as a stake and help stop the bunnies from falling over in the garden.

These beautiful bunnies are painted with Resene Wax Flower and Resene Japonica (left bunny) and Resene Tulip Tree and Resene Bardot (right bunny). This project originally comes from Scrollsaw Woodworking and Crafts (www.scrollsawer.com). The template and instructions can be found there.
images Fleur Thorpe
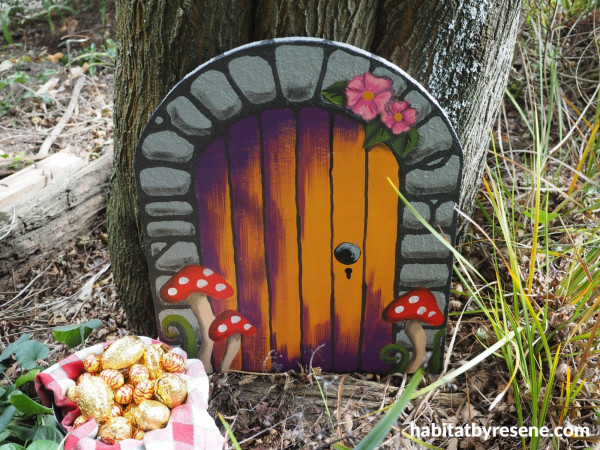
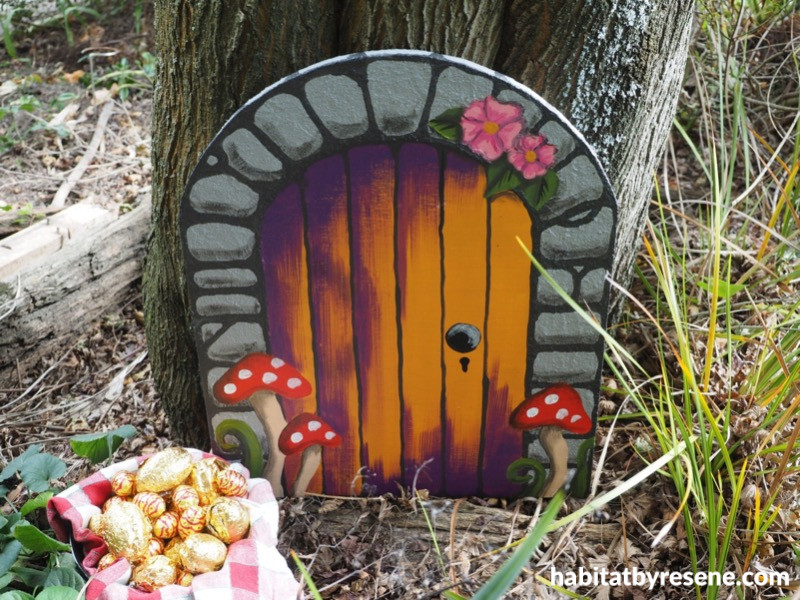
Easter bunny door
Add some woodland whimsical delight to your garden with this delightful door to welcome the Easter bunny to your garden, just in time for Easter egg hunting.
You will need:
- Untreated piece of pine measuring 450mm x 18mm x 380mm
- Plate
- Pencil
- Jig saw
- Sandpaper
- Resene Quick Dry
- Paintbrush
- Pencil
- Painter’s tape
- Resene Sandtex
- Resene testpot paints in your choice of colours, Fleur used Resene Jumbo, Resene Fuscous Grey, Resene Meteor, Resene Grapevine, Resene Flesh, Resene Guardsman Red, Resene White, Resene Clover, Resene Rain Forest, Resene Glamour Puss, Resene Colour Me Pink and Resene Black
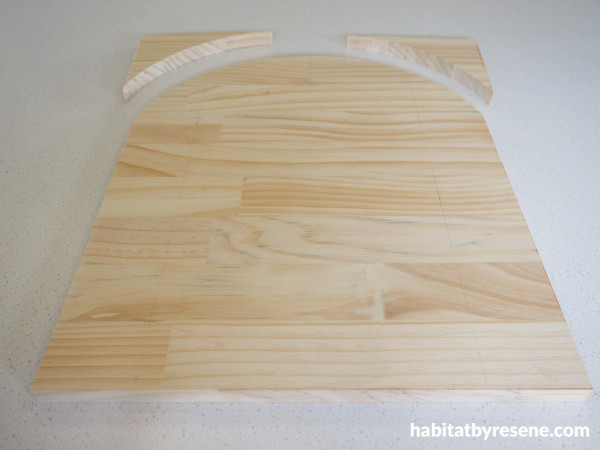
Step 1: Start by cutting down a 450mm x 18mm pine panel to 380mm wide. Use a large plate or pot lid and pencil to draw a curve at the top. Use a band saw or jig saw to cut along the curve. Sand any rough bits smooth with some sandpaper.
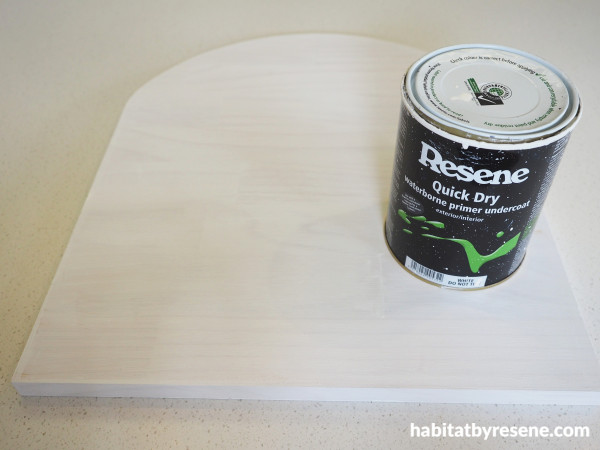
Step 2: Prime all sides of the piece of wood with Resene Quick Dry.
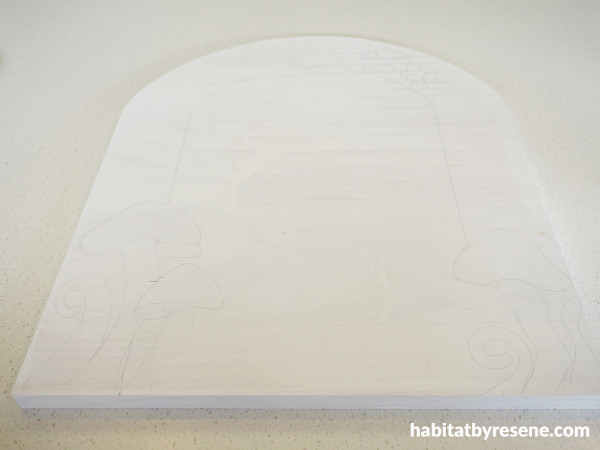
Step 3: Sketch on your design with a pencil.
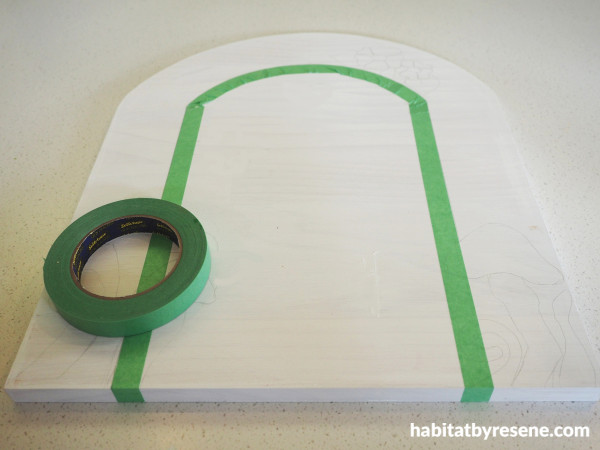
Step 4: Use some painter’s tape to mask off the door so that the stone surround is left.
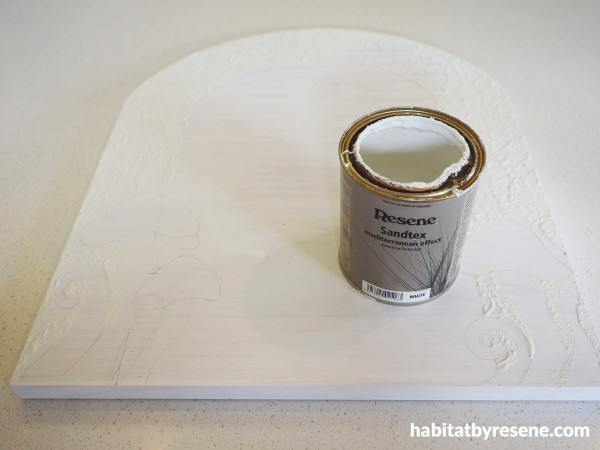
Step 5: Use a paint brush to apply a coat of Resene Sandtex to the area of your design that will become the ‘stones’. Once the first coat is dry, apply a second coat.
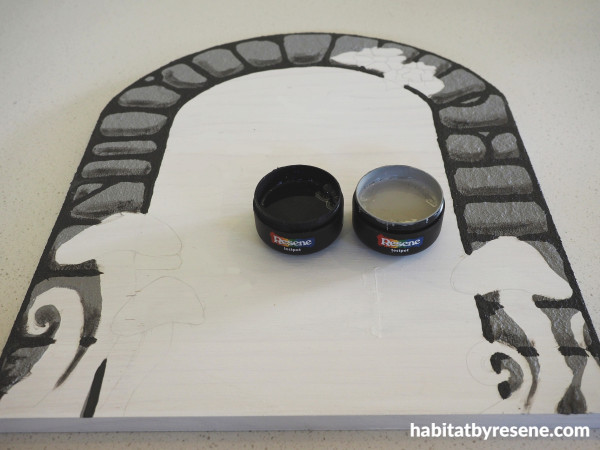
Step 6: Once the Resene Sandtex is dry, paint the stones, Fleur used Resene Jumbo, followed by dark grout lines and shading in Resene Fuscous Grey.
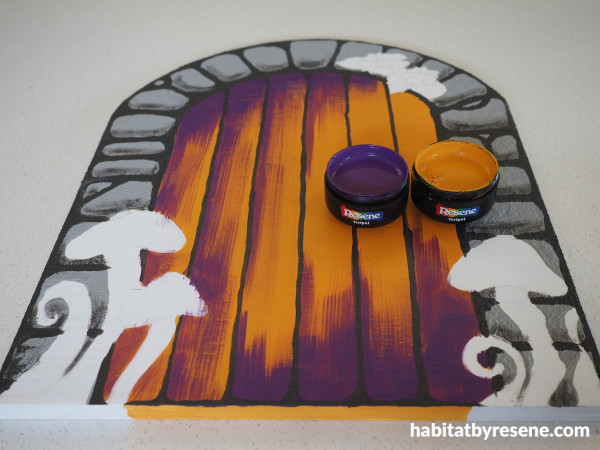
Step 7: For the door, Fleur painted it with two coats of Resene Meteor and then gave it a distressed look using Resene Grapevine using a dry brush technique. Using the dry brush technique fleur applied Resene Grapevine with quick strokes with not much paint on the brush
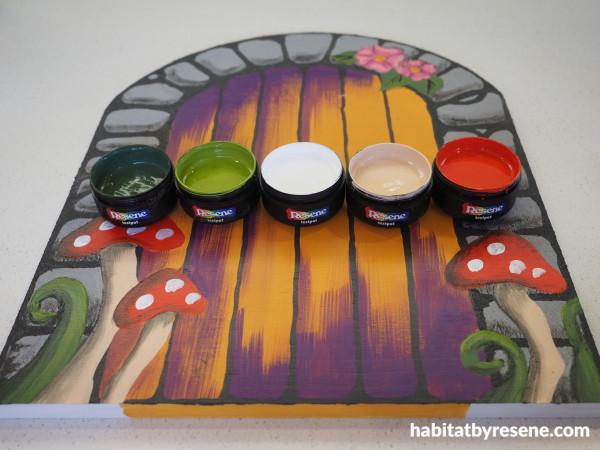
Step 8: Paint in the rest of the design details. Fleur used Resene Flesh, Resene Guardsman Red and Resene White for the toadstools, Resene Clover and Resene Rain Forest for the plants and leaves, Resene Glamour Puss and Resene Colour Me Pink for the flowers and Resene Black for the doorknob.

Prop the door up next to a tree and place a basket of Easter eggs next to it. This design is painted with Resene Jumbo, Resene Fuscous Grey, Resene Meteor, Resene Grapevine, Resene Flesh, Resene Guardsman Red, Resene White, Resene Clover, Resene Rain Forest, Resene Glamour Puss, Resene Colour Me Pink and Resene Black.
project and images Fleur Thorpe.
Published: 24 Mar 2022








 look book