Habitat TV
Featured Video
DIY Entryway Organiser
duration:
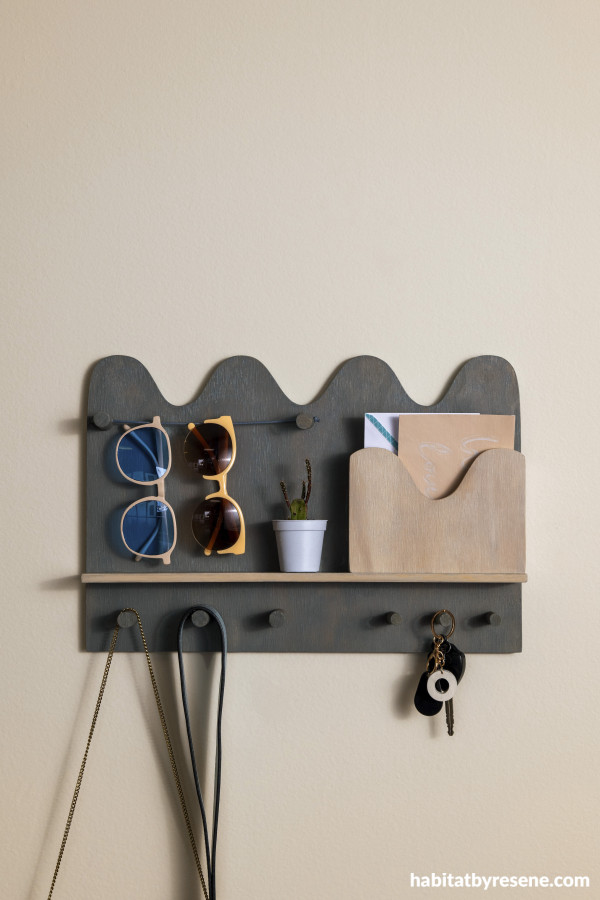
Say goodbye to the morning scramble for keys, coats and sunglasses and hello to this stylish entryway organiser. There’s even a pocket for your mail. Gather your favourite Resene colours or follow the feel of our organiser in beachy Resene blues and whites. Feel free to customise a cutting template according to your needs and make it completely your own.
You will need:
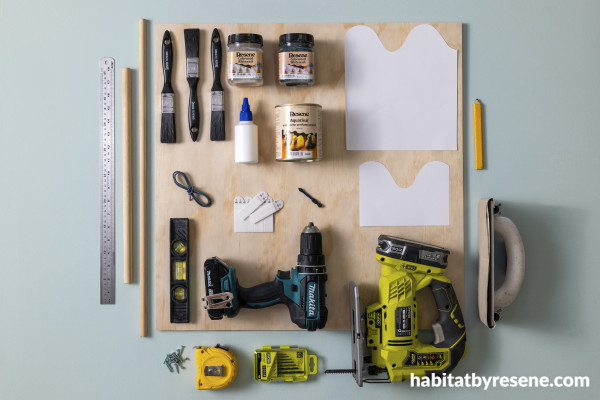
- 1 x piece of plywood, which is 600mmx600mm and 9mm thick. Follow the cutting list
- Templates for the wavy tops of the baseboard and mail holder front (optional)
- 1 x piece of plywood dowel, which is 16mm thick and at least 160mm length
- 1 x piece of plywood dowel, which is 12mm thick and at least 120mm length
- Birch round elastic cord, which is at least 50mm length
- Jigsaw
- Power drill
- Drilling kit
- Sander or sanding paper in wood block. Medium and fine grit
- Wood glue
- Resene testpot brushes
- Testpot in Resene Colorwood Rising Tide
- Testpot in Resene Colorwood Breathe Easy
- Resene Aquaclear
- 20mm wood screws
- Picture hanging strips
- Measuring tape, pencil, ruler and level
Cutting list:
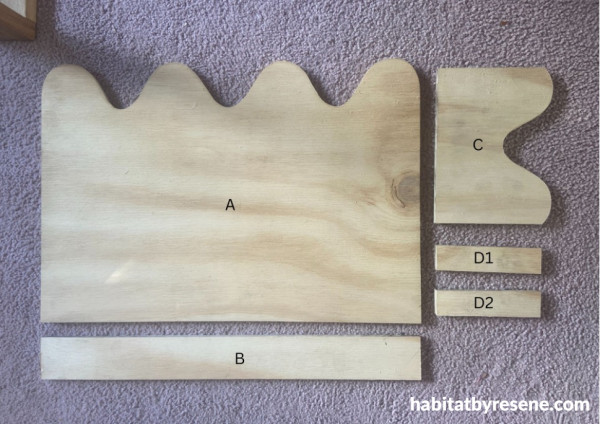
A=440mm Wide x 300mm High
B=440mm Long x 50mm Wide
C=175mm Wide x 125mm High
D1 + D2=125mm High x 30mm Wide
Cut both your 16mm & 12mm dowel into pieces measuring 40mm.
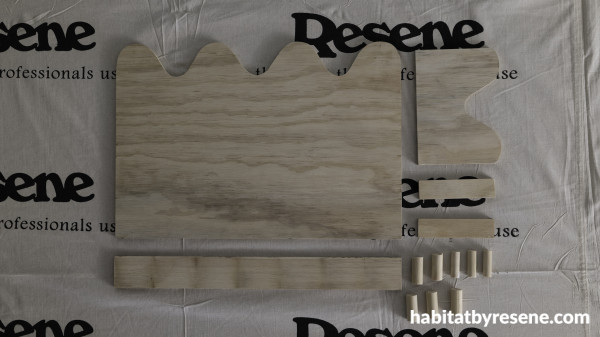
Step 1: Use the jigsaw to cut the plywood piece and dowels into the different elements needed to create the organiser. Refer to the cutting list above for all sizes and layout.
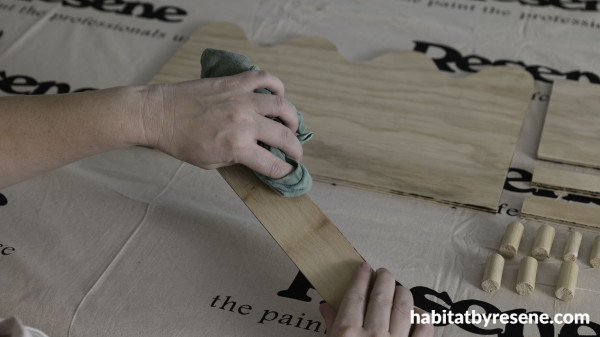
Step 2: Sand all the pieces to remove any rough edges and wipe down with a damp cloth to clean any excess dust.
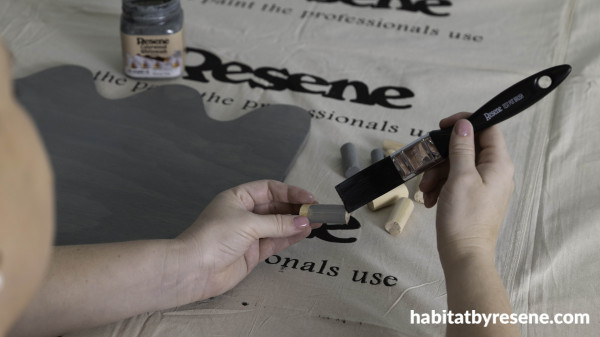
Step 3: Stain the backboard and dowel pieces in Resene Colorwood Rising Tide. Apply 2 coats to the shelf and mail holder in Resene Colorwood Breathe Easy. Leave everything to dry completely before going to the next step.
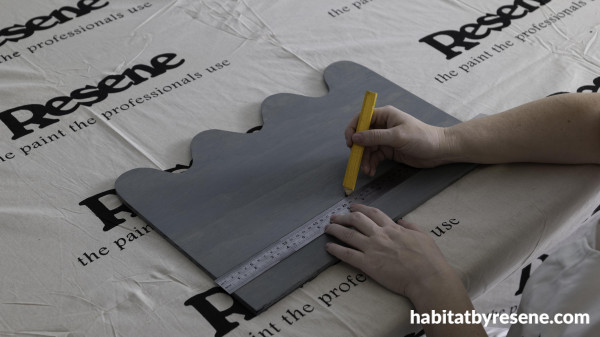
Step 4: Use a pencil and draw a straight line from edge to edge of the baseboard, 70mm from the bottom. Line your shelf along the line and drill pilot holes into the back that align with pilot holes in the baseboard. Now, screw the shelf in.
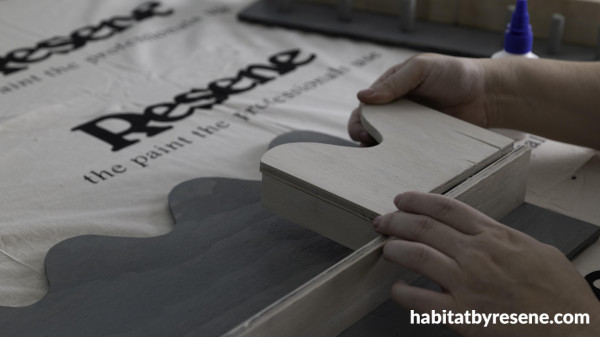
Step 5: Glue the mail organiser pieces together. Once dry and secure, glue onto the baseboard, aligning it along the edge on the right hand side. Leave to dry completely.
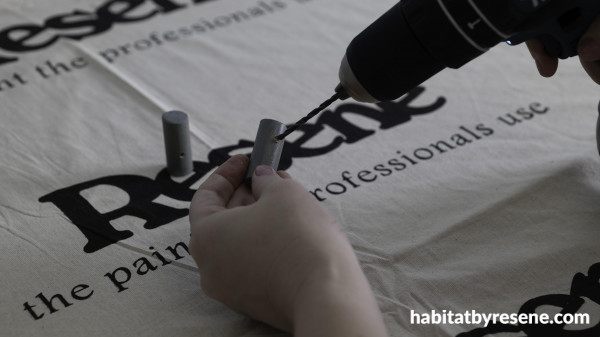
Step 6: Drill a pilot hole into the middle sides of 2x 16mm dowels. Drill a pilot hole into the back of each one. Screw the first one onto the top left corner of the baseboard. Place the second one at the same height as the first one, slightly to the left of the envelope holder. Screw in.
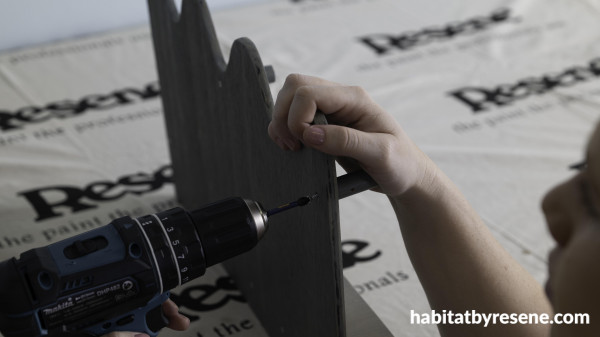
Step 7: At the back of each of the remaining dowels, drill a pilot hole. Place the dowels where you want them to sit and drill pilot holes into the backboard to place them. Now, screw each into the baseboard. We’ve placed ours as so - three 16mm dowels on the left hand side and three 12mm dowels on the right hand side, each side evenly spaced apart. They are all 35mm above from the bottom of the baseboard.
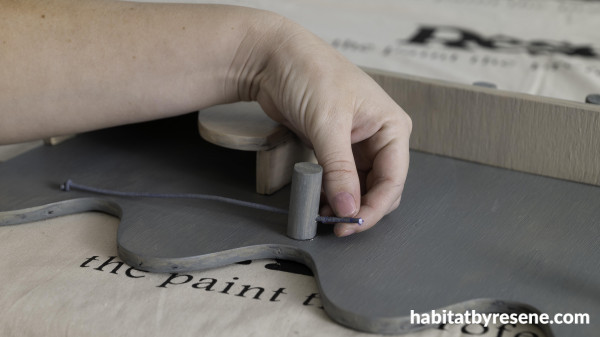
Step 8: String the leather through the 2x 16mm dowels (the ones with the extra pilot holes) and knot each side. Make sure it’s taut. Here, you can hang your sunglasses.
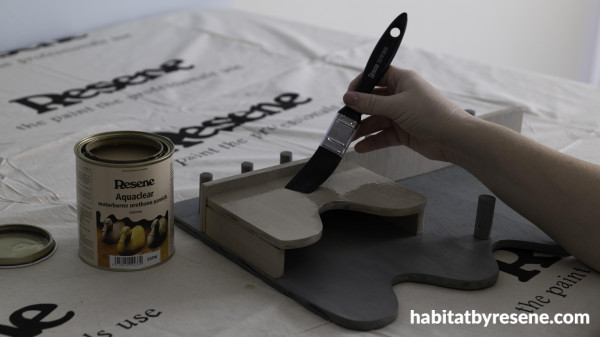
Step 9: Apply 2 coats of Resene Aquaclear to the whole surface of the organiser to keep it protected from general wear and tear. Leave to dry.
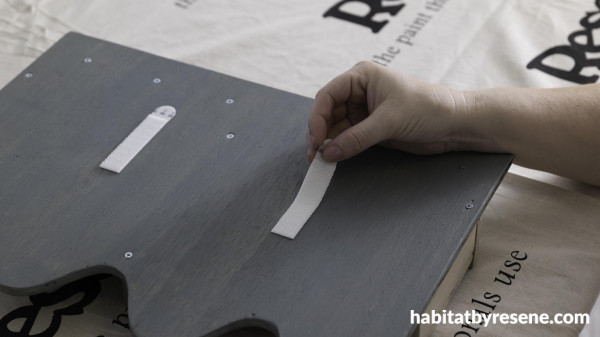
Step 10: On the back, place the picture hanging strips. Use a level along the bottom of the organiser to hang it onto the wall.
Project: Leigh Stockton
Images: Patrick Roberts.
Category: create with paint
Published on Mar 08, 2024
Latest Habitat TV Videos:

Published 1 year 10 months ago
Say goodbye to the morning scramble for keys, coats and sunglasses and hello to this…

Published 1 year 10 months ago
Entryways are usually the first impression visitors have of your home interior. This DIY organiser…


