Habitat TV
Featured Video
DIY puzzle table
duration:
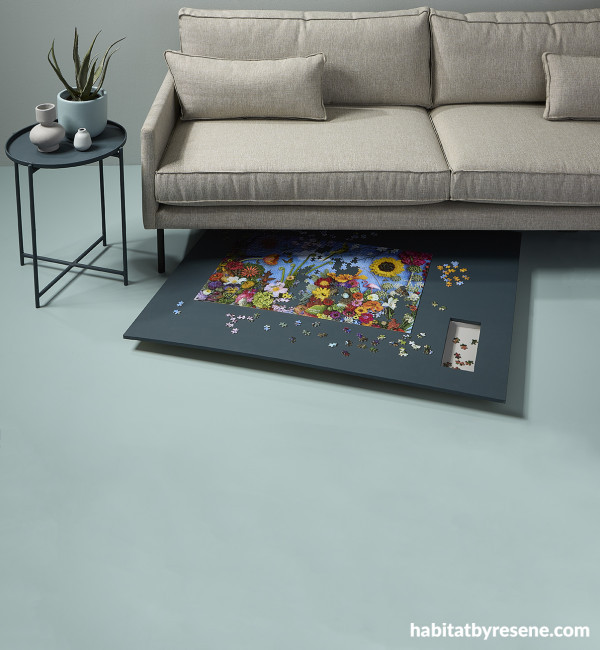
This clever table coasts on castors so that you can easily tuck it beneath your sofa.
You will need:
- 1 sheet 18mm thick non-structural plywood cut to size – ours was 1200mm x 800mm
- Shallow bamboo desk or
- bathroom tray
- 4 x rubber wheeled castors with brake
- 12 x 15mm long wood screws
- Ruler and/or measuring tape
- Pencil
- Jig saw
- Power drill and bits
- Wood filler
- Putty knife
- Wood glue
- Palm sander or sanding block
- Cloth
- 100mm mini roller with tray
- 2 x 100mm smooth surface mini roller sleeves
- Resene testpot brush
- Resene Quick Dry waterborne primer undercoat
- Resene Lustacryl semi-gloss waterborne enamel tinted to your choice of colour – we used Resene Coast
- Resene testpot in your choice of colour – we used Resene Half Jumbo
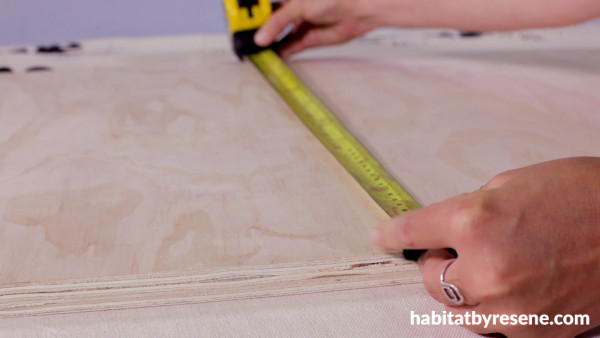
Step 1: Measure the distance between the bottom of your sofa and the floor (vertical clearance), as well as the distance between your front two sofa legs (horizontal clearance) and between your front and back sofa legs (depth). Our sofa has a vertical clearance of 100mm, a horizontal clearance of 2000mm and a depth of 920mm, so we decided to make our table 1200mm x 800mm so that it was big enough for a 2000 piece puzzle. However, you may need to adjust the dimensions if your sofa is shorter or shallower. If your sofa’s vertical clearance is lower, you may need to choose shorter castors or adjust the design of your project accordingly.
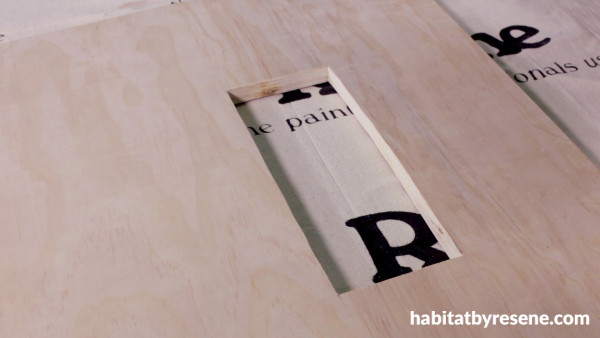
Step 2 (optional):Using a power drill and a jig saw, cut a 260mm x 100mm opening near the bottom right corner of your table. Be sure the bottom left corner of your opening is at least 150mm from the bottom and left side of your table so that your castors and brakes will have enough room to rotate.
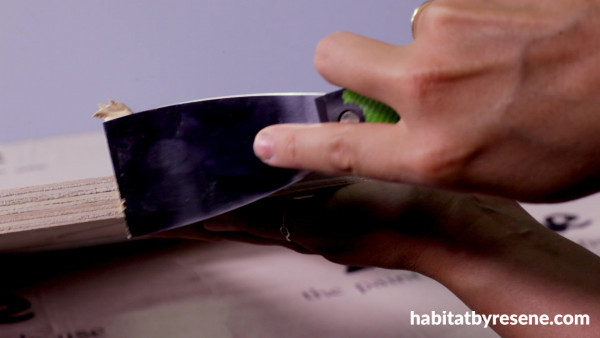
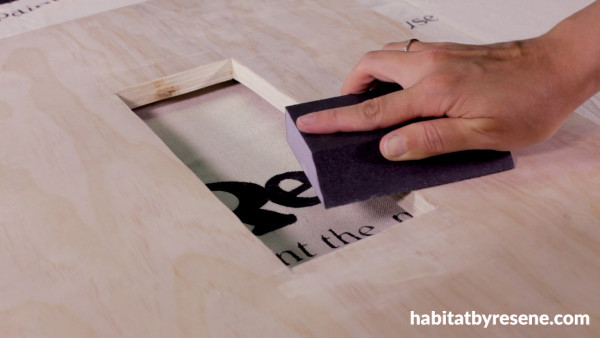
Step 3: Patch any flaws in the surface of your plywood using wood filler and a putty knife then allow it to dry. Using a palm sander and sandpaper or a sanding block, smooth all surfaces and cut edges then wipe all surfaces free from sawdust using a clean dry cloth.
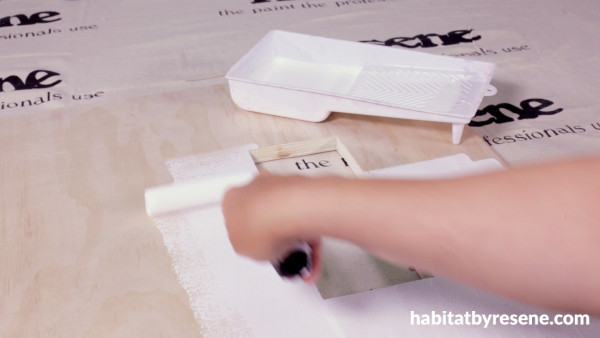
Step 4: Prime all surfaces of your plywood and tray using Resene Quick Dry waterborne primer undercoat with a mini roller. Allow the primer to dry fully before moving on.
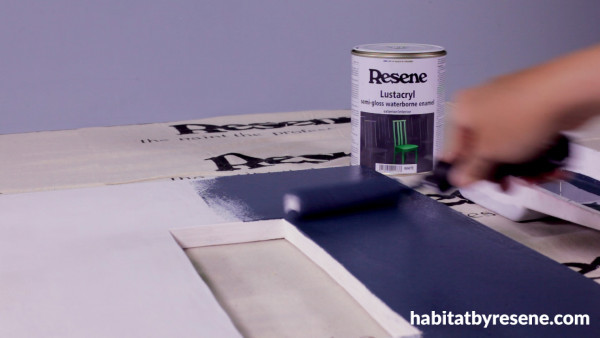
Step 5: Paint your plywood using two coats of Resene Lustacryl semi-gloss waterborne enamel in your choice of colour. We used Resene Coast. Allow your first coat to dry before applying the second.
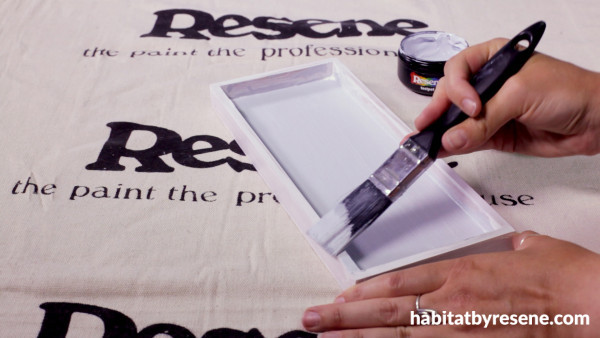
Step 6 (optional): While your plywood is drying, paint your tray using a Resene testpot in your choice of colour in two coats. We used Resene Half Jumbo. Allow your first coat to dry before applying the second.
Step 7: On the underside of your plywood, measure 100mm vertically and horizontally in from each side and lightly mark where they meet with a pencil. These marks will be where the outer corner of your castors will be placed.
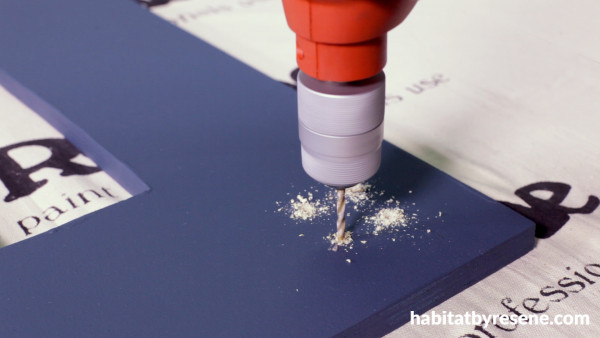
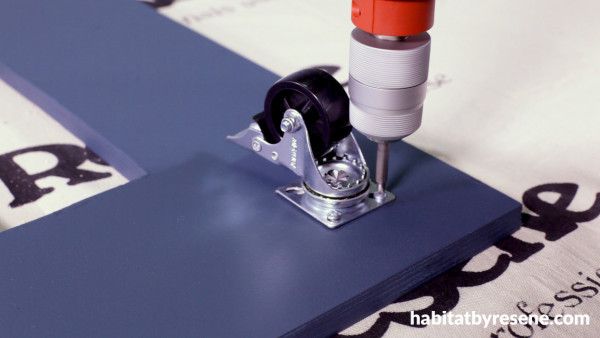
Step 8: Use a pencil to mark where each screw hole is. Drill shallow pilot holes where you’ve made your pencil marks no more than 10mm deep, then attach castors with 15mm long wood screws.
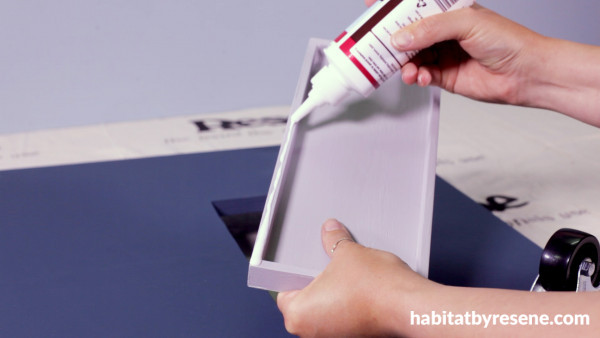
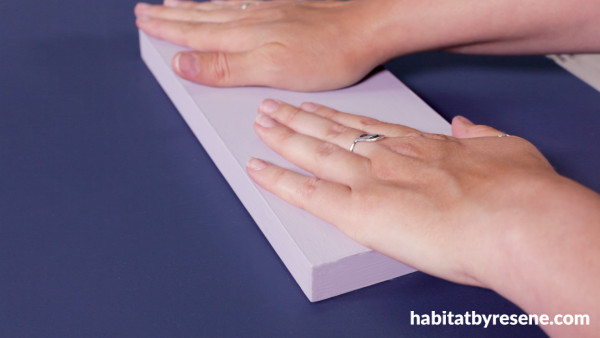
Step 9 (optional): Apply wood glue around the top edges of your painted tray and adhere it to the underside of your plywood centred over the cut opening. Stack heavy books on top to weigh it down while the glue dries.
Optional: Remove legs from an old TV tray table or
card table and attach these to the bottom of your puzzle/game table.
Category: create with paint
Published on May 01, 2021
Colours
Latest Habitat TV Videos:

Published 1 year 10 months ago
Say goodbye to the morning scramble for keys, coats and sunglasses and hello to this…

Published 1 year 10 months ago
Entryways are usually the first impression visitors have of your home interior. This DIY organiser…


