Habitat TV
Featured Video
DIY sculptural side table
duration:
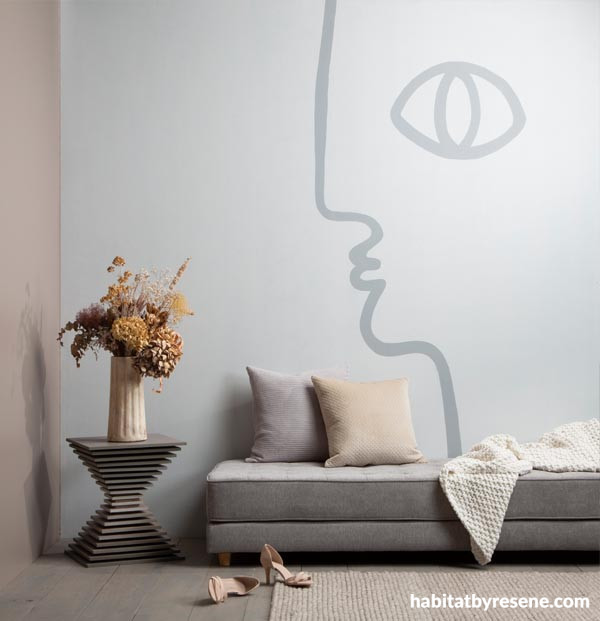
Make your own sculptural side table.
Ombre tones help create a gallery-worthy table.
You will need:
- Sheet of 12mm plywood
- Tape measure, pencil, level, ruler
- Circular saw
- 180-grit sandpaper
- Wood filler
- Drill and drill bits for 16mm hole
- Dowel, 16mm diameter, cut to 480mm height
- Wood glue
- Resene testpot brushes x6
- Resene testpots in Resene Woodsman Riverstone stain, Resene Woodsman Natural stain Resene Triple Friar Grey, Resene Double Friar Grey, Resene Friar Grey, Resene Half Friar Grey, Resene Eighth Friar Grey
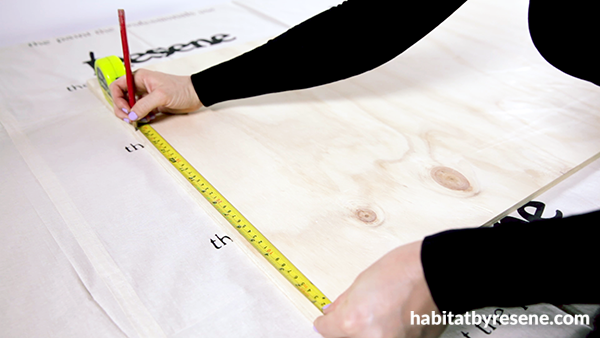
Step 1 Measure your sheet of plywood into the following plywood stacks
- 2x 400mm2
- 2x 370mm2
- 2x 340mm2
- 2x 310mm2
- 2x 280mm2
- 2x 250mm2
- 2x 220mm2
- 2x 190mm2
- 2x 160mm2
- 2x 130mm2
- 19x 100m2 (spacers)
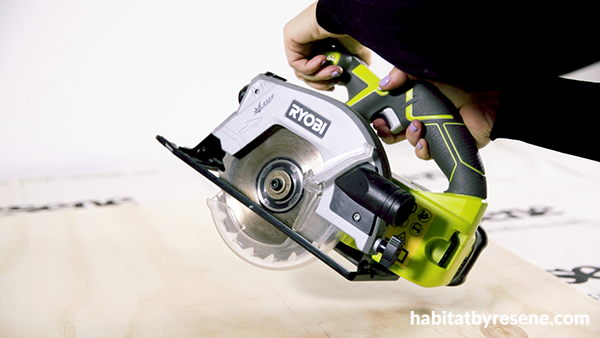
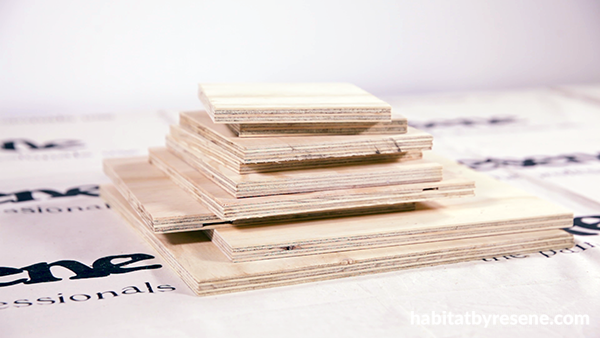
Step 2 Using the circular saw, cut out the pieces. Use cutting gloves to protect your hands.
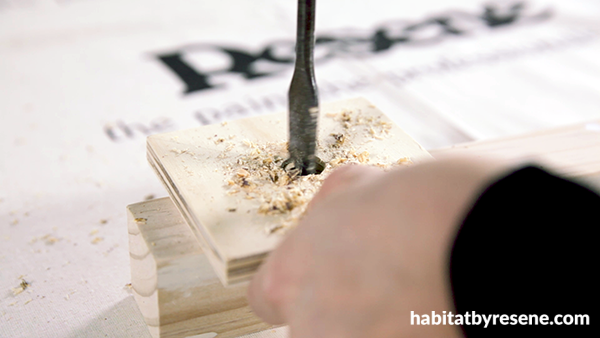
Step 3 Drill 16mm holes into the middle of each piece, including the spacers.
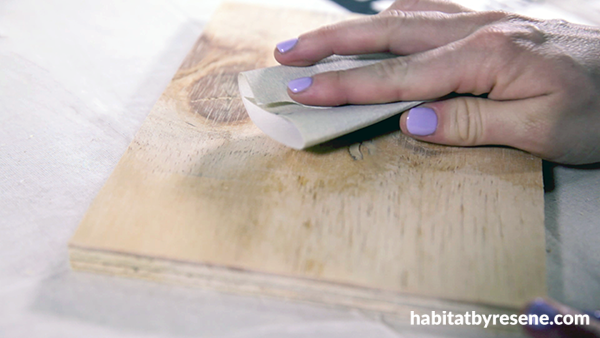
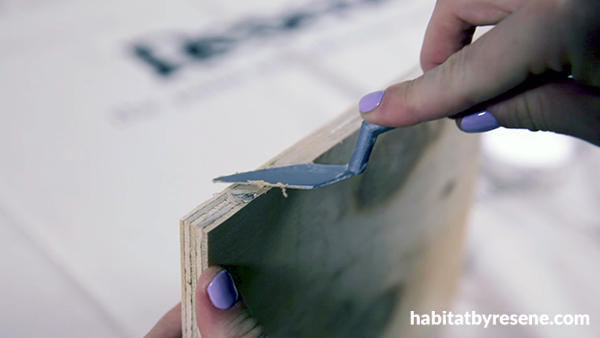
Step 4 Sand the sides of each piece and around the drilled holes, and then use the wood filler to create a perfectly smooth edge, to ready the pieces for painting. Leave to set.
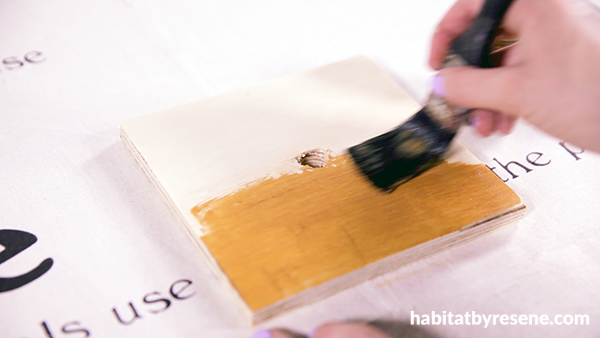
Step 5 Stain the two middle pieces (both sides) in Resene Woodsman Natural stain. Leave the edges bare, to paint later.
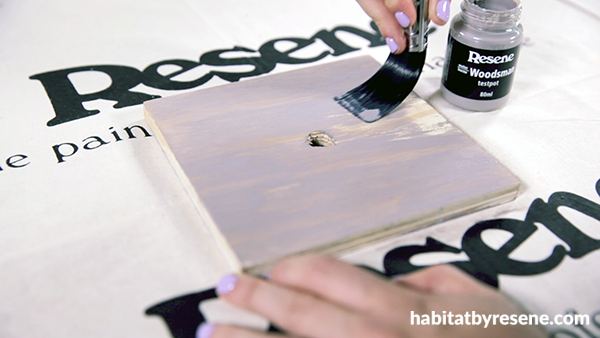
Step 6 Using the testpot in Resene Woodsman Riverstone stain, apply to the rest of the pieces, going darker as you go (darker at top of table and bottom, gradually going lighter as you stain the smaller pieces). Leave to dry.
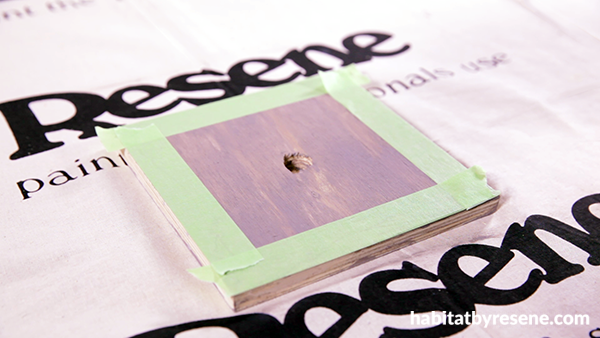
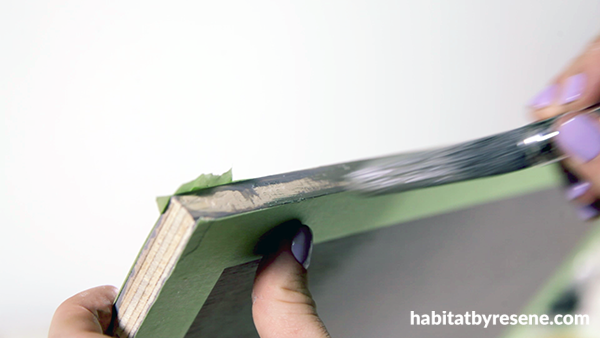
Step 7 Using the other testpots, paint the edges of the pieces, starting with the lighter shades in the middle, and going darker as you reach the top and bottom pieces. Repeat the same colour pattern on the spacers.
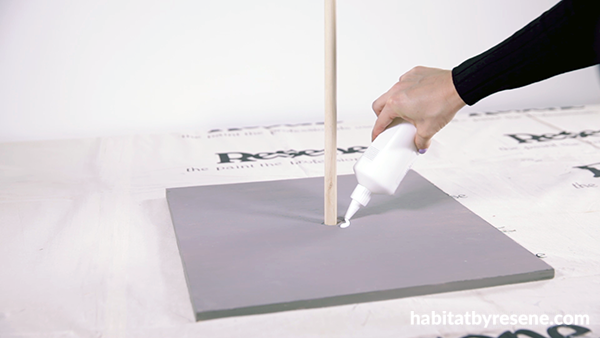
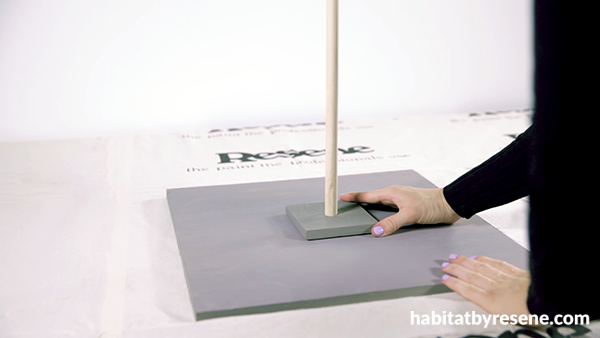
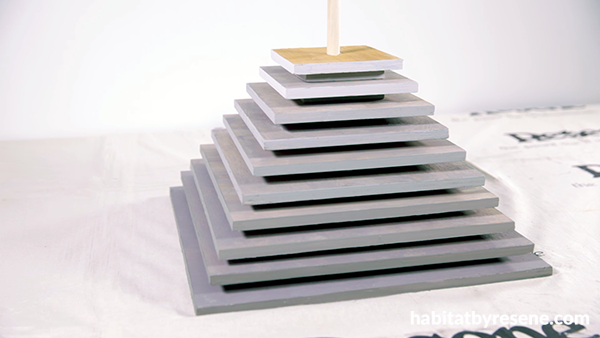
Step 8 Place the dowel through the pieces to create the stacked table, using wood glue to stick the pieces together. Make sure to use a spacer between each piece. Leave to set overnight.
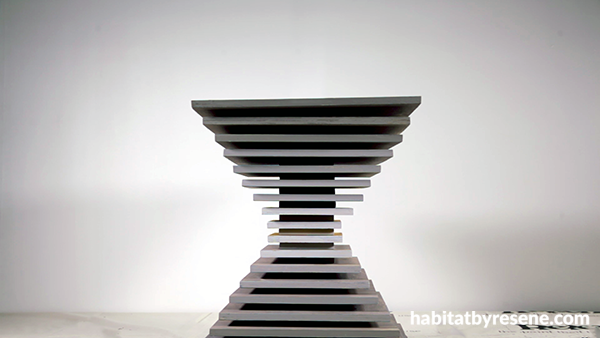
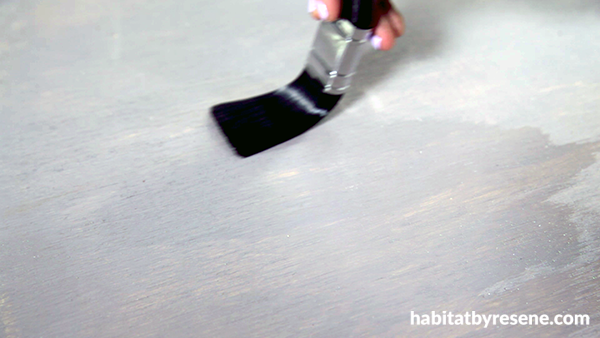
Step 9 Sand the top of the table and use wood filler to create a smooth top, hiding the dowel. Finish with a few layers of Resene Woodsman Riverstone stain, making sure it’s the darkest piece on the stack (matching the bottom piece).
Category: create with paint
Published on Sep 24, 2020
Latest Habitat TV Videos:

Published 1 year 10 months ago
Say goodbye to the morning scramble for keys, coats and sunglasses and hello to this…

Published 1 year 10 months ago
Entryways are usually the first impression visitors have of your home interior. This DIY organiser…


