Habitat TV
Featured Video
Decorate Easter eggs to look like fruits and vegetables
duration:
While they would be great for Easter, these adorable fruit and vege eggs are simple enough for kids to make with little help from mum or dad. Your imagination is the limit when it comes to what foods your eggs can become. Try these ideas for turning them into strawberries, avocadoes, radishes and peas in a pod.
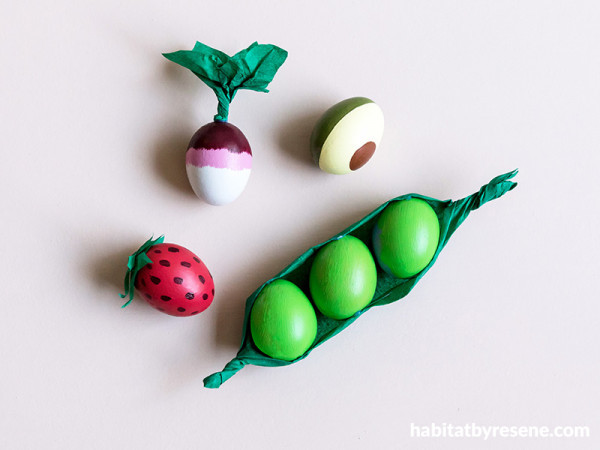
You will need:
- Eggs to decorate (real, cardboard or plaster)
- Green crepe or tissue paper, or you could paint newspaper green
- Scissors
- Low-heat hot glue
- Testpot brush
- Small artist’s brushes
- Resene testpots in your choice of colours – we used Resene Candy Floss, Resene Arthouse, Resene Pale Prim, Resene Hairy Heath, Resene Saratoga, Resene Eighth Joss, Resene Hopbush and Resene Lima
If you are using real eggs, make sure you empty their yolks and whites into a sealable container. You can hollow out your eggs using the pin prick method described here. Seal your container and store your egg yolks and whites in your refrigerator for up to three days to use in an omelette, cake or other favourite recipe.
To make the strawberry:
Step 1 Using a testpot brush, paint an egg in two coats of Resene Candy Floss, allowing the first coat to dry before applying the second. To speed up the drying process, you may use a hair dryer on a heat-free setting.
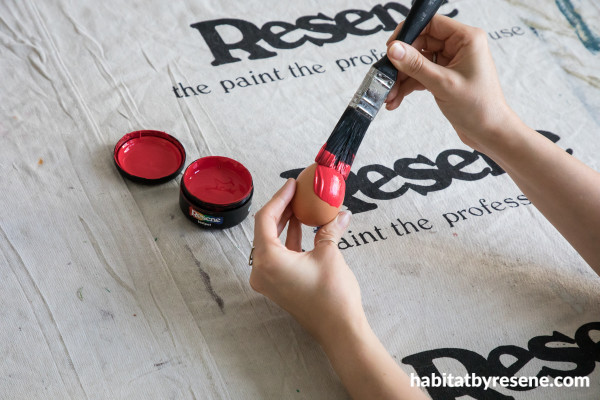
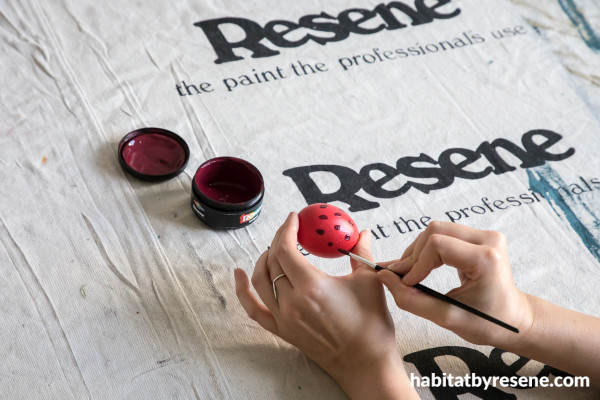
Step 2 Using a small artist’s brush, paint seeds in Resene Arthouse and allow them to dry before moving on.
Step 3 Fold a rectangle of green crepe paper in half and cut a star shape out of both layers so that you end up with two identical pieces.
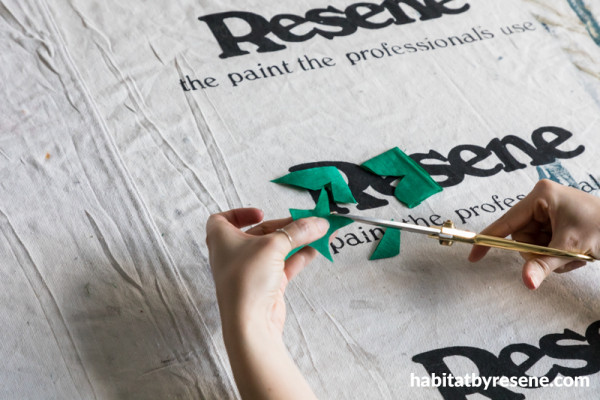
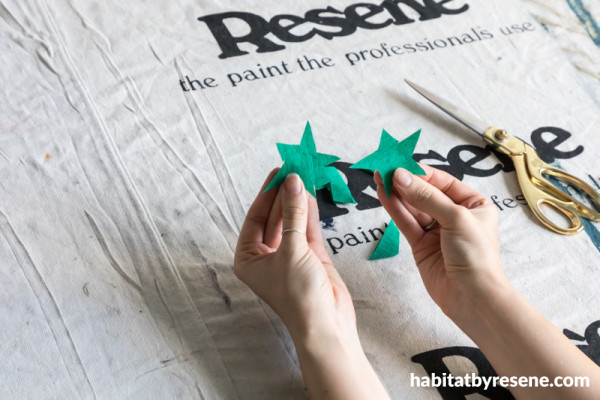
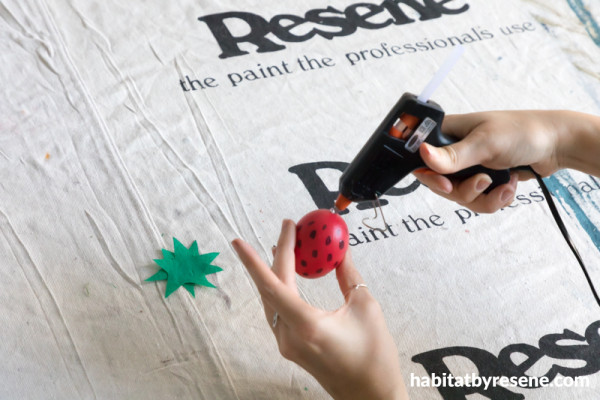
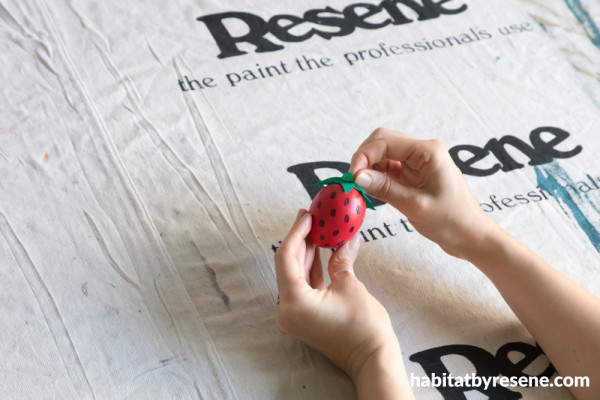
Step 4 Apply a small bead of hot glue to the top of your egg and press the first star on to it, being careful not to burn your fingers. Apply a second bead of glue on top of the centre of the first star and press the second star into it so that it is offset from the first and the points of the second star far between the points of the first one. Gently shape the ends of the star with your fingers to resemble a strawberry top.
To make the avocado:
Step 1 Using a testpot brush, paint an egg in two coats of Resene Pale Prim, allowing the first coat to dry before applying the second. To speed up the drying process, you may use a hair dryer on a heat-free setting.
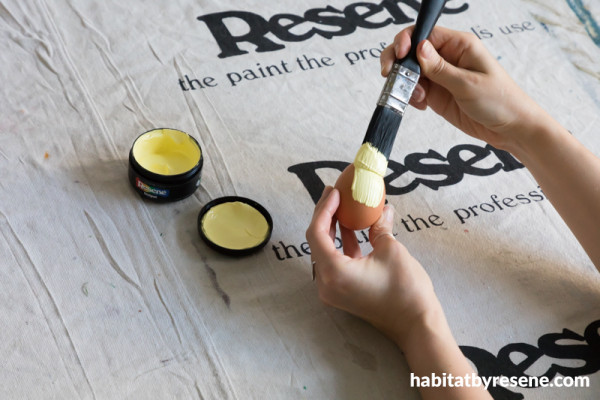
Step 2 Using a small flat artist’s brush, paint the back half of the egg in two coats of Resene Saratoga. Allow it to dry before moving on.
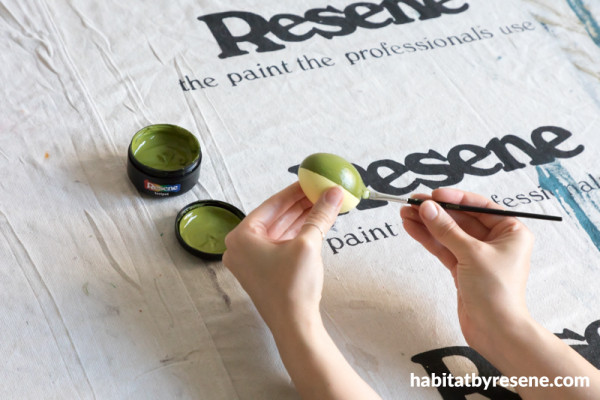
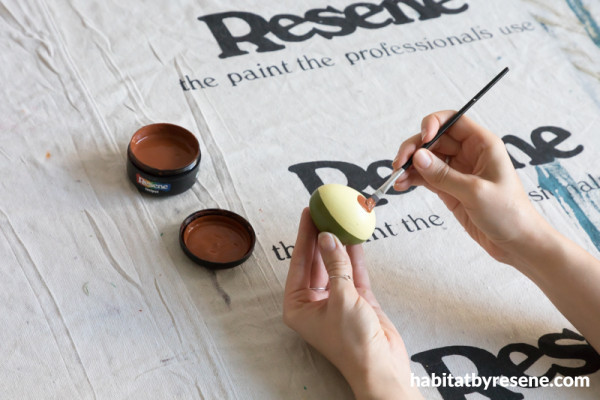
Step 3 Using a small flat artist’s brush, paint a small oval on the lower front centre of your egg in Resene Hairy Heath to resemble the pit.
To make the radish:
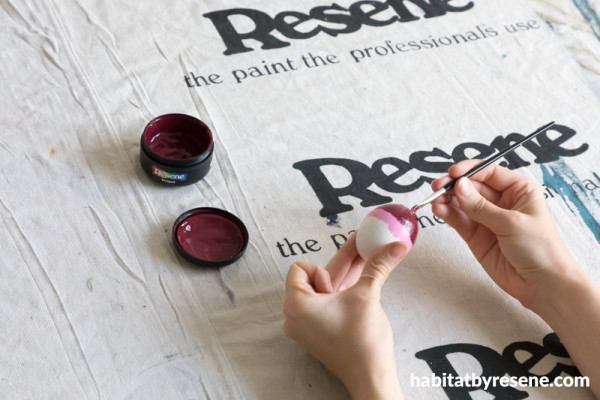
Step 1 Using a small artist’s brush, paint the bottom half of an egg in two coats of Resene Eighth Joss, feathering the edges. Allow the first coat to dry before applying the second. To speed up the drying process, you may use a hair dryer on a heat-free setting.
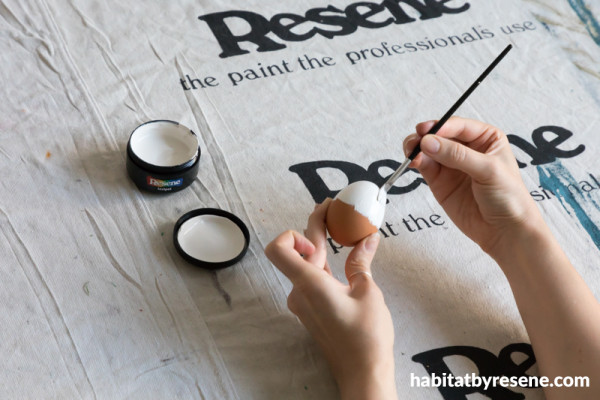
Step 2 Using a small artist’s brush, paint the top half of the egg in two coats of Resene Hopbush, feathering the edges down into the Resene Eighth Joss section. Allow the first coat to dry before applying the second.
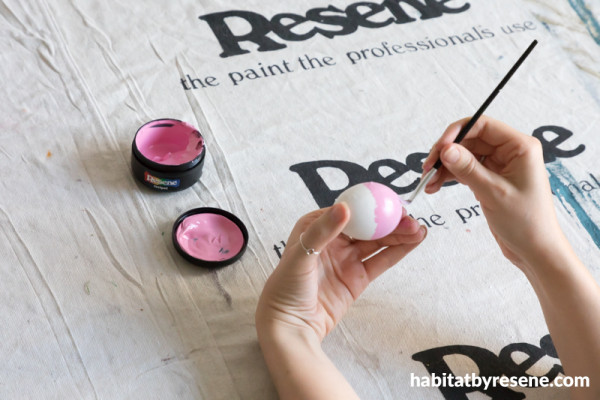
Step 3 Using a small artist’s brush, paint the top third of the egg in two coats of Resene Arthouse, feathering the edges down into the Resene Hopbush section. Allow the first coat to dry before applying the second. Let your egg dry completely before moving on.
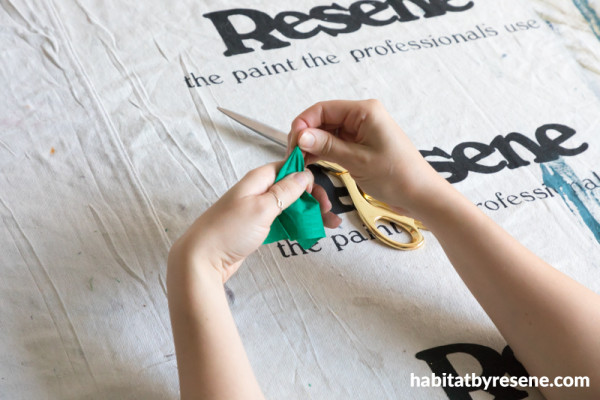
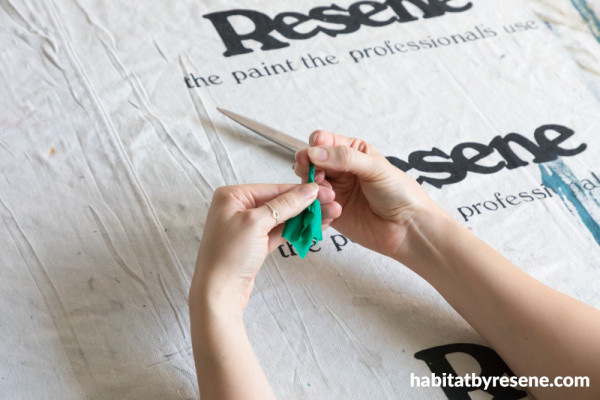
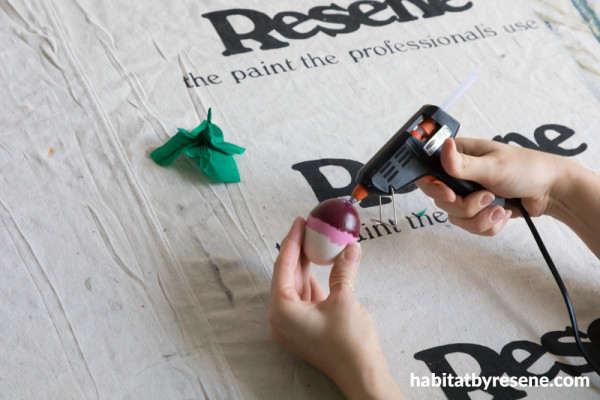
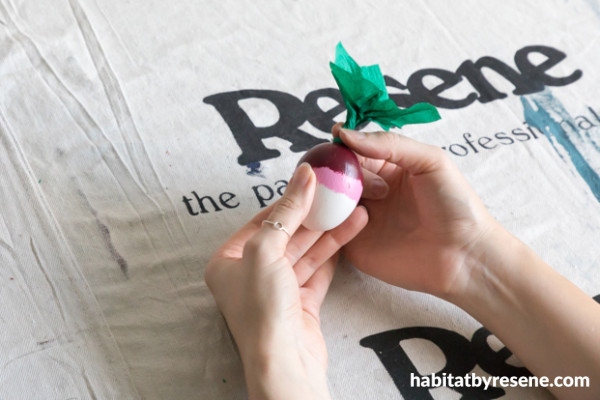
Step 4 Starting with a long rectangle of green crepe paper, pinch the centre and bend down the sides to create a point then tightly twist the top half so that the bottom corners fan out. Trim the corners into more curved leaf shapes.
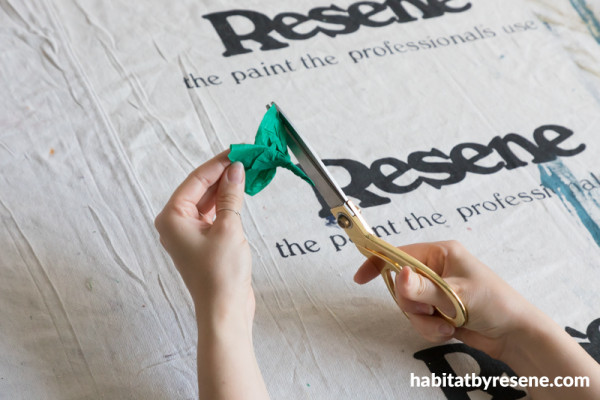
Step 5 Attach the pointed end of the stem and leaves to the top of the egg with hot glue.
To make the peas in a pod:
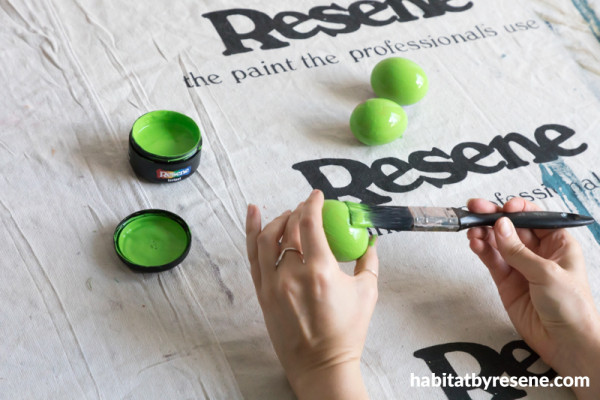
Step 1 Using a testpot brush, paint three eggs in two coats of Resene Lima, allowing the first coat to dry before applying the second and allowing the eggs to dry fully before continuing. To speed up the drying process, you may use a hair dryer on a heat-free setting.
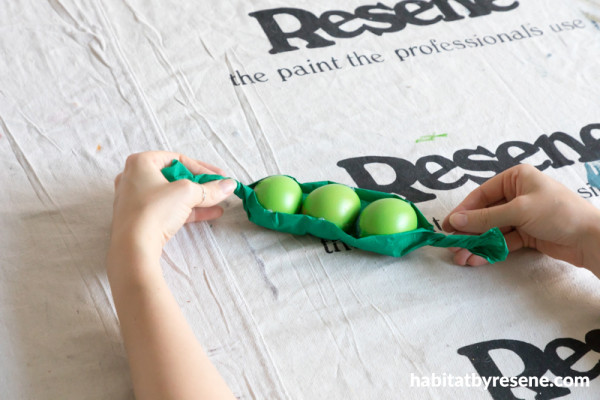
Step 2 Cut a long rectangle of crepe paper approximately 15cm x 40cm and place the eggs in the centre.
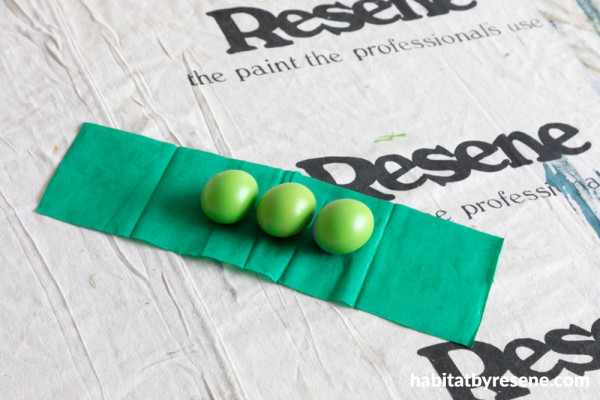
Step 3 Fold in one third of each long edge.
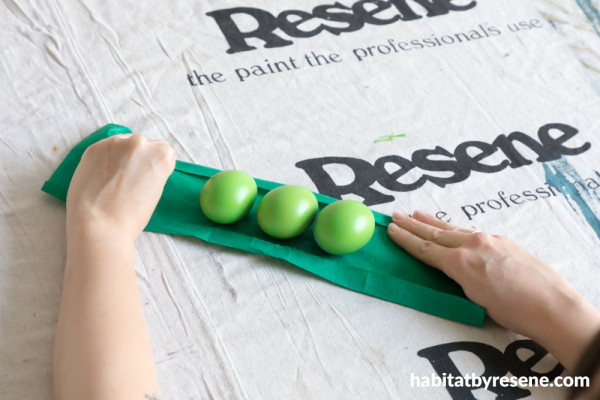
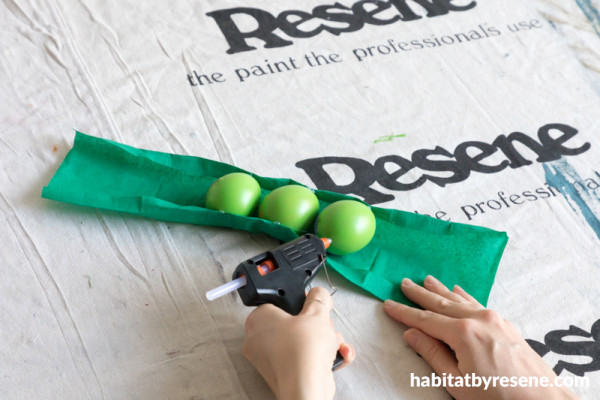
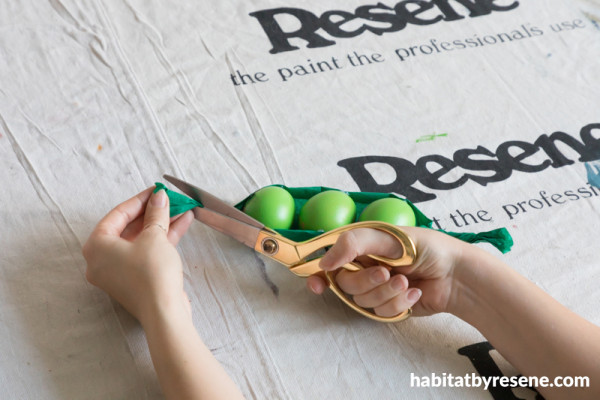
Step 4 Apply a bead of hot glue on the ends of each egg and press the folded in side of the crepe paper to attach it.
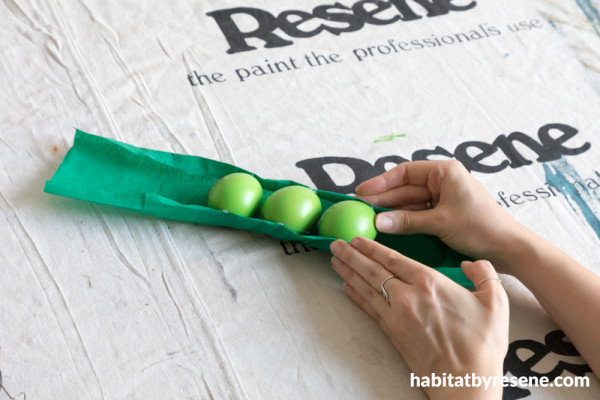
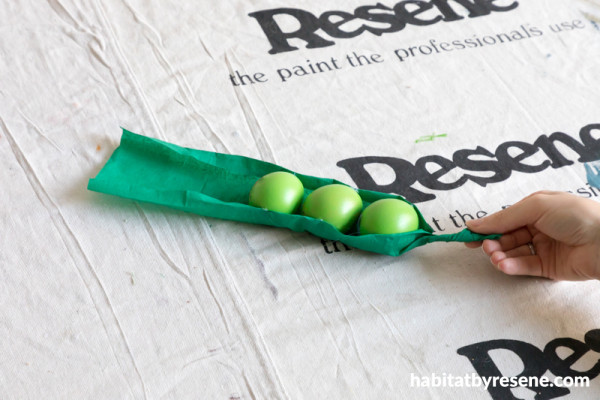
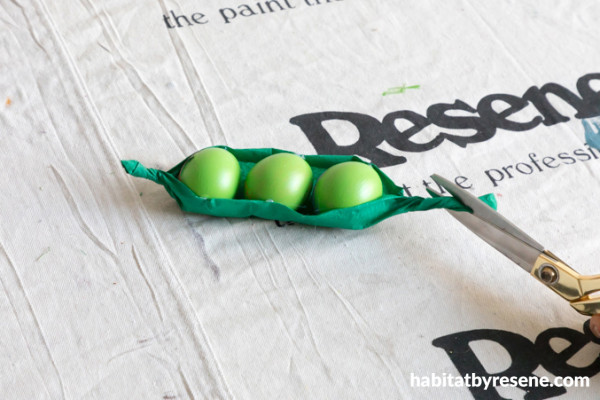
Step 5 Twist the ends of the crepe paper so that the pod tightens around the eggs. Trim away excess crepe paper.
Have you or your kids made any egg-cellent creations using Resene paint? Send some snaps to [email protected].
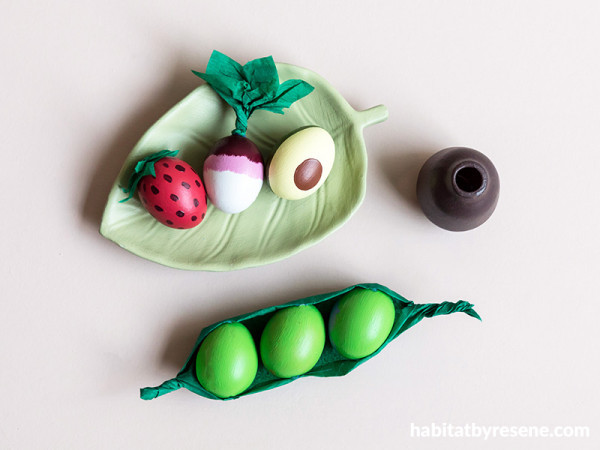
Background in Resene Cashmere, strawberry in Resene Candy Floss and Resene Arthouse, radish in Resene Arthouse, Resene Hopbush and Resene Eighth Joss, avocado in Resene Pale Prim, Resene Saratoga and Resene Hairy Heath, peas in Resene Lima, plate in Resene Green Smoke, vase in Resene Rebel.
project and images Laura Lynn Johnston
video Ben Whorwood
Category: create with paint
Published on Apr 09, 2020
Latest Habitat TV Videos:

Published 1 year 10 months ago
Say goodbye to the morning scramble for keys, coats and sunglasses and hello to this…

Published 1 year 10 months ago
Entryways are usually the first impression visitors have of your home interior. This DIY organiser…


