
latest
habitat tv

Say goodbye to the morning scramble for keys, coats and sunglasses and hello to this… see this and more videos
blog

Reader roundup: See what our readers have been up to!
Refurbished vintage furniture, charming exteriors and magnet walls for kids. These projects are sure to… more
Blog: Interior designer Georgia Langridge embraces sustainability with an upcycling furniture project and fence repair
09 Dec 2020

Interior designer Georgia Langridge says it’s time to embrace upcycling. She shares tricks for getting started.
“This year has seen a massive shift towards sustainability across many industries, including interior design. It is an exciting time for designers like me, as this shift encourages us to explore different ideas with our clients.
At Modi Design, the firm where I work as an interior designer, we encourage our clients to use forever pieces in their homes. It is a ‘buy once, buy right’ philosophy. This is because well-crafted pieces are long-lasting, reduce the amount of waste we send to landfills and help our clients avoid replacing their furniture. My own renovation was no exception, and I was able to locate some brilliant second-hand and antique finds.
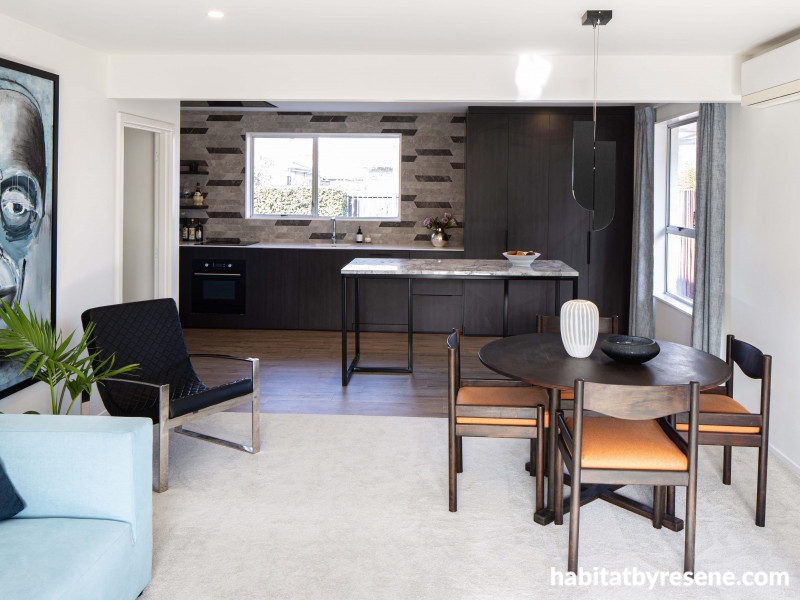
Updating a 1950s dining set

With some of the vintage pieces I found for my home I got lucky. A set of bedside tables with mirrors from Mr Mod required hardly any work. However a number of other second hand pieces needed a lot of TLC.
A 1950s dining table and its six chairs required a big transformation. The solid table and chairs had great bones and had some unusual details – the chair legs, for example, soldiered together when pushed into the table.
To upcycle the dining set I took the following steps:

Step 1 I used the underside of one of my chairs as a test patch, sanding it back and staining it to see if I was happy with the finish and colour.
Step 2 Once I was confident with the look I sanded the chairs and table. I then wiped away dust and residual dirt using a soft brush.

Step 3 With a brand-new paint brush, I used Resene Colorwood natural wood stain (I used Resene Pitch Black). A wood stain allows the timber grain to show through. I carefully wiped off any surplus stain with an old cloth. I left the furniture to dry for 48 hours, then added another coat, wiping away the excess and allowing to dry. I then applied Resene Aquaclear, a waterborne urethane, to protect the timber against moisture.
Updating a fence

At first glance my exterior fence seemed unsalvageable but after taking out the bad pales of rotten timber and the corrugated iron that covered a few gaps, I discovered that I could make it look new – without having to fork out for a new fence.
Here’s what I did:
Step 1 I removed any corrugated iron that had been placed to fill the gaps of my fence.
Step 2 Next, I removed the rotten or damaged pales.
Step 3 To create a uniform fence, I took one of the existing pales to a hardware store so replacement pales could be cut to the same width and length
Step 4 I applied Resene Moss & Mould Killer to my existing pales, leaving the wash to work for 48 hours.
Top tip from Resene: Wash exterior timber surfaces down with Resene Timber and Deck Wash to clean the timber thoroughly before restaining. This will give you a more even finish.
Step 5 Next I sanded back some of the old stain.
Step 6 Next I secured the replacement timber pales by nailing them in place.
Step 7 I stained all of the pales using Resene Woodsman in Resene Crowshead, applying the first coat and leaving it to dry for 48 hours before applying the second coat.

Learn more about Modi Design on their website, or get in touch with Georgia Langridge directly at [email protected]
images Georgia Langridge
Published: 09 Dec 2020

