
latest
habitat tv

Say goodbye to the morning scramble for keys, coats and sunglasses and hello to this… see this and more videos
blog

Re-living the 1980s through art
Clint C is an artist whose work instantly sparks recognition and joy. Based in Hamilton,… more

2 ways with old postal tubes
03 May 2018
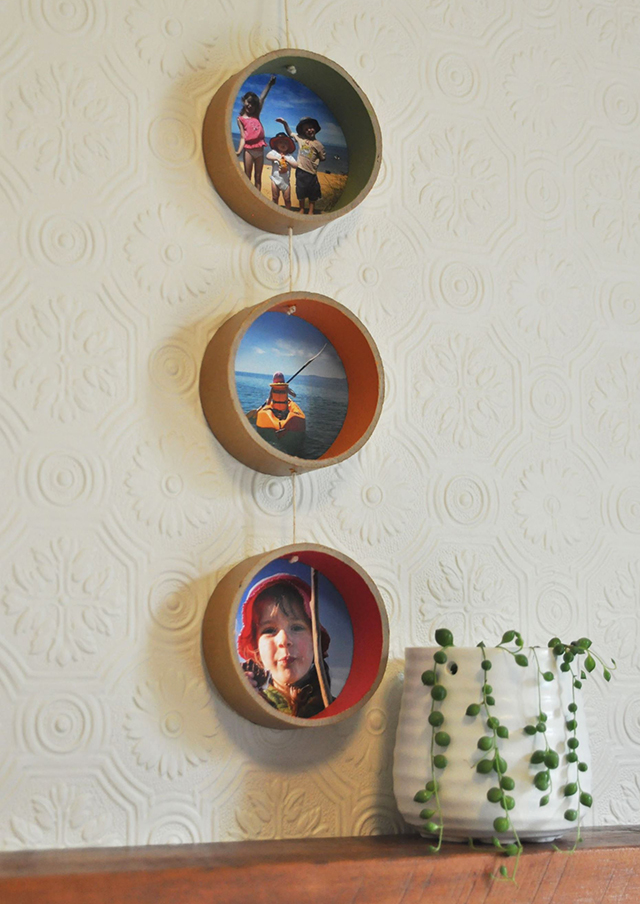
Before throwing out old postal tubes, did you know with a little DIY and Resene paint they can become great pieces for the home? Fleur shows us how easy it is to create hanging photo frames and mini tube shelves from the humble postal tube.
You will need:
- Resene testpots in Resene Tango, Resene Vibe, Resene Kombi, Resene Apache, Resene FX Metallic Gold Dust and Resene Biscay
- An old postal tube or large cardboard tube
- Saw
- Medium grit sandpaper
- Electric drill
- Paintbrush
- String
- Pen
- Photos
- Scissors
Hanging photos
Step one. Using a saw, cut off three equal lengths of the cardboard tube, each 2.5cm long.
Step two. Use a medium grit sandpaper to remove any rough bits.
Step three. Use an electric drill to make a small hole through the top and bottom of each piece of tube.
Step four. Paint the outside of each of the tubes in Resene Apache. Once this is dry, paint over this with Resene FX Metallic Gold Dust.
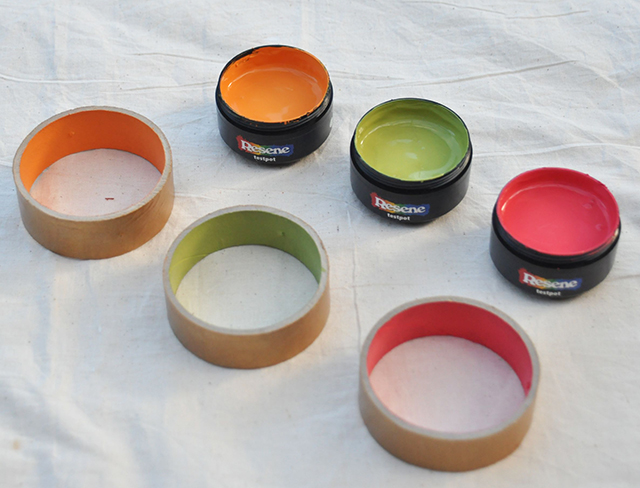
Step five. Paint the inside of each tube a different colour – these have been painted in Resene Tango, Resene Vibe and Resene Kombi. Be careful not to get any paint on the cut edges. If you do, you can sand it off with sandpaper once the paint is dry.
Step six. Place a tube over your chosen photos and with a pen, trace around the outside of the tube onto the photo.
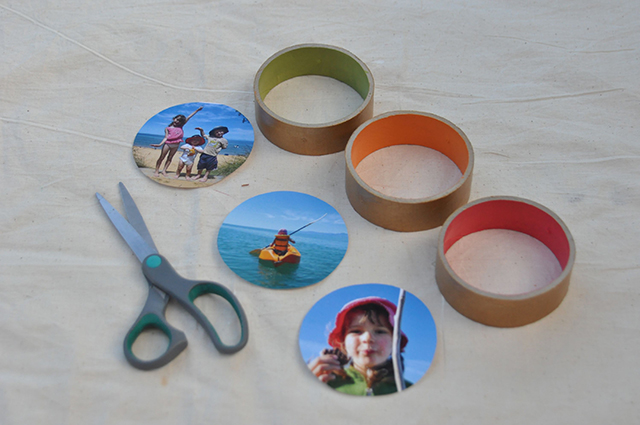
Step seven. Use scissors to cut out the photos.
Step eight. Cut two equal lengths of string. Thread one piece of string through the hole in the top tube and then through the hole in the middle tube. Tie a knot at each end to stop the string from pulling out. Repeat this, tying the middle tube to the bottom tube. Try to get the length of the strings between each tube the same. These are 3.5cm apart.
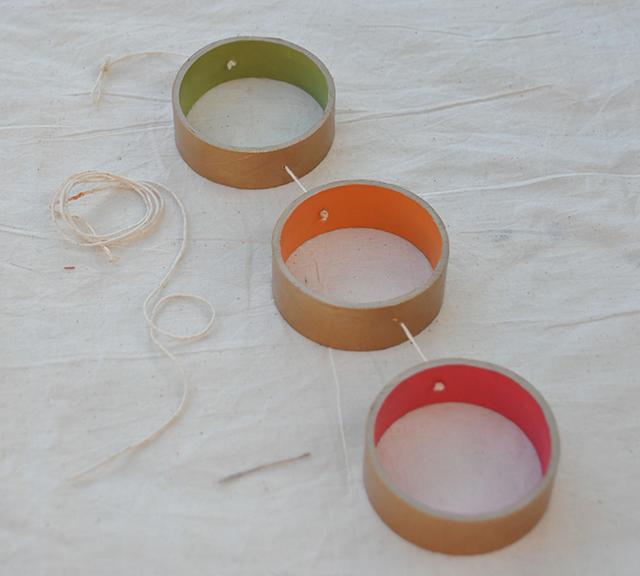
Step nine. Cut a longer length of string and thread this through the top hole of the top tube. Tie a loop at the end for hanging up on the wall.
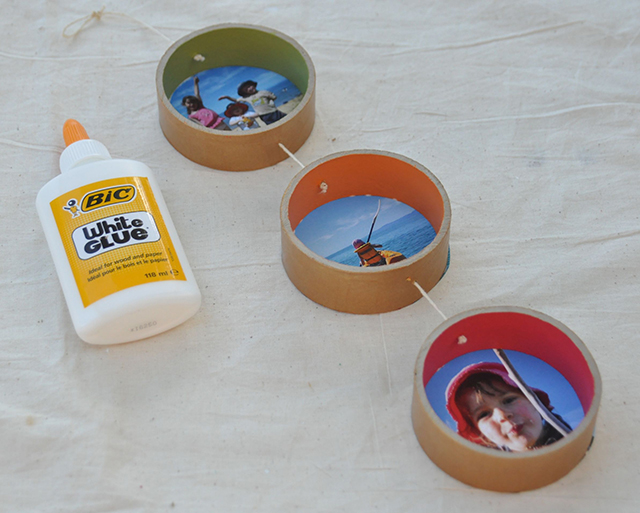
Step ten. Use paper craft glue, such as PVA, to glue the photo to the back of the tube. Trim any overlap off with scissors. Your hanging photos are now ready to hang up!
Mini tube shelves
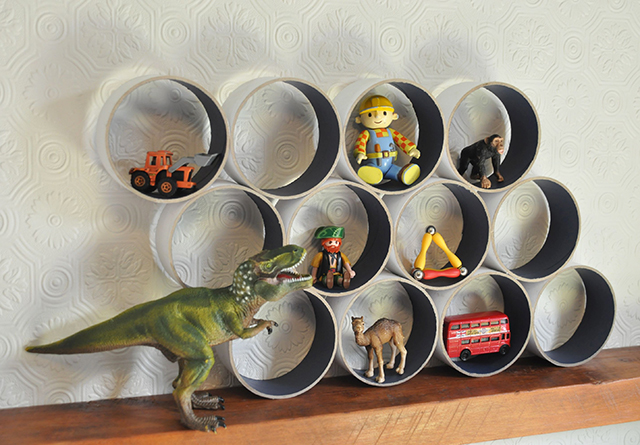
Step one. Using a saw, cut off equal lengths of cardboard tube, each 5cm long. Use a medium grit sandpaper to remove any rough bits. Cut as many as you like, depending on what shape you want to make.
Step two. Paint the inside of the tube with Resene Biscay. For this project, the outside of the tube has been left unpainted. You could paint it the same colour as the wall, the inside of the tube or choose a contrasting colour.
Step three. Use paper craft glue, such as PVA, to glue all the tube lengths into a shape that you like.
Step four. Place on a shelf and fill with favourite little toys and other bits and pieces.
Project and photography by Fleur Thorpe.
Published: 03 May 2018

