
latest
habitat tv

Say goodbye to the morning scramble for keys, coats and sunglasses and hello to this… see this and more videos
blog

Brick Bay unveils its poetic new folly for 2026
The winner of the 2026 Brick Bay Folly competition has been unveiled. Within the Wings… more
2 ways with wallpaper patterns
31 May 2018
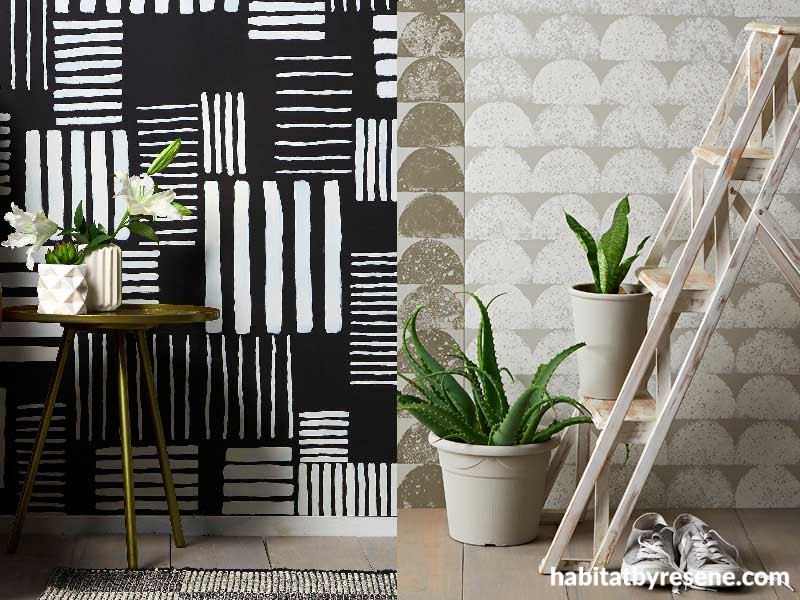
If you like the pattern on a particular wallpaper but it’s not the right colour or scale, why not use it as inspiration for your own paint project? We looked to the latest wallpapers from Resene and did our own painted versions.
Check out the huge range of wallpaper available in the wallpaper library at your local Resene ColorShop.
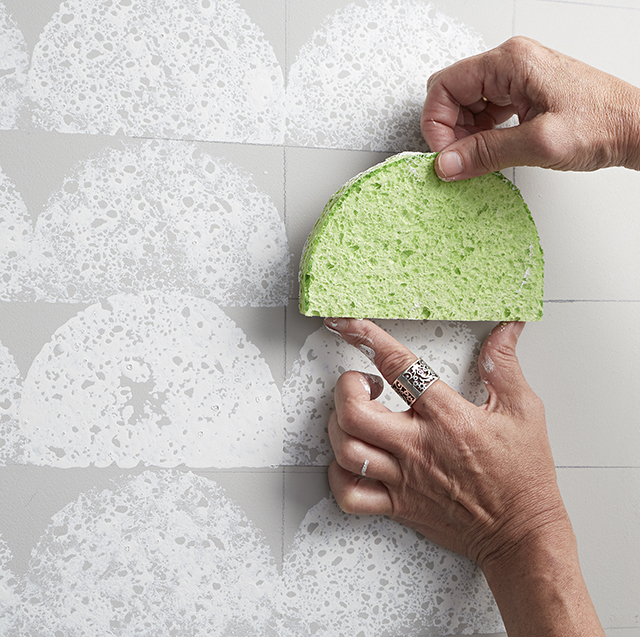
Go semi-circle
Check out this simple and easy wallpaper hack, inspired by Resene Wallpaper Collection design 34244-2 and 34244-3. All it takes is a kitchen sponge.
You will need:
- Resene SpaceCote Low Sheen in Resene Quarter Friar Grey – enough to do two coats on your wall
- Resene testpots or tins (depending on the area you’re decorating) in Resene Triple Friar Grey and Resene Half White Pointer
- Kitchen sponges
- Ruler, level, pencil, pen and scissors
- Small brush
Prep: Paint the background wall colour. We used Resene Quarter Friar Grey.
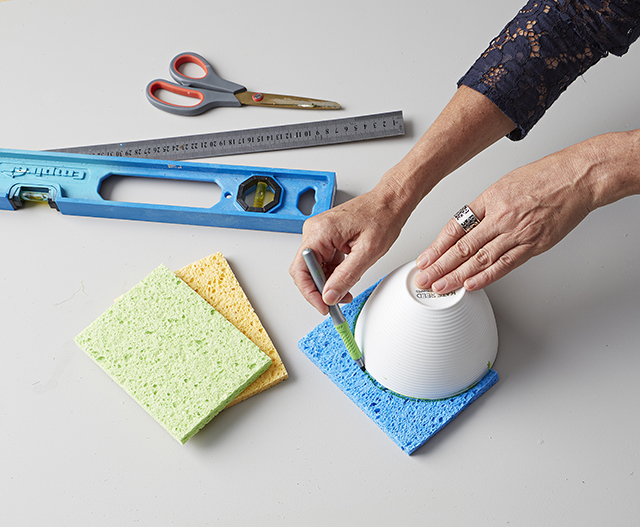
Step one: Mark a half-circle out of two or three sponges, using a bowl or plate as a template. Use more than one sponge to create a variation in texture over the patterned wall.
Step two. Draw a grid of pencil lines on your wall using the ruler, level and pencil to match the height and length of the cut sponge.
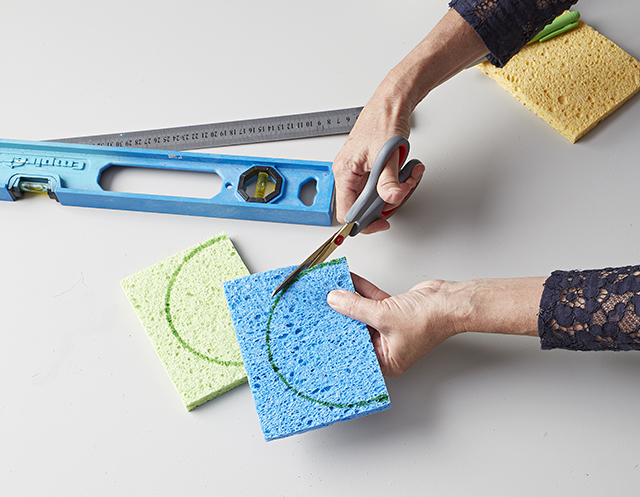
Step three: Cut out the sponges.
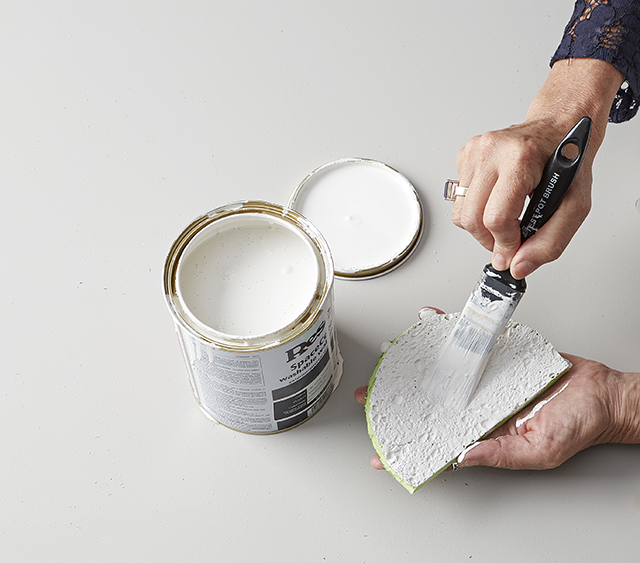
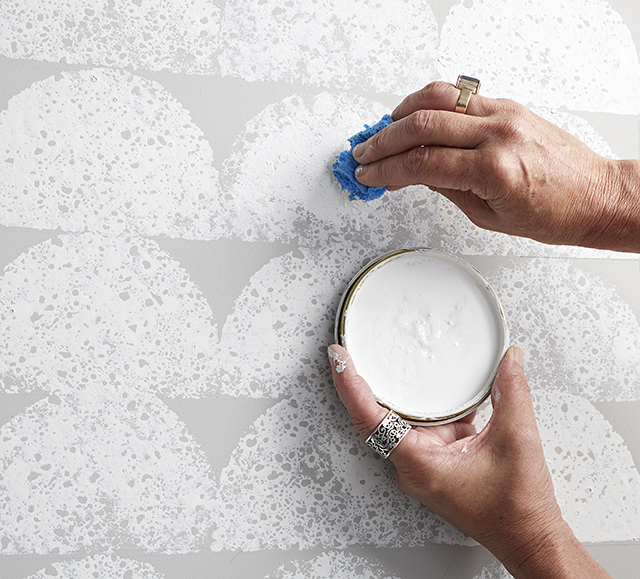
Step four: Brush the paint onto the sponge. If you dip the sponge in paint, it will pick up too much paint.
Step five: Using the pencil grid as a guide, press the first sponge randomly over the area you are decorating. This way you get a mix of texture from the various sponges. Repeat with the other sponges, filling in the spaces.
Step six: If you need to touch up the pattern, use a ripped piece of sponge to dab on the paint until you are happy with the look. Rub out the pencil lines.
If you love the half circle print look but don’t have a spare wall, try this easy artwork using potato print and canvas.
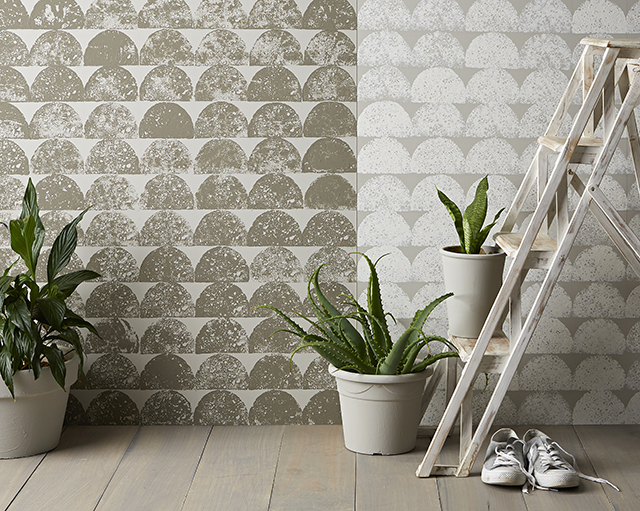
Pots painted in Resene Quarter Friar Grey and Resene Triple Friar Grey. Ladder painted in a distressed effect using Resene Half White Pointer. Floorboards finished in Resene Colorwood Greywash.
Styling by Megan Harrison-Turner
Photography by Bryce Carleton
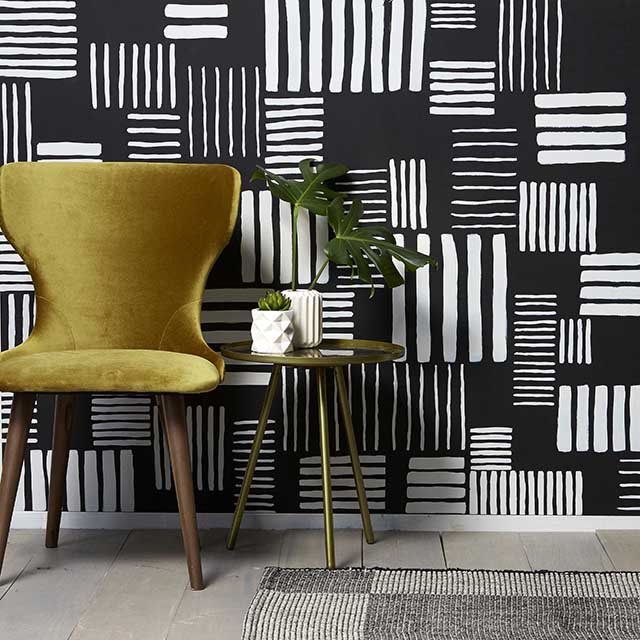
A modern take on black and white
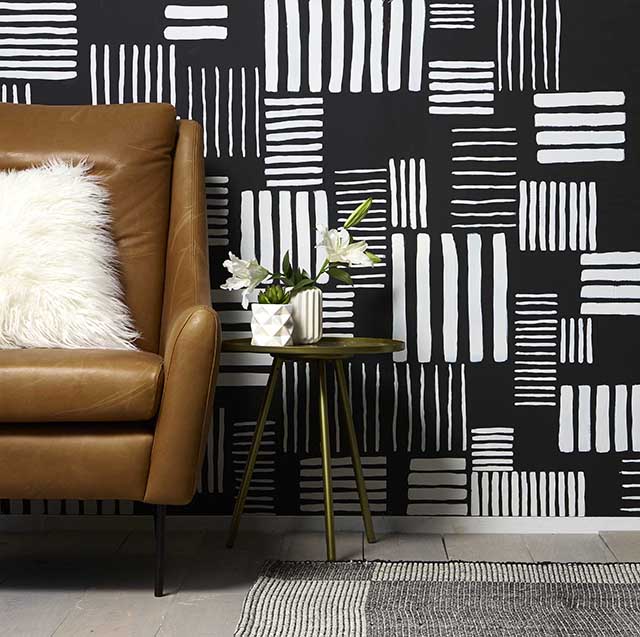
Bold and beautiful, the ethnic-style stripes for this feature wall were inspired by Resene Wallpaper Collection design 377133.
You will need:
- Resene SpaceCote Low Sheen in Resene Nero – enough to do two coats on your wall
- Resene testpot in Resene Double Sea Fog
- Resene testpot brushes
- Artist’s brushes
- Paper, pencil, ruler and level
Prep: Paint the background wall colour. We used Resene Nero.
Step one. Mock up on a piece of paper how you would like the stripes to sit and the thickness of each one, using our finished wall as a guide.
Step two. Using the pencil, ruler and level, mark out the stripes.
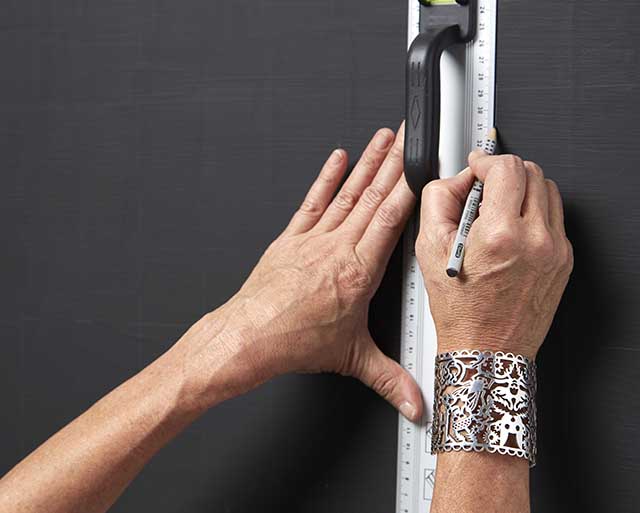
Step three. With the Resene Double Sea Fog testpot, handpaint the stripes using brushes with different thickness.

Step four. Leave to dry and then touch up any stripes that need to be thicker or have a stronger line. It doesn’t need to look perfect – in fact, any imperfections give it an authentic, arty look.
Styling by Megan Harrison-Turner
Photography by Bryce Carleton
Published: 31 May 2018

