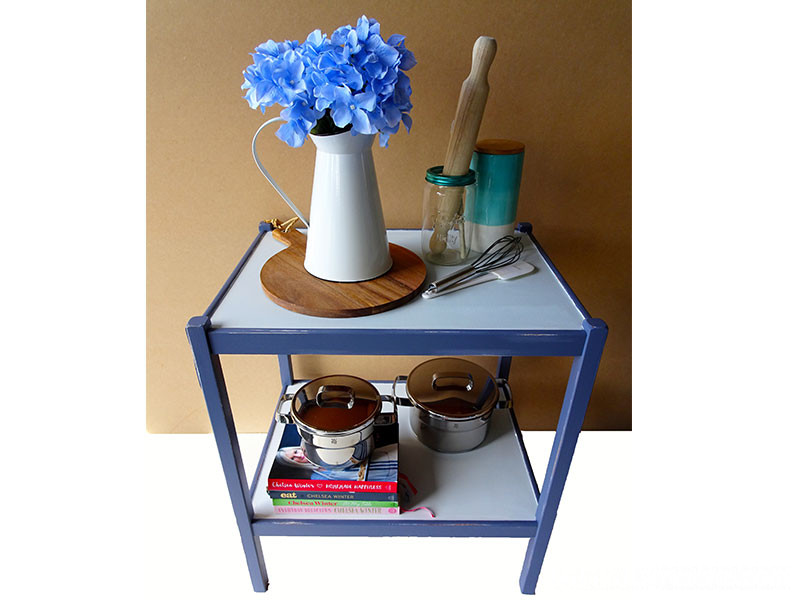
A butler’s table, made better
10 Apr 2019
Update a retro butler’s table with this simple and classic makeover.
You will need:
- An old wooden butler’s table
- Resene testpot brushes
- Resene testpot roller kit
- Painter’s masking tape
- Sandpaper
- Resene Quick Dry waterborne primer undercoat
- Resene Waterborne Smooth Surface Sealer
- Resene Hot Weather Additive (optional)
- Resene testpots in your choice of colours (Sarah used Resene Hammerhead and Resene Zumthor)
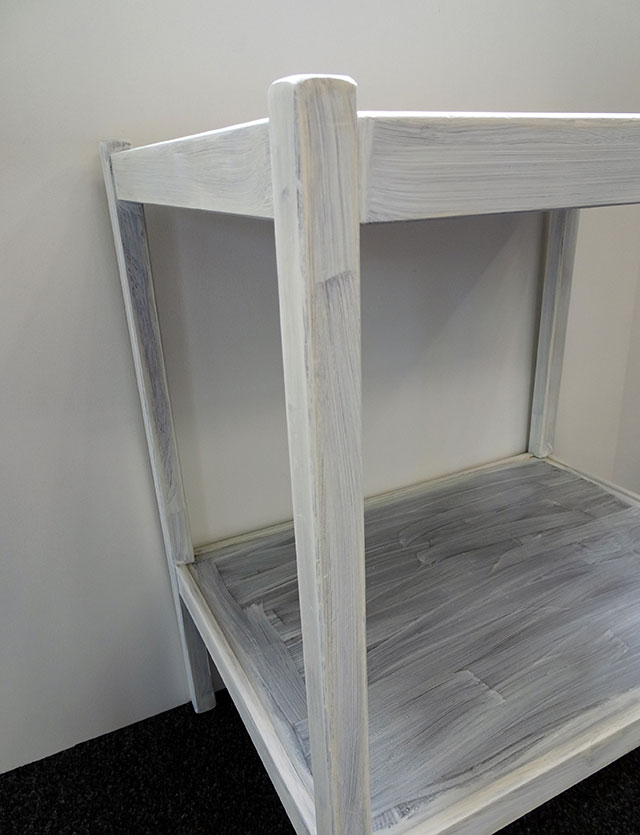
Step 1 Always check old furniture items for any repairs they might need before you start painting. This table had a couple of loose screws that needed replacing before Sarah could proceed with any other work.
Once the table is sound, sand the frame of the table well, remove all the sanding dust and apply one coat of Resene Quick Dry waterborne primer undercoat.
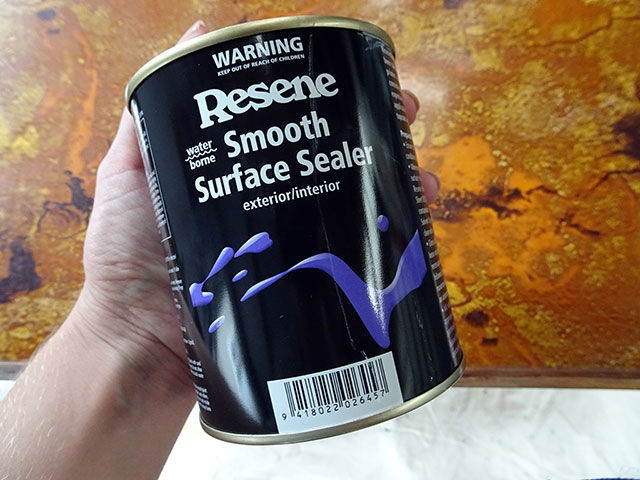
Step 2 Once the primer is dry, prepare the table top surface for painting with one coat of Resene Waterborne Smooth Surface Sealer. This product ensures that paint will stick to surfaces that are typically too smooth or shiny for painting. Wait for the Resene Waterborne Smooth Surface Sealer to dry.
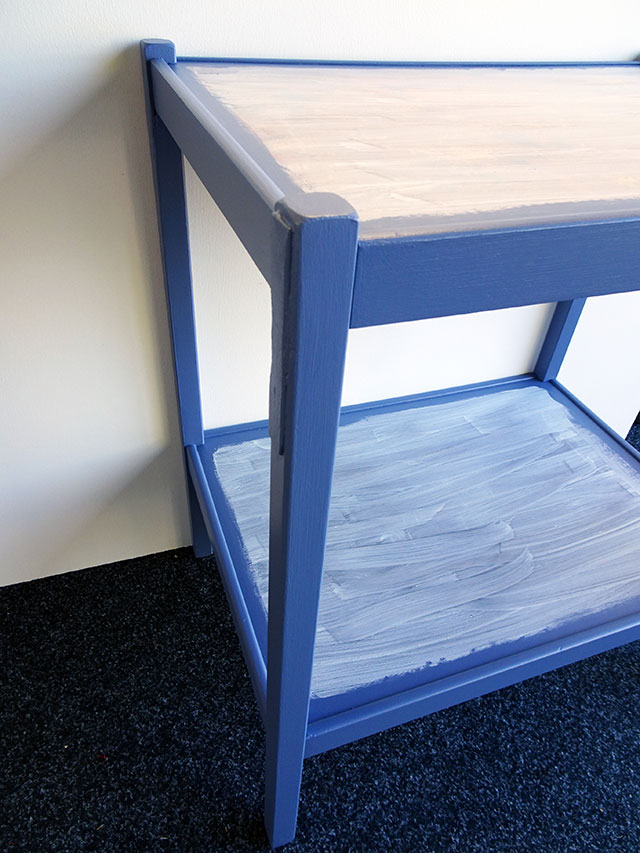
Step 3 Apply two coats of your chosen colour to the table frame using a testpot brush. Sarah chose Resene Hammerhead, a steely grey-blue that looks great in a kitchen.
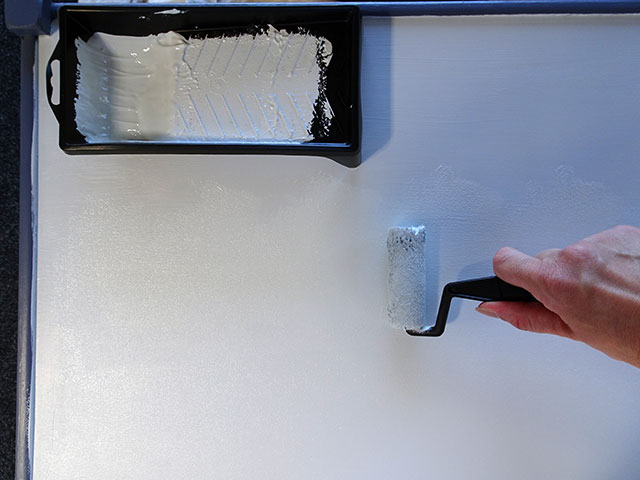
Step 4 Apply your second colour to the table top surface using 2-3 coats (Sarah used Resene Zumthor). Use a testpot brush for the first 1-2 coats and then apply the final coat with a testpot roller to ensure a smooth finish. Make sure you wait for each coat of paint to dry completely before applying another. If you find it hard to paint straight lines at the edge of a surface like this, use painter’s masking tape to ensure a clean line.
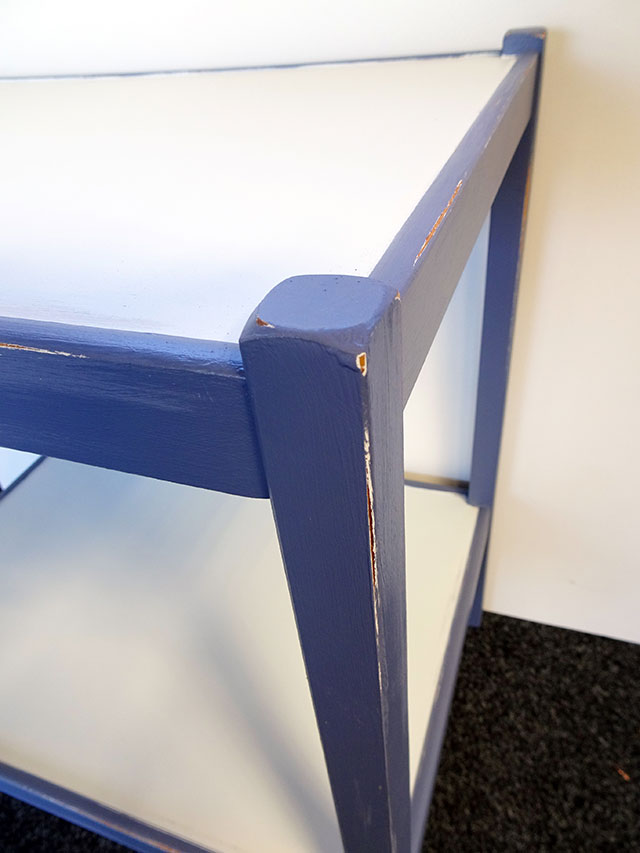
Step 5 Once the paint is dry, use a small piece of sandpaper to carefully distress the finished paint job to add character. When intentionally distressing the paint on a piece of furniture, you should aim to gently sand areas where wear and tear would naturally occur, such as corners and hard edges. Start cautiously and increase the distressed areas a little at a time until you are happy with the result. Finish it with a clear sealer, such as Resene Aquaclear.
top tip: Painting in hot temperatures can be tricky as paint can dry too fast to get a smooth finish. If you are painting when it is hot, add Resene Hot Weather Additive to your paint to help keep the paint flowing while you work.
project and images Sarah Herring
These DIYs are brought to you by Upcycling for Good, a collaboration between Resene and The Salvation Army family stores. The project asks keen DIYers to upcycle second-hand items using Resene paint – look out for this regular feature on Habitat by Resene.
Published: 10 Apr 2019


