
latest
habitat tv

Say goodbye to the morning scramble for keys, coats and sunglasses and hello to this… see this and more videos
blog

Reader roundup: See what our readers have been up to!
Refurbished vintage furniture, charming exteriors and magnet walls for kids. These projects are sure to… more
Christmas DIY: Merry mantelpiece
29 Nov 2016
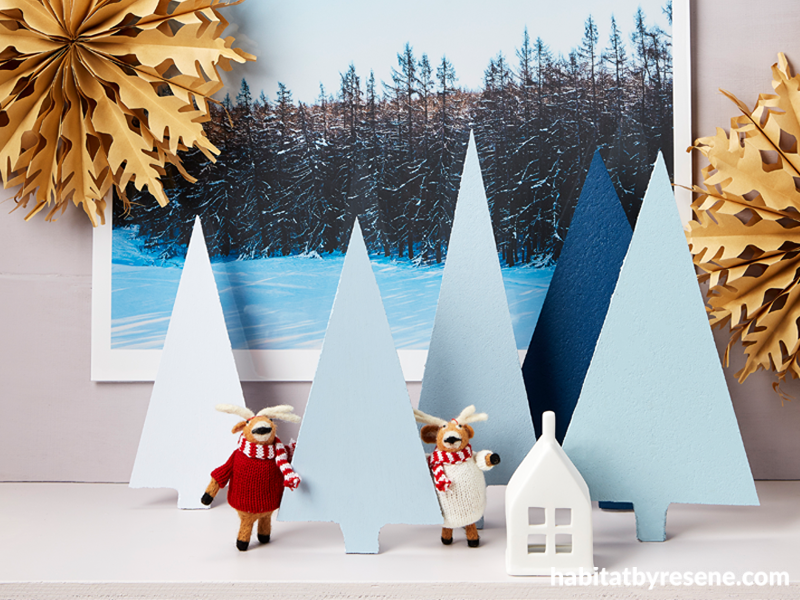
Inspired by the snow-covered Christmas our Northern hemisphere friends get to enjoy, we thought we'd bring a piece of the magic to our own homes.
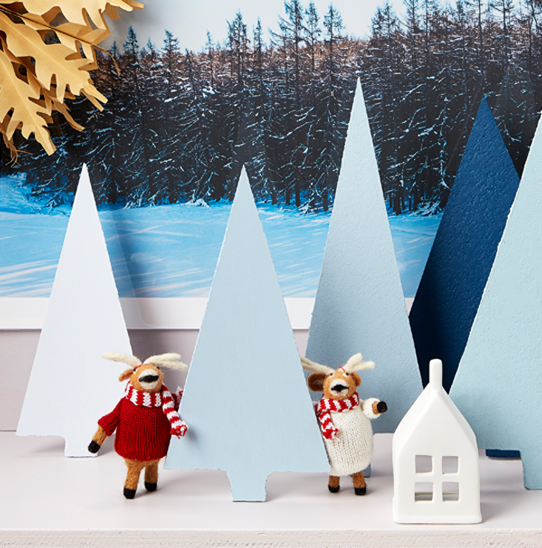
DIY cork trees, Santa's reindeers and a snowy forest print set the mood, with space to intertwine Christmas cards, garlands and treasured decorations. Go as decorative or simplistic as you like.
Here is our guide to making the DIY cork trees.
You will need
Cork mats (available from most hardware stores), craft knife, ruler, pen, liquid nails, Resene testpots, and paint brushes. We went with a snow-covered palette of Resene Scandi, Resene Frozen, Resene Escape and Resene Wishing Well.
- Using a ruler, create triangles on the cork for your trees, and hand draw little tree stumps at the bottom – the wider the stump, the better they’ll stand.
- Cut out using the craft knife and ruler.
- You will also need to make stands to go at the back – do this by cutting out small right-angled triangles and check that they are the right shape for your trees.
- Paint the cork pieces, and leave to dry.
- Once dry, apply a triangle stand to the back of each tree making sure it holds them up to stand. Leave to dry overnight.
- You're now ready to make your own wintry Christmas forest.
- Tip: Use a small amount of Blu-Tack to keep them in place, if needed.
Styling by Leigh Stockton. Photography by Bryce Carleton.
Tekapo Pines print by Jenna Smith, available from Endemic World.
Decorations from Citta and Father Rabbit.
Published: 29 Nov 2016

