
Clause for celebration: DIY wooden Santas
12 Dec 2024
Add a touch of handmade magic to your festive season with these charming wooden Santas! Crafted from simple materials and brought to life with a splash of festive Resene colours, these DIY decorations are perfect for hanging on your tree, adorning your mantelpiece or giving as thoughtful, handmade gifts.
You will need:
- Untreated pine board, 135mm wide x 10mm thick x 900mm long
- Saw
- Sandpaper
- Electric drill
- Paintbrush
- Small wooden balls
- Wood glue
- String
- Resene testpots in your favourite festive shades. We used Resene Sakura, Resene Smashing, Resene Rice Cake and Resene Black
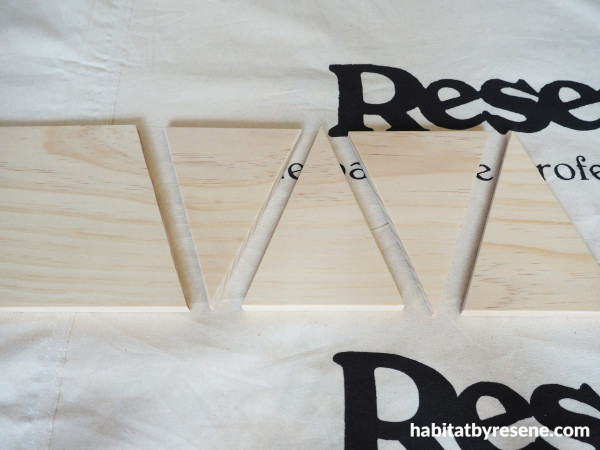
Step 1: Use a saw to cut triangles from your wooden board. Fleur’s triangles have a base width of 10cm. Sand any rough edges smooth with a medium grit sandpaper and wipe off the sanding dust.
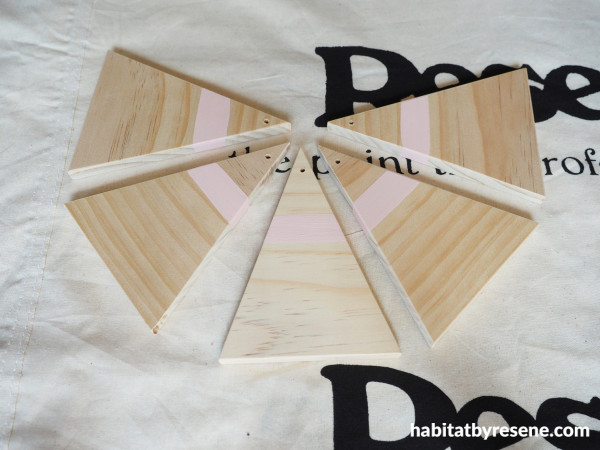
Step 2: Drill a hole at the top of the triangle. Paint a band across the triangle, about one-third of the way down from the top, in your chosen paint colour. Fleur used Resene Sakura. This will be the face.
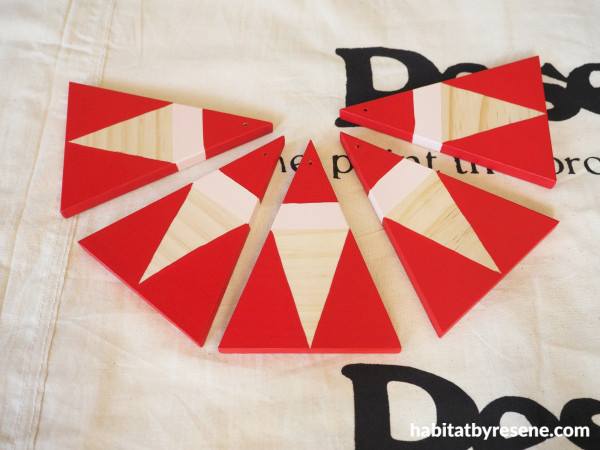
Step 3: Use another of your chosen colours to paint on the hat and cloak. Fleur used Resene Smashing for this.
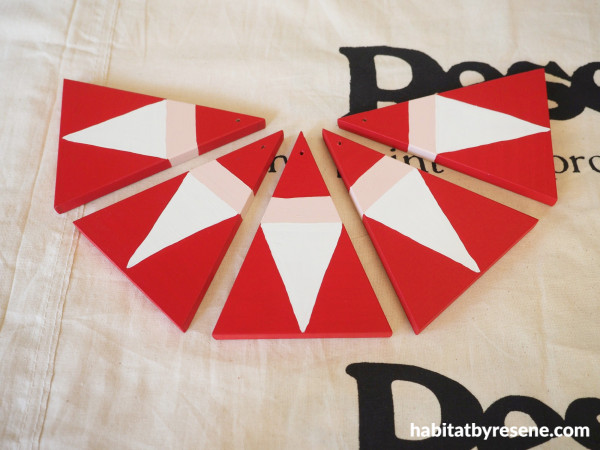
Step 4: Using your chosen white, paint on Santa’s beard. Fleur used Resene Rice Cake. Paint a small wooden ball in another colour and use wood glue to glue this on for the nose. Fleur painted her nose in Resene Sakura.
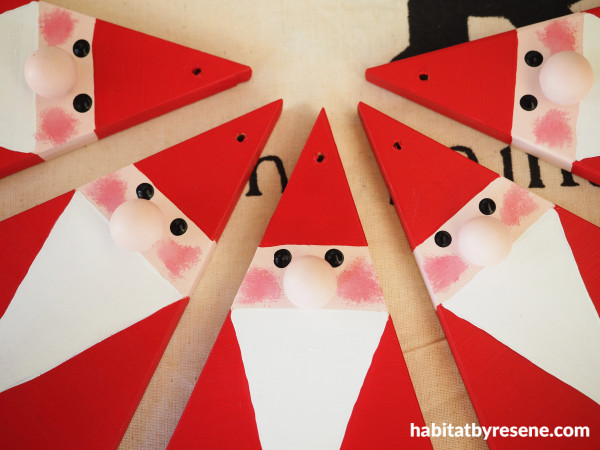
Step 5: Use Resene Black, or another chosen shade, for the eyes (dipping the end of a small paintbrush into paint is a good way of doing this). Finish the face by dabbing a little red on the cheeks.
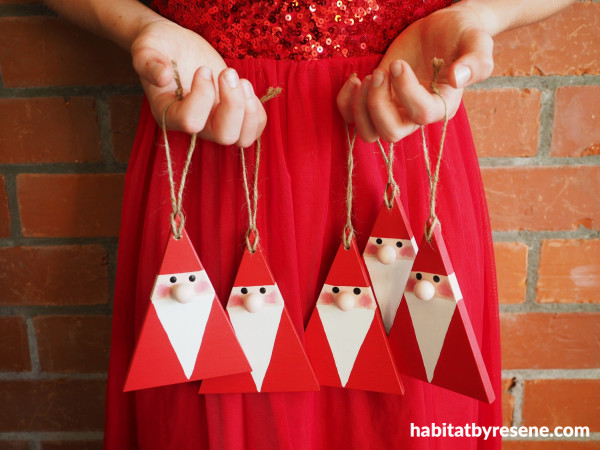
Step 6: Tie a piece of string through the hole at the top.
project and images Fleur Thorpe
Published: 12 Dec 2024


