
latest
habitat tv

Say goodbye to the morning scramble for keys, coats and sunglasses and hello to this… see this and more videos
blog

Brick Bay unveils its poetic new folly for 2026
The winner of the 2026 Brick Bay Folly competition has been unveiled. Within the Wings… more
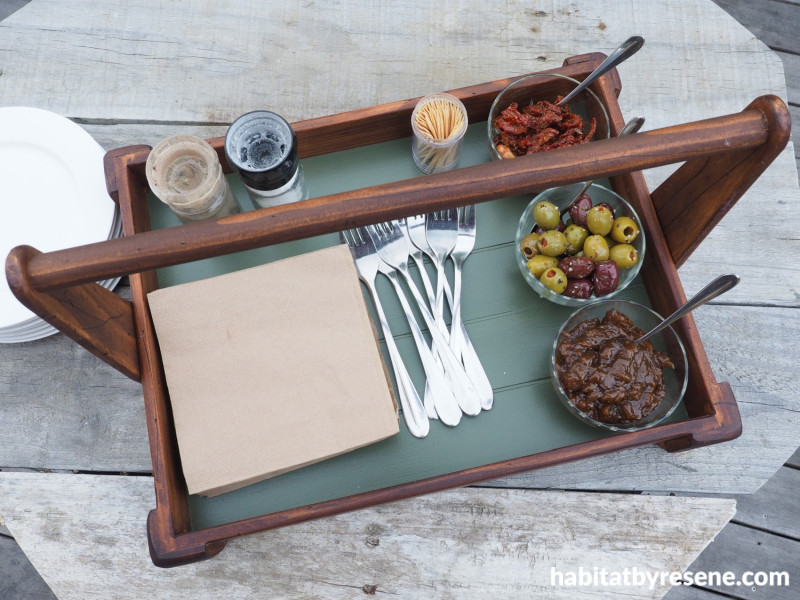
Crate expectations: DIY condiment crate for outdoor entertaining
01 Oct 2025
Make spring and summer entertaining a breeze with this handy DIY condiment crate. It will save you many trips to the kitchen and you can serve your condiments, cutlery and snacks in style. Choose your favourite Resene testpot colour, or multiple colours, for the bottom, and your favourite Resene Woodsman stain for the frame.
You will need:
- Untreated pine plywood, 7mm thick
- 2x untreated Pine board, 60mm wide x 10mm thick x 900mm long
- 1x untreated Pine board, 40mm wide x 10mm thick x 900mm long
- Table saw
- Wood glue
- Hammer
- Sandpaper
- 4x pine drawer knobs
- Jig saw or band saw
- 18mm diameter pine dowel, 900mm long
- Electric drill and screws
- Resene Woodsman exterior stain in a colour of your choice. Fleur used Resene Cedar. Note: You can also use the new Resene Woodsman Natural Wood Oil which can be used on both interior and exterior timber.
- Resene testpot in a colour of your choice. Fleur used Resene Clover
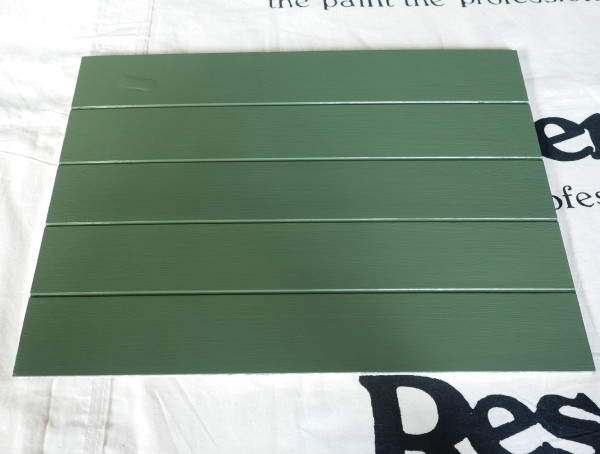
Step 1: Start by cutting the 7mm thick plywood to size. Fleur’s is 28cm wide x 38cm long. If you have a table saw, set the blade very low and pass the plywood over it at equal distances to make a tongue and groove effect. Prime the board with one coat of Resene Quick Dry, followed by two coats of your chosen Resene colour – Fleur used Resene Clover.
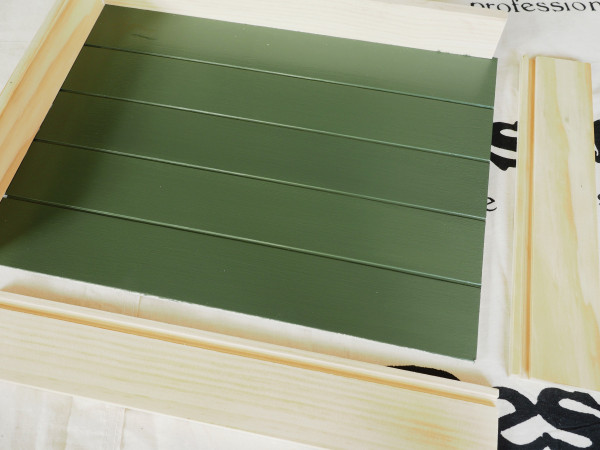
Step 2: Take the 60mm wide boards and cut these to length to make four sides to fit around the plywood base. Set the blade of the table saw low, and make a groove 7mm wide along one face of each of the four side boards so that the plywood base can fit into the groove. Use wood glue to glue and assemble the four sides and base together.
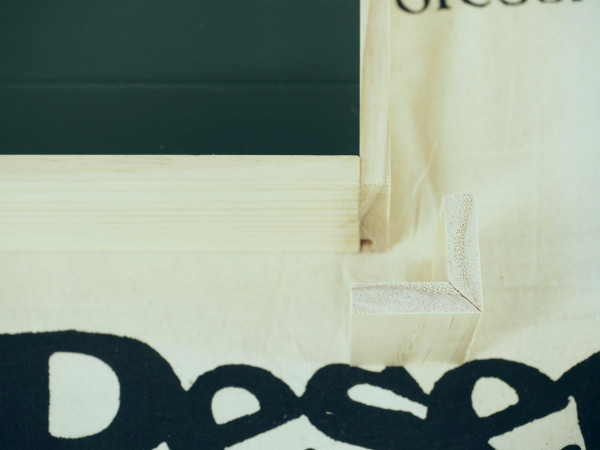
Step 3: Take the 40mm wide board and down the length of it, cut it at 45 degrees. Next, cut it into 8 lengths at 60mm long. Glue two of these together on the 45 degree cut to make a right angle, and then glue these to each of the crates four corners.
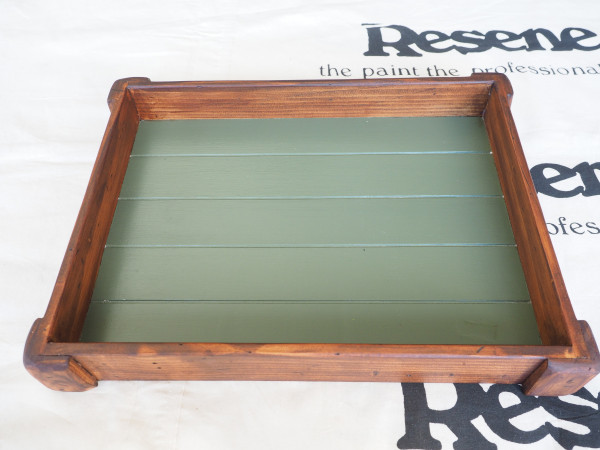
Step 4: Sand all the sharp edges until they are smooth and rounded, and then for a rustic look use a hammer to distress the wood, banging it to make dents and scratching it with the claw. Wipe away any dust. Stain the tray with a coat of Resene Woodsman Cedar.
Note: If you’re only planning on using your crate inside, use an interior wood stain, Resene Colorwood, in your chosen shade.

Step 5: Stain the four pine drawer knobs in the same shade and glue these to the bottom of the tray.
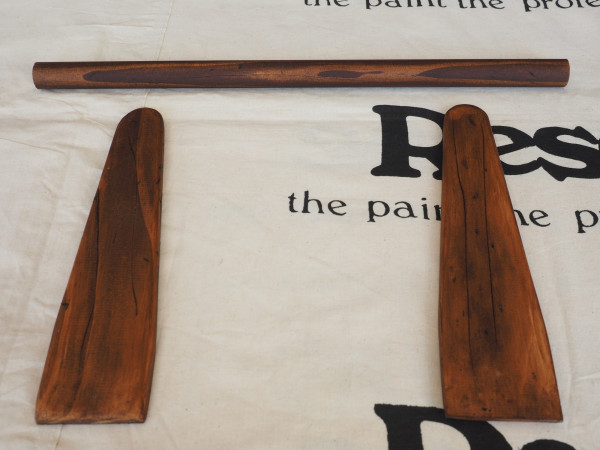
Step 6: From the left over 60mm wide pine board, cut two uprights to be 230mm long. Use a jig saw or band saw to cut a rounded shape, and then sand these smooth. Cut a length of 18mm pine dowel for the handle. Distress these three parts too and stain them with more of the same shade. Glue and screw the uprights and the dowel handle to the tray.

Step 7: Once everything is dry, your condiment crate is ready to be used!
project and images Fleur Thorpe
Published: 01 Oct 2025

