
latest
habitat tv

Say goodbye to the morning scramble for keys, coats and sunglasses and hello to this… see this and more videos
blog

Reader roundup: See what our readers have been up to!
Refurbished vintage furniture, charming exteriors and magnet walls for kids. These projects are sure to… more
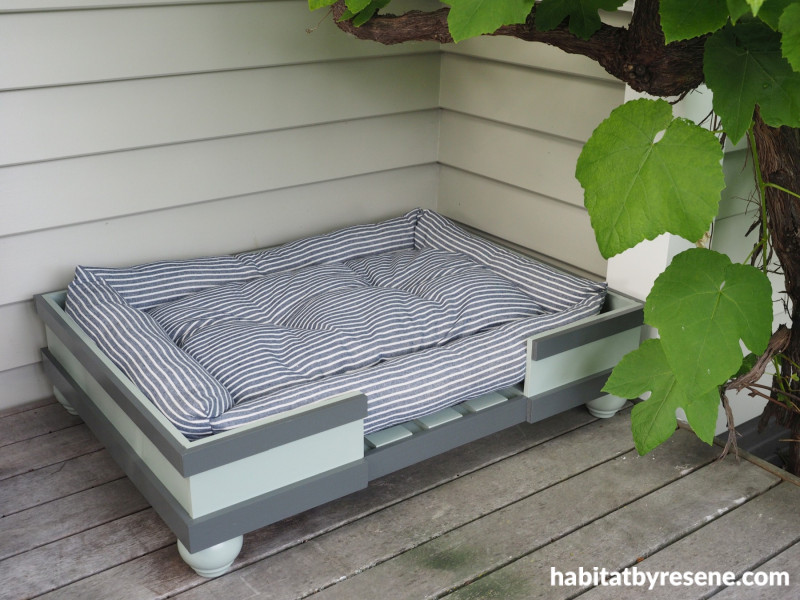
Create a stylish sleepy spot with this DIY dog bed
03 Mar 2023
Is your doggo’s bed old and unsightly? Or perhaps you have a new pup joining the family? Try making your own dog bed so they have a cosy, stylish place to sleep. You can mix it up and use any colours you want, from bright reds or blues to dark colours or nice neutrals that suit your home, Resene has the paint colours to help make your pup’s bed something special.
What you need:
- Soft dog bed
- 7m of untreated pine, 65mm x 32mm, for the base frame
- 6m of untreated pine, 60mm x 10mm, for the slats
- 3m of untreated pine, 135mm x 10mm, for the sides
- 3m of untreated pine, 30mm x 10mm for the top trim
- 3m of untreated pine, 40mm x 10mm for the bottom trim
- Resene Quick Dry
- Wood Glue
- Electric drill and screws
- Paintbrush
- 4 screw on wooden legs
- Resene Lustacryl paint in the colours of your choice, Fleur used Resene Spanish Green and Resene Armadillo.
Note: You will have to adjust your measurements according to the size dog bed you choose.

Step 1: Start by measuring your dog bed and cutting your 65mm x 32mm wood to make a rectangular frame for the base. Fleur cut two lengths of wood at 75cm long and two at 41cm long to fit the bed she chose. Next cut the slats. Fleur cut 9 at 54cm long.

Step 2: Prime all the wood you have cut with Resene Quick Dry and then assemble the frame by screwing it together. Space the slats equally over the frame and use some wood glue and screws to secure these in place.

Step 3: Cut wood for the sides to fit around the base and use wood glue and screws to attach these to the base. Prime the sides first with Resene Quick Dry and then paint the sides and the slats with two coats of your chosen Resene paint colour. Fleur used Resene Spanish Green.

Step 4: Cut some trim to go around the top and bottom of the sides of the dog bed. Prime this first with Resene Quick Dry and then paint it with two coats of your chosen Resene paint colour. Fleur used Resene Armadillo. Attach the trim to the sides with wood glue and screws.

Step 5: Finish by attaching four legs to the underside of the base which have been painted in two coats of your chosen Resene paint colour. Fleur used Resene Spanish Green.
Weatherboard is painted in Resene Triple Ash, trim in Resene Quarter Thorndon Cream.
project and images Fleur Thorpe
Published: 03 Mar 2023

