
latest
habitat tv

Say goodbye to the morning scramble for keys, coats and sunglasses and hello to this… see this and more videos
blog

Re-living the 1980s through art
Clint C is an artist whose work instantly sparks recognition and joy. Based in Hamilton,… more
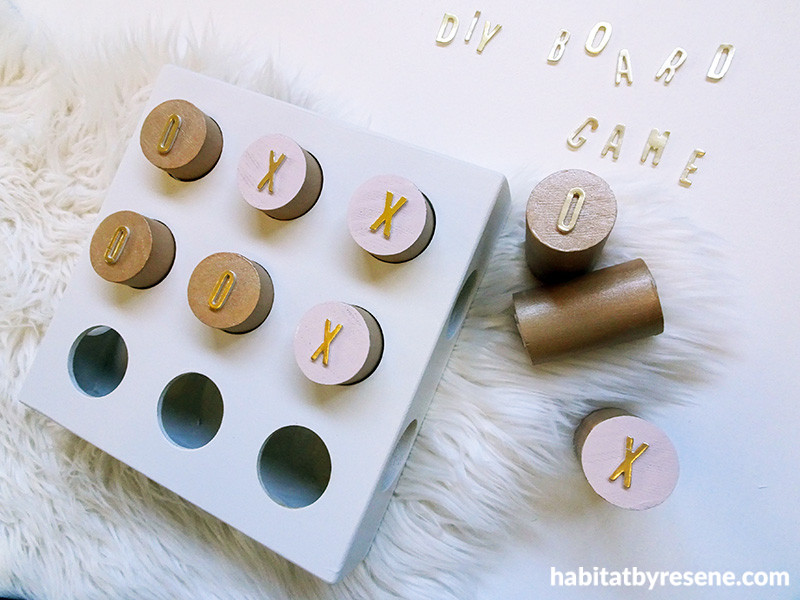
DIY board game
24 Jul 2019
School holidays might be over, but when the weather is bad it can be difficult to keep kids stimulated without turning to the TV. Get crafting with your little ones with this upcycled DIY noughts and crosses board game, coloured with your favourite Resene testpots. It’s the perfect rainy day activity, that you can have just as fun making it as playing it.
You will need:
- An existing box or board with holes already drilled into it, or make one yourself
- Dowel/wooden rail
- Hand saw
- Sandpaper
- Resene testpot brushes and/or roller
- Resene Quick Dry waterborne primer undercoat
- Resene testpots in your choice of colours; Sarah chose Resene Quarter Truffle, Resene Rose Gold and Resene Soothe
- X and O stickers
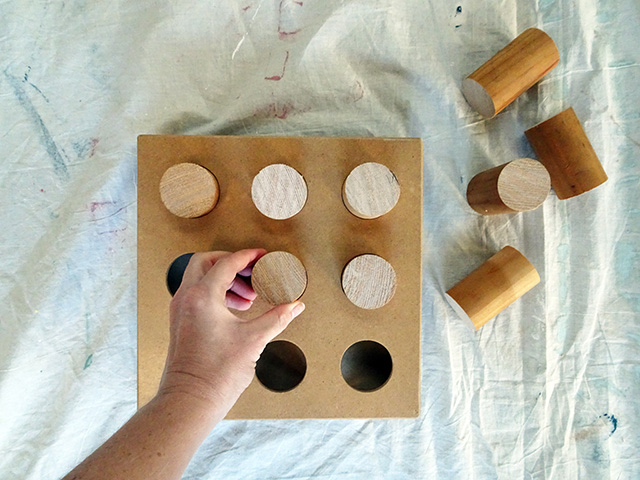
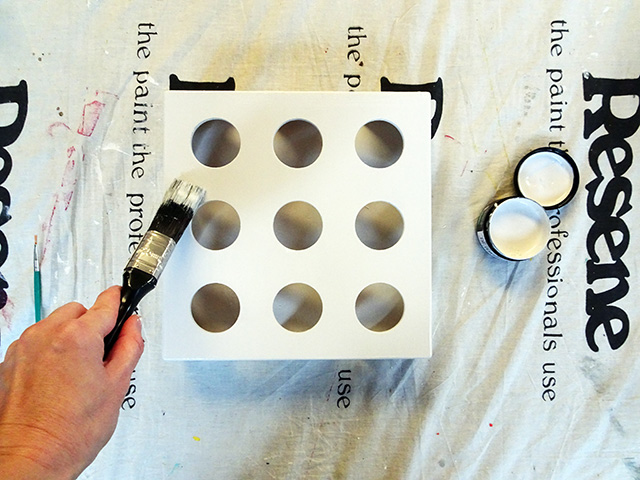
Step 1 Sarah came across this wooden board in a Salvation Army Family Store and wasn’t entirely sure what it was meant to be. But part of the fun of upcycling is giving things a completely new purpose, so Sarah used her imagination and decided it would make a cool noughts and crosses board game, simply by adding some playing pegs.
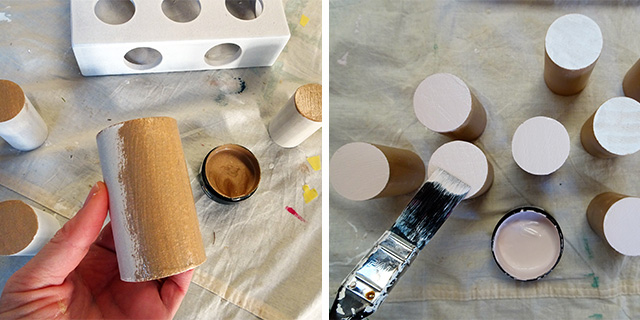
The first thing Sarah needed to do was purchase some wooden dowel/hand rail in the right size to fit the existing holes on the board. Sarah cut this down using a hand saw into equal pegs to make the playing pieces. If you can’t find a wooden board like Sarah did, you could create your own.
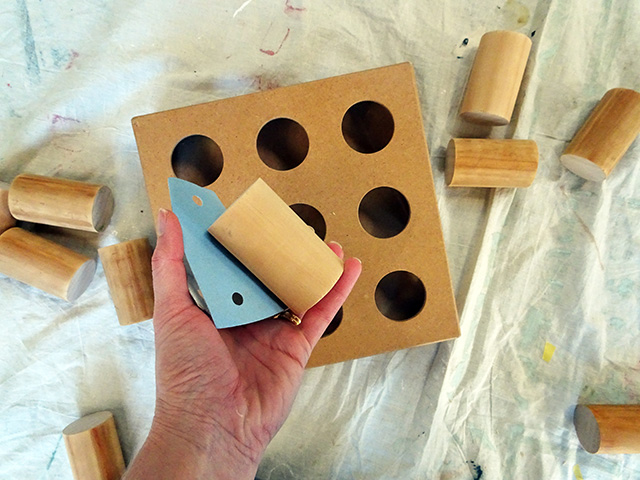
Step 2 Once all the pegs are cut, sand both them and the board to prepare for painting.
Step 3 Once sanded, apply one coat of Resene Quick Dry waterborne primer undercoat to both the board and the pegs.
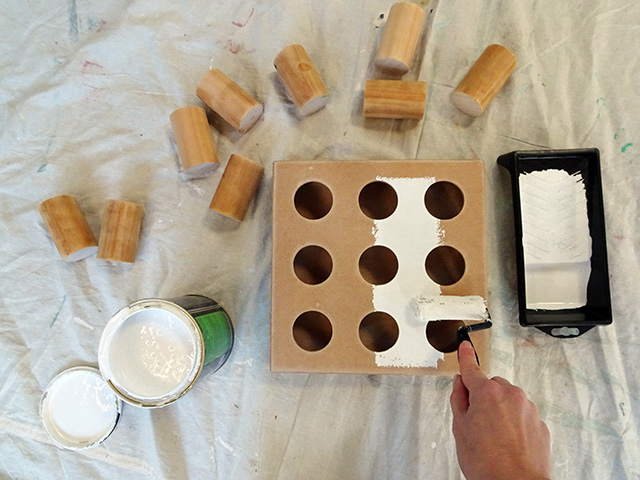
Step 4 Paint the whole board in two coats of your chosen colour with a mini roller. Sarah used Resene Quarter Truffle.
Step 5 While the board is drying, paint all the playing pegs with two coats of your chosen colour. Sarah used Resene Rose Gold. Leave one end of each peg unpainted. Then, once your colour is completely dry, painted two coats of a complementary colour to the remaining unpainted ends. Sarah used Resene Soothe.
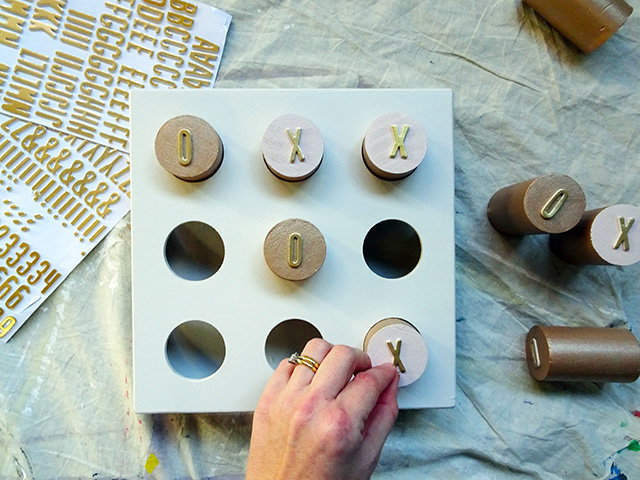
Step 6 Once the board and all the pegs are dry, apply X and O alphabet stickers to the peg ends. Sarah stuck X’s on the ends painted in Resene Soothe and O’s on the Resene Rose Gold ends. It looks so pretty you won’t mind it being displayed on a shelf when you’re not playing! If you prefer you can paint on the X’s and O’s in your chosen colours.
Top tips: Even though the chances of you finding another one of these custom boards in a second-hand store are pretty slim, you can custom make your own board. Or, it would be super easy to reinterpret this project using a flat MDF base, painting on a grid then use these instructions for making and decorating the playing pegs.
project and images Sarah Herring
Published: 24 Jul 2019

