
latest
habitat tv

Say goodbye to the morning scramble for keys, coats and sunglasses and hello to this… see this and more videos
blog

Reader roundup: See what our readers have been up to!
Refurbished vintage furniture, charming exteriors and magnet walls for kids. These projects are sure to… more
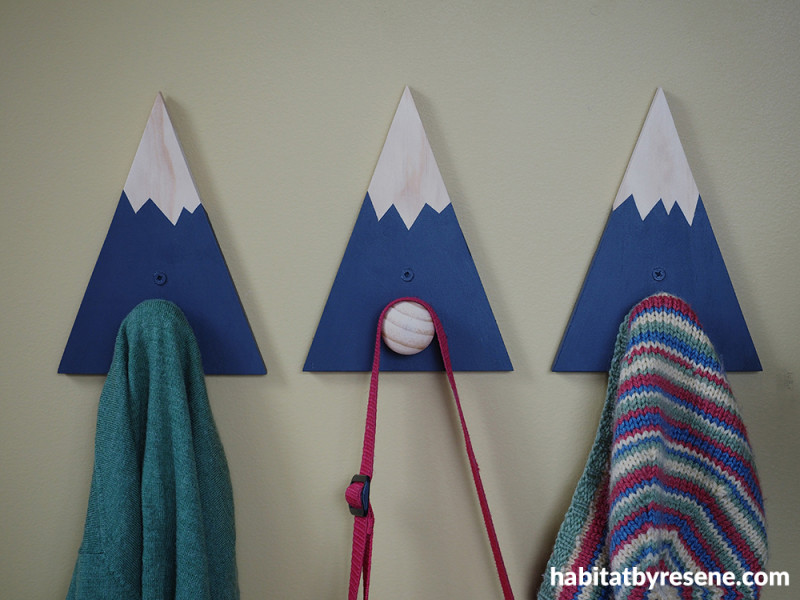
DIY mountain coat hooks
07 Oct 2020
Create your own snow-capped mountain range with these charming yet practical coat hooks in your choice of Resene shades. Keep them classic with white tops and a rocky-coloured based, colour coordinate them with your interior’s palette or craft vivid peaks in your favourite unforgettable hues.
You will need:
- Wood – 540mm of 135mm x 10mm untreated pine (180mm for one hook, 540mm for 3 hooks)
- Saw
- Sandpaper
- Pencil
- Ruler
- Electric drill, drill bit and countersink
- Painter’s tape
- Scissors
- Paintbrush
- Pine knob
- Screws (for wall mounting)
- Resene testpots of your choice – Fleur used Resene Ebony Clay for the base of the mountain

Step 1: Cut your 135mm-wide wood to a length of 180mm. Using a ruler and pencil, draw a triangle on the wood.

Step 2: Use a saw to cut the triangle. Sand any rough edges smooth with sandpaper.

Step 3: From the bottom of the triangle, measure up the mid-line and make two marks – one at 30mm and one at 60mm. These are the placements for your screw holes. The bottom hole is for the knob and the top hole is for the screw, which will attach the hook to the wall.

Step 4: With an electric drill, drill these two holes using a drill bit that is slightly smaller than your screws. Countersink the top hole at the front. Flip the piece of wood over and countersink the bottom hole at the back. This will allow the screw for the knob to sit into the wood. The mountain hook will sit flush against the wall.

Step 5: Use a pencil to draw a snow line roughly one-third down from the top.

Step 6: Use painter’s tape and scissors to mask off the snow area above your pencil line.

Step 7: Paint the mountain area below the tape with two coats of your choice of Resene paint, like Fleur did using Resene Ebony Clay. Allow the first coat to dry before applying the second coat. Remove the tape as soon as you have finished applying the second coat.
Top tip: There’s no limit to how creatively you can decorate your mountain hooks. After applying your two coats to the mountain area, you can paint the snow cap in Resene Alabaster or Resene Black White, or opt for a splash of colour, such as violet Resene Portage or yellow Resene Pale Prim.

Hang your clothes, bags, accessories and more with these charming mountain coat hooks. Fleur used Resene Ebony Clay. The background wall is in Resene Bittersweet.
Step 8: Once the paint is dry, rub out any visible pencil lines. Attach the knob by screwing it in from the back. Attach the mountain hook to the wall with a screw. It is best to screw into a stud in the wall if the hook is going to be holding heavy items. Dab a small bit of the paint you used for the base of the mountain over the screw head to help hide it.
Top tip: For a little extra shimmer, like snow glistens in the sunlight, apply Resene FX Pearl Shimmer over the white part of your mountain.
project and images by Fleur Thorpe
Published: 07 Oct 2020

