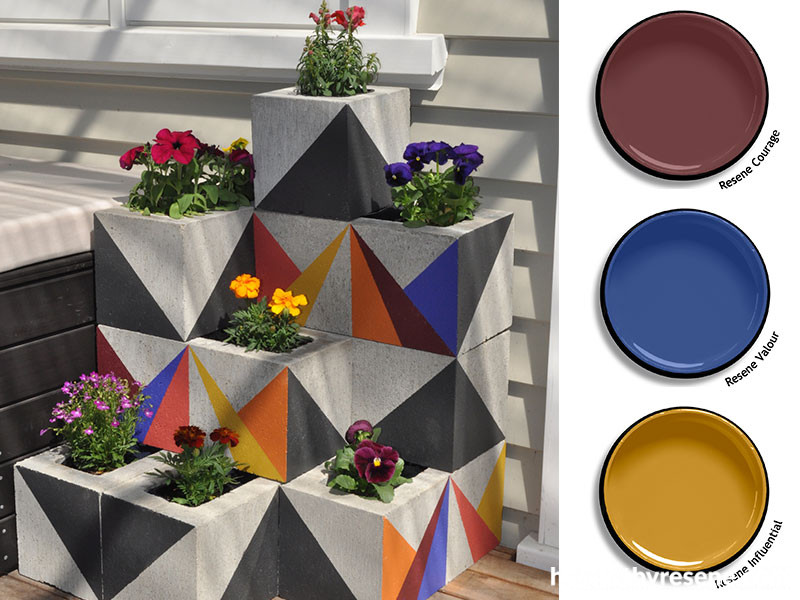
DIY concrete block planter
10 Jan 2019
No garden? No problem! You can make one of these eye-catching tiered planters on your deck or balcony with little more than a few concrete blocks and Resene testpots.
You will need:
- Testpots (We used Resene Porter, Resene Bi Hoki, Resene Courage, Resene Red Herring, Resene Influential and Resene Valour)
- 8 rectangular concrete blocks (39cm x 19cm x 19cm)
- 2 small square concrete blocks (19cm x 19cm x 19cm)
- Masking tape
- Small paintbrush
- Weed mat
- Silicon adhesive
- Potting mix
- Plants
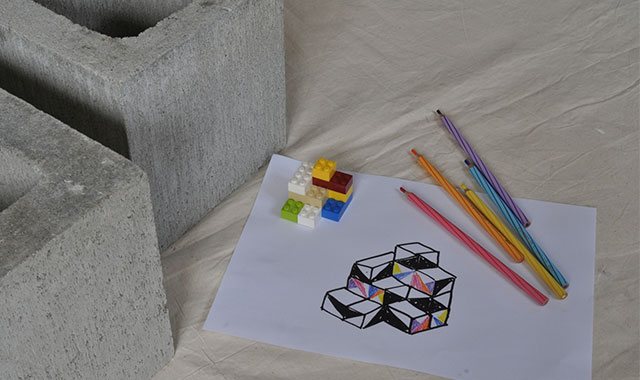
Step 1: First, measure the space where you’d like the planter to go and work out how many blocks you’ll need. It’s helpful to sketch it, or even make a mini model out of Lego!
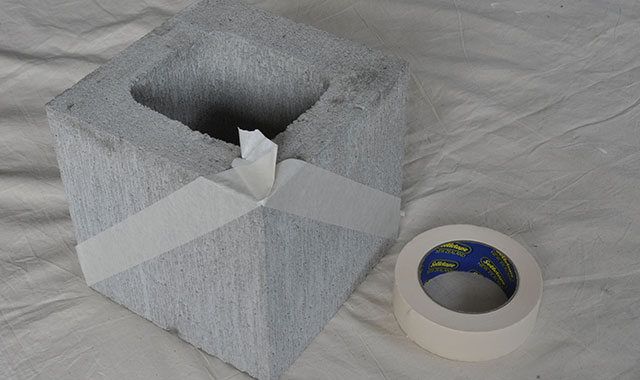
Step 2: Use tape to mask out your pattern.
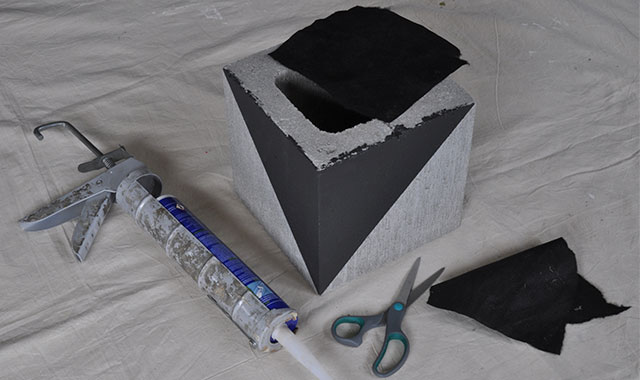
Step 3: Using a testpot paintbrush, paint two coats of your main colour (we used Resene Porter). Remove the tape while the second layer is still wet.
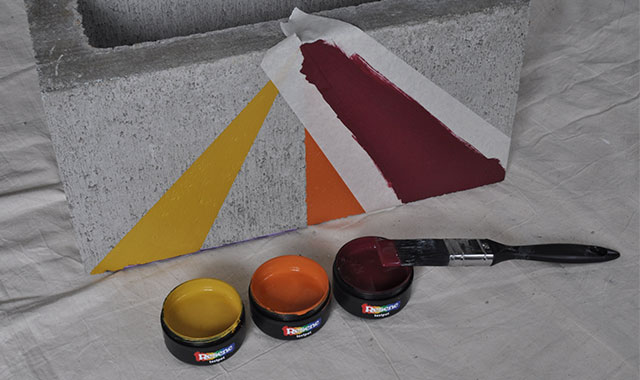
Step 4: Repeat this process for all the blocks. We painted some blocks with just Resene Porter, then added Resene Bi Hoki, Resene Courage, Resene Red Herring, Resene Influential and Resene Valour to three of the blocks.

Step 5: Turn the block over, cut a piece of weed mat large enough to cover the hole at the bottom, and use silicon adhesive to attach it. This will help keep the soil in place. Position your blocks according to your plan, fill the holes with good quality potting mix and plant some flowers.
Styling and images by Fleur Thorpe
Published: 10 Jan 2019


