
latest
habitat tv

Say goodbye to the morning scramble for keys, coats and sunglasses and hello to this… see this and more videos
blog

Reader roundup: See what our readers have been up to!
Refurbished vintage furniture, charming exteriors and magnet walls for kids. These projects are sure to… more
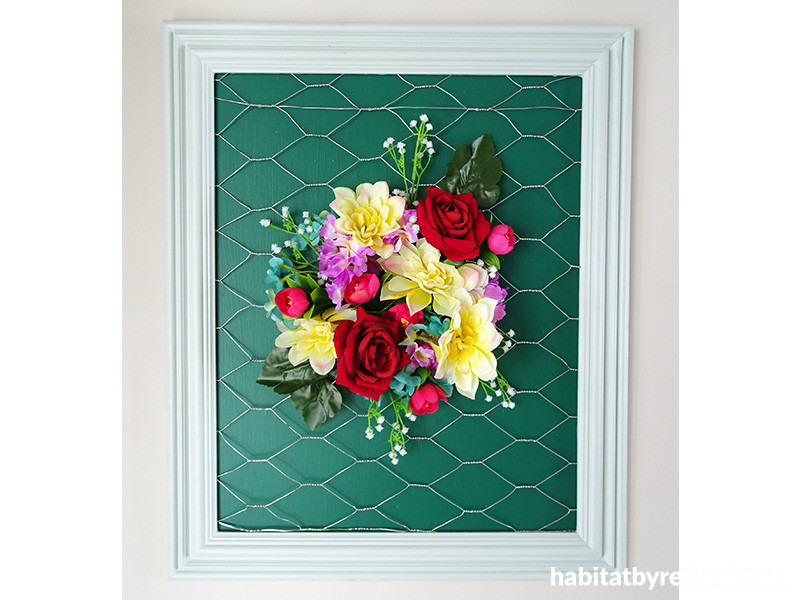
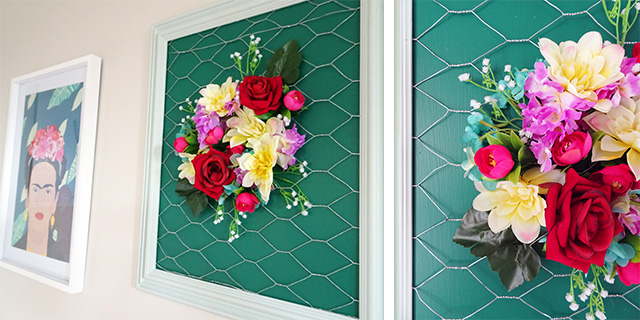
DIY framed ‘Frida’ floral arrangement
12 Jun 2019
Update an old picture frame with bright new paint colour and a creative floral arrangement, inspired by the work and personal style of artist Frida Kahlo.
You will need:
- Resene testpots in your choice of colours (Sarah used Resene Aquamarine and Resene Paris White)
- Resene Quick Dry primer/sealer undercoat
- Testpot brushes
- Sandpaper
- Small roll of chicken wire fencing
- Wire cutters
- An assortment of brightly-coloured faux flowers
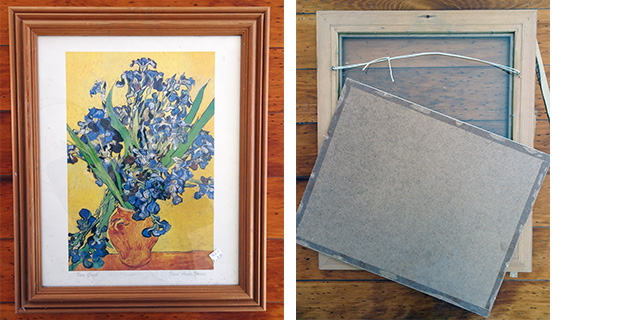
- Large old picture frame (we found ours at the Salvation Army family store)
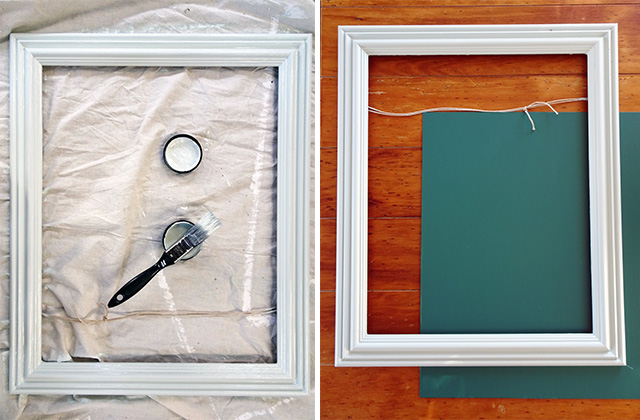
Step 1 Clean the frame and carefully remove the glass, the old art print and the backing board. You need to retain the frame and the backing board only, so be sure to dispose of the glass safely or save it for another project.
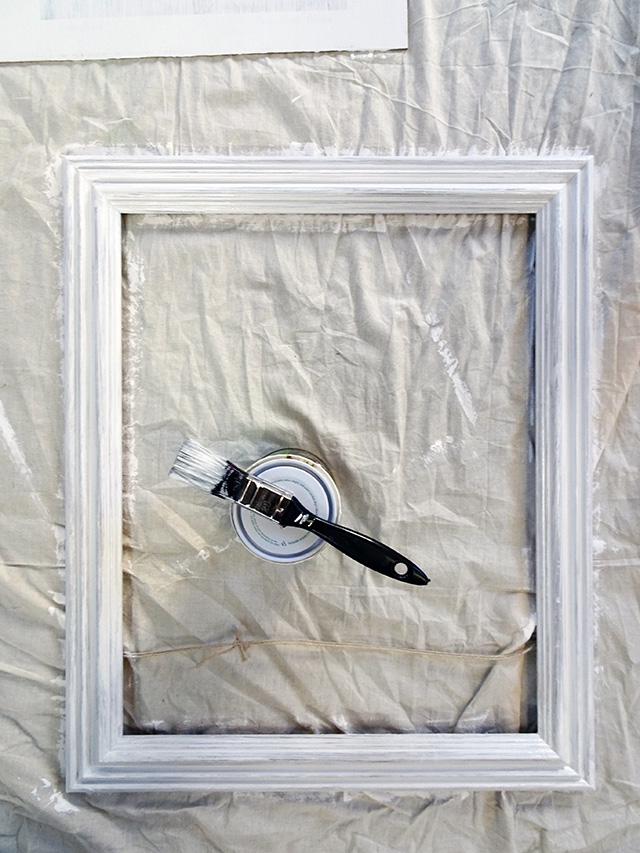
Step 2 Sand the frame to remove any existing paint colour or varnish. This particular frame was already in a natural timber finish so Sarah just gave it a light sand by hand to prepare it for painting. Remove all the sanding dust with a soft cloth then apply a coat of Resene Quick Dry primer sealer undercoat.
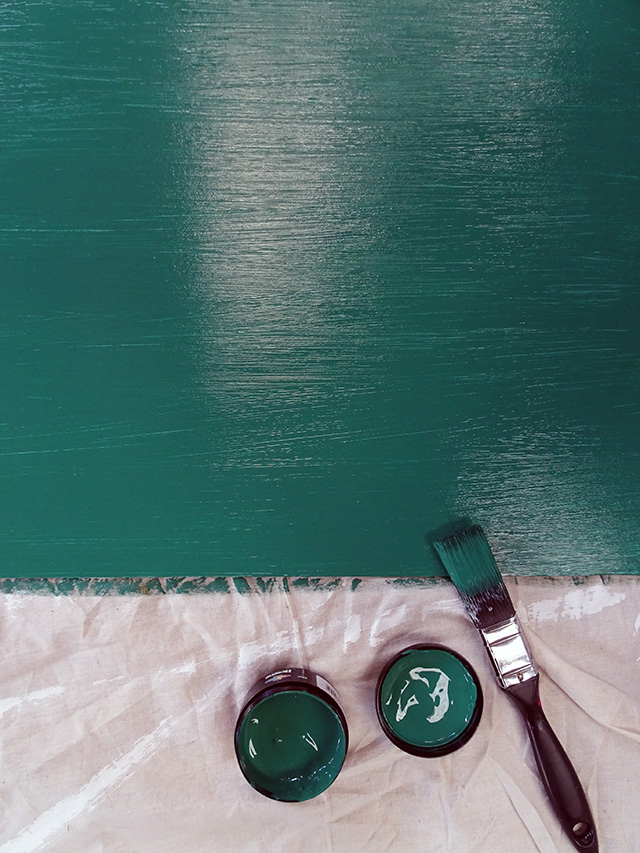
Step 3 Once the primer has dried completely, apply two coats of your chosen Resene colour to the backing board. Sarah chose Resene Aquamarine for a strong and vibrant background colour. Use a testpot brush or a small roller to apply the colour.
Step 4 While the backing board is drying, apply two coats of colour to the frame. Sarah selected Resene Paris White, a very pale green that complements Resene Aquamarine perfectly and gives a nice crisp finish.
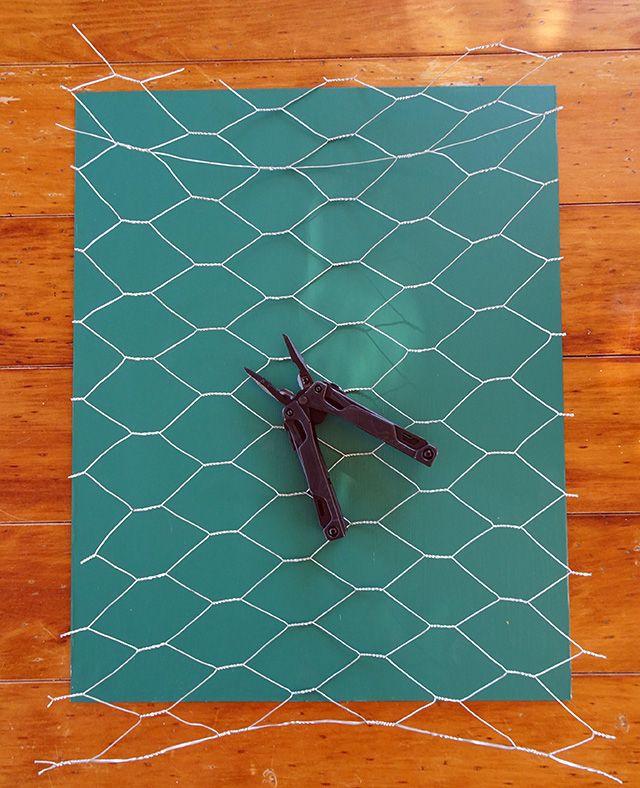
Step 5 Once all the paint has dried, unroll your chicken fencing/wire mesh and carefully use wire cutters to cut it to the size of your backing board. It’s a good idea to protect your hands with thick leather work gloves while handling the mesh and making your cuts.
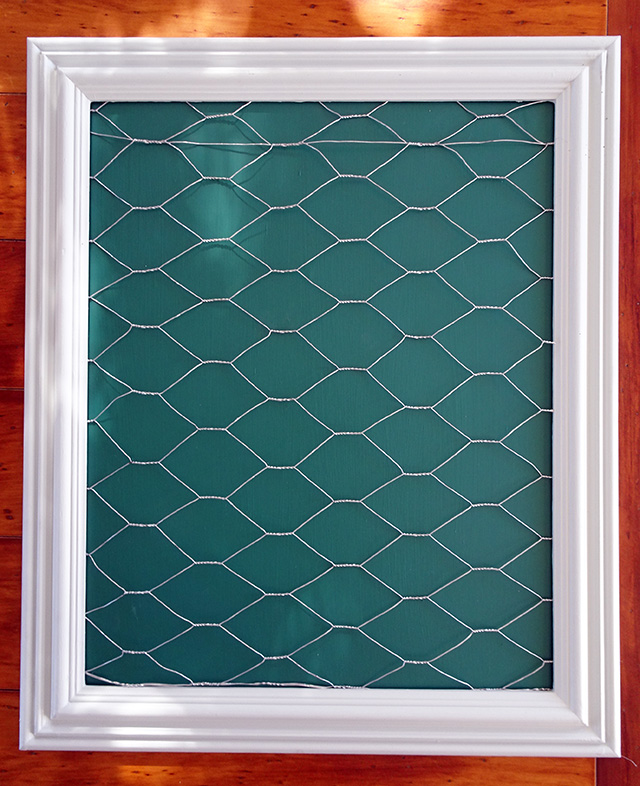
Step 6 Place the wire mesh in the frame in front of your backing board and close up the frame as it originally was. If you have trouble getting your wire mesh to stay in place in the frame, use a staple gun to tack it in place.
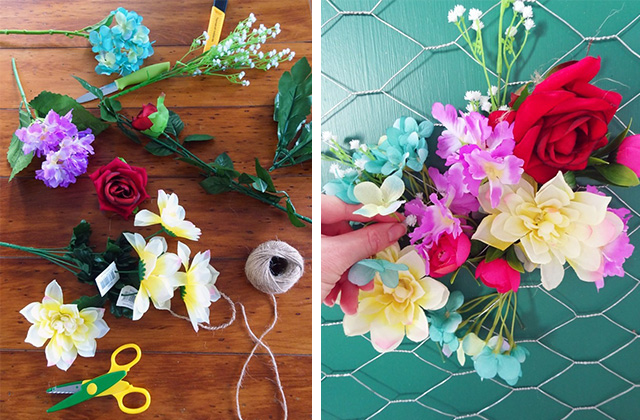
Step 7 Cut and arrange an assortment of faux flowers into the mesh. You can play around with finding a technique that works for you.
Sarah found it easiest to retain some of the stem and feed it in behind the wire mesh, arranging the flowers in a round cluster so that none of the stems were visible. You might like to arrange the flowers in a different shape, like a heart or a diamond. Clear fishing line or some natural jute string can be effective in helping to secure the flowers if you have trouble.
Finally, hang your finished project somewhere that needs a bright injection of colour!
Top tip: If you are finding it hard to get faux flowers in the colours you want, you can always paint them or add touches of colour with Resene testpots to help them fit with your colour scheme.
project and images Sarah Herring
These DIYs are brought to you by Upcycling for Good, a collaboration between Resene and The Salvation Army family stores. The project asks keen DIYers to upcycle second-hand items using Resene paint – look out for this regular feature on habitat by Resene.
Published: 12 Jun 2019

