
latest
habitat tv

Say goodbye to the morning scramble for keys, coats and sunglasses and hello to this… see this and more videos
blog

Reader roundup: See what our readers have been up to!
Refurbished vintage furniture, charming exteriors and magnet walls for kids. These projects are sure to… more
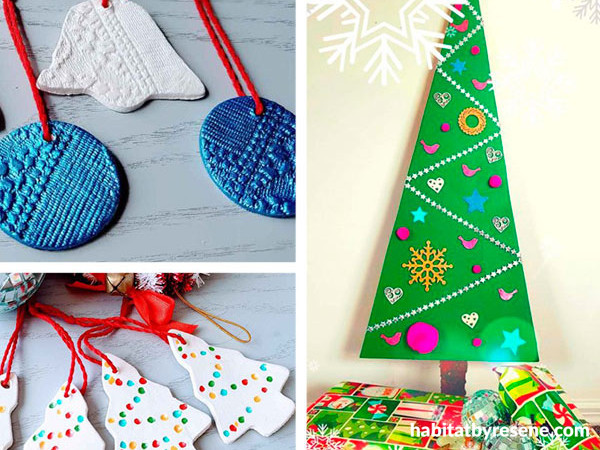
DIY ideas for crafty Christmas decoration
13 Dec 2018
Decorating your home for Christmas is always a fun family time, and with a little bit of imagination your decorations can not only be unique to you, but easy on the environment.
Ply tree and decorations
Giving up a real Christmas tree can be a big step, but it’s one more and more families are making. For this simple idea mum or dad can cut out the ply tree while the kids work on the decorations.
You will need:
- A sheet of plywood
- Jigsaw
- Wooden craft decorations
- Card shapes
- Pompoms
- Star ribbon
- Strong craft glue
- Medium stick or branch
- Resene Quick Dry primer
- Testpots in Resene Dutch White, Resene Pearl Shimmer, Resene Glitterbug, Resene Gold Dust, Resene Crusoe and Resene Yeehaa
- Plant pot, or other suitable base for the tree
Step 1 Rule up a triangle on your ply. Decide what height suits you. The one we made was around 65cm high. Then cut it out using the jigsaw.
Step 2 Give your triangle one coat with Resene Quick Dry primer. Set aside to dry or use a hairdryer if you’re in a hurry.
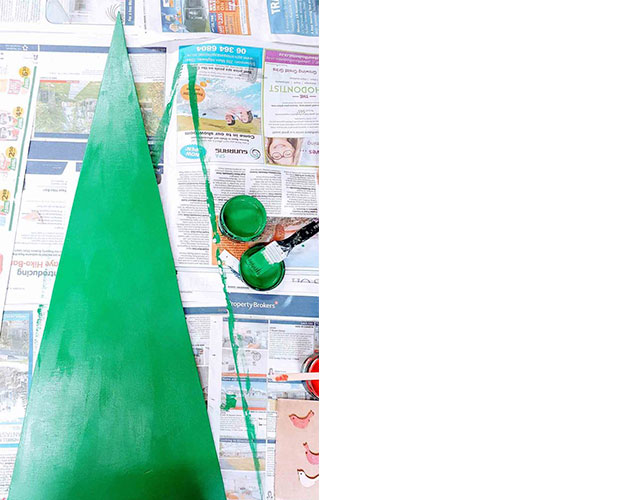
Step 3 Next paint your first coat of green Resene Crusoe on to your triangle. Set aside to dry.
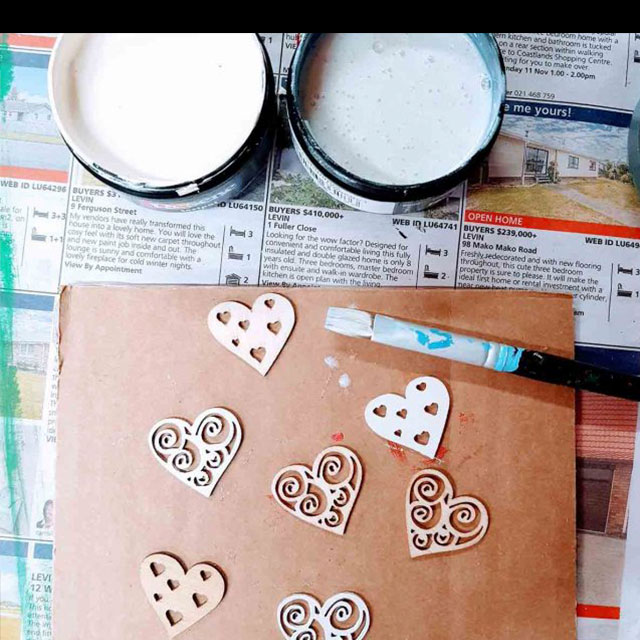
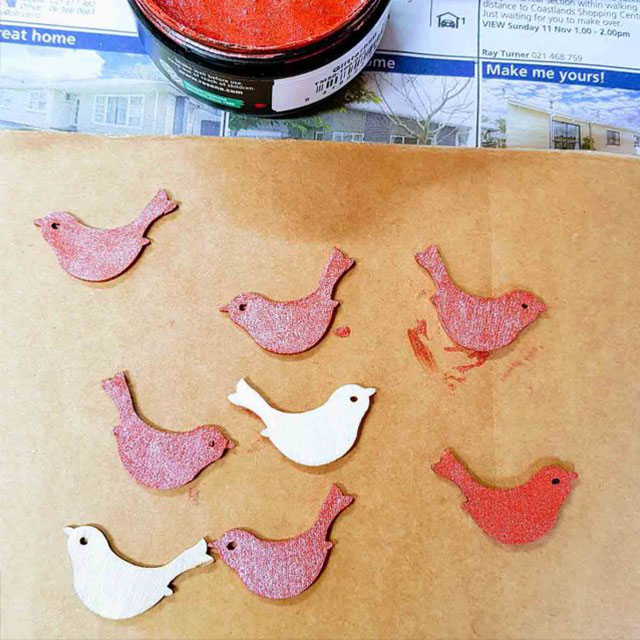
Step 4 While you’re waiting for your first green coat to dry, start painting your decorations. We used Resene Dutch White for the hearts with two coats of Resene Pearl Shimmer on top. We then painted the birds in Resene Glitterbug, the stars Resene Yeehaa and the top star, the wreath and the snowflake with Resene Gold Dust. Give them all at least two coats.
Step 5 Give your tree a second coat of Resene Crusoe and allow to dry.
Step 6 Now comes the fun part of arranging the decorations. Try laying them out before gluing them down. This way you can move them around and step back to see if your layout looks good, before committing. Take photos as you go so you can easily go back to an earlier layout if you decide you prefer it more. Once you’re happy, carefully glue into position.
Step 7 Use a branch from the garden to create a support for the tree or cut yourself a base from the remaining plywood and attach it to the back of your tree. Use something much stronger than craft glue for this. We used Araldite glue and it stuck well.
Step 8 Place your tree into a container, supporting it with stones. If you like you could decorate the stones with paint too and wrap the base with tinsel, wrapping paper or wallpaper or paint it in a contrasting colour.
Step 9 Just add presents!
Cute clay decorations
Use air drying clay to make fast, easy and fun Christmas decorations. This is an activity the whole family can join in on. Here’s four cute Christmas decoration ideas using air dry clay. You could hang them individually or string them together to make bunting.
You will need:
- Air-dry clay
- Christmas cookie cutters such as a tree, candy cane, a bell or simple circles
- Toothpicks
- String
- Resene testpots in Resene Pearl Shimmer, Resene Glitterbug, Resene Solid Gold, Resene Pearl Shimmer, Resene Wild Thing, Resene Java, Resene Crusoe and Resene Candy Floss.
- Wax paper or baking paper
Step 1 Roll out your clay to about 3mm to 4mm thick on a large piece of baking paper. This will stop the clay from sticking onto your benchtop.
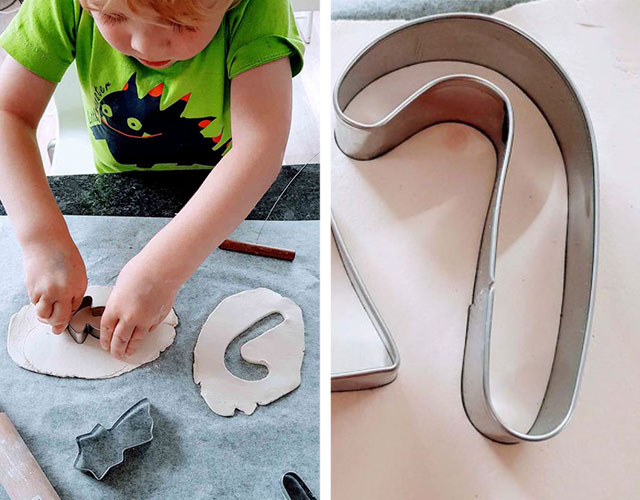
Step 2 Cut out your candy canes and bells. We cut about five of each. It depends how long you want your bunting to be.
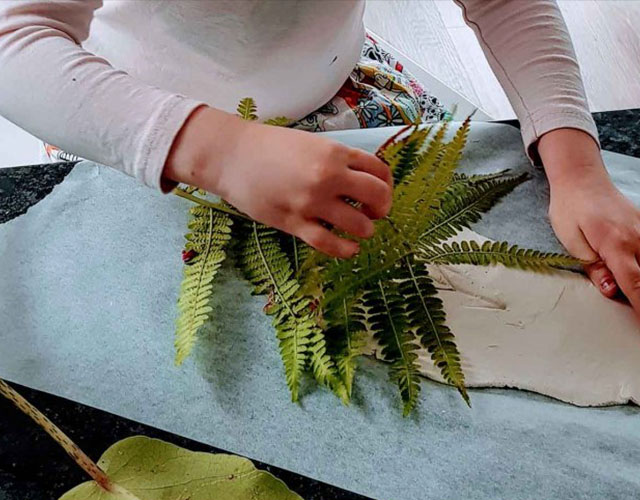
Step 3 Using your toothpick, create diagonal indented lines across the candy canes. This makes them a lot easier to paint when they are dry. For the tree-shaped decorations use the end of a pen to make indents for the coloured lights. You could also make patterned impressions on the clay using leaves, sacking or other textures.
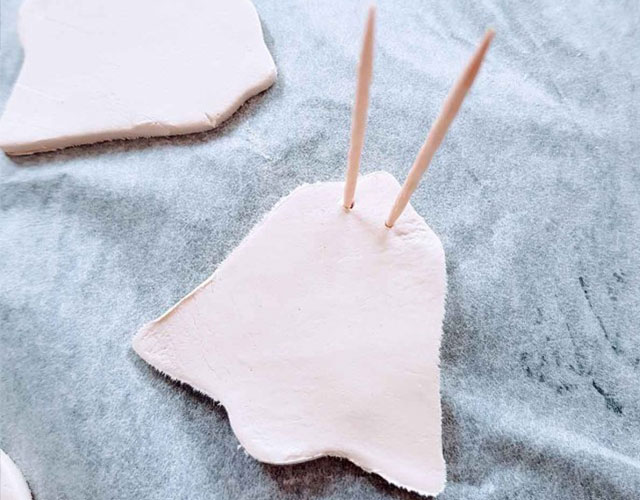
Step 4 Use the toothpick to pierce two holes at the top of each ornament. Make sure you make them a little larger than you think you need as they will shrink as the clay dries.
Step 5 Place the decorations in a warm place and let them dry overnight.
Step 6 Start your painting. We used Resene Glitterbug and Resene Pearl Shimmer for our candy canes. For the bells we used Resene Solid Gold. We only used one coat to keep the effect of the clay showing through. For a deep gold coverage give them an extra coat or two. For the trees, paint the indents in a variety of colours to represent lights.
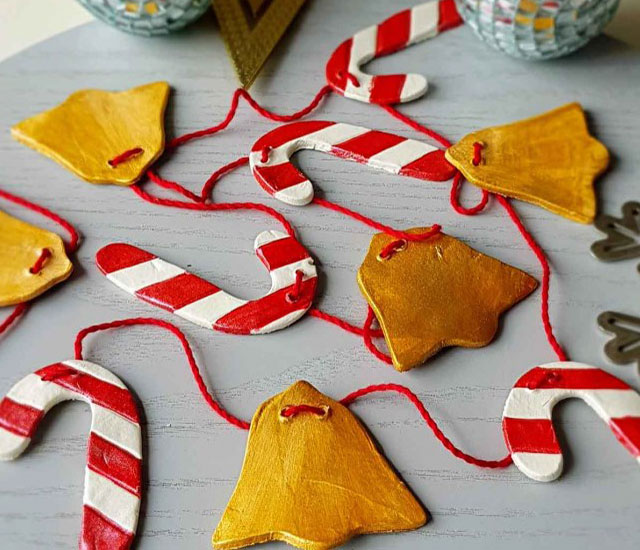
Step 7 When all the paint is dry, thread string through each piece making sure there is an even gap between each decoration if you’re making bunting. Adding some tape at the end of the string will make it easier to thread.
Craft ideas by www.kiwifamilies.co.nz
Published: 13 Dec 2018

