
latest
habitat tv

Say goodbye to the morning scramble for keys, coats and sunglasses and hello to this… see this and more videos
blog

Re-living the 1980s through art
Clint C is an artist whose work instantly sparks recognition and joy. Based in Hamilton,… more
DIY lemonade stand
11 Mar 2020
When six-year-old Milo came to his mum, Sarah, with a desire to make a lemonade stand, he had a clear vision of what he wanted.
With minimal assistance from Sarah, Milo worked hard during the school holidays to build and paint his dream lemonade stand. The result gave Milo a real sense of pride in completing a creative project from start to finish, while having fun with colour along the way! He was also proud to make a donation to Harbour Hospice with his lemonade stand earnings.
This is a fantastic project for your kids to attempt on their own – or with a little supervision – that will keep them busy and build their confidence.
You will need:
- A large cardboard box (for the stand)
- High quality painter’s masking tape
- Scissors
- Chalk
- A piece of cardboard (for the sign)
- Two lengths of dowel
- Resene testpot brushes and/or rollers
- Resene FX Blackboard Paint
- Resene SpaceCote Flat tinted to the colour of your choice – Milo chose Resene Keppel
- Resene testpot in your choice of colour – Milo chose Resene Spark metallic paint
- Dropcloths
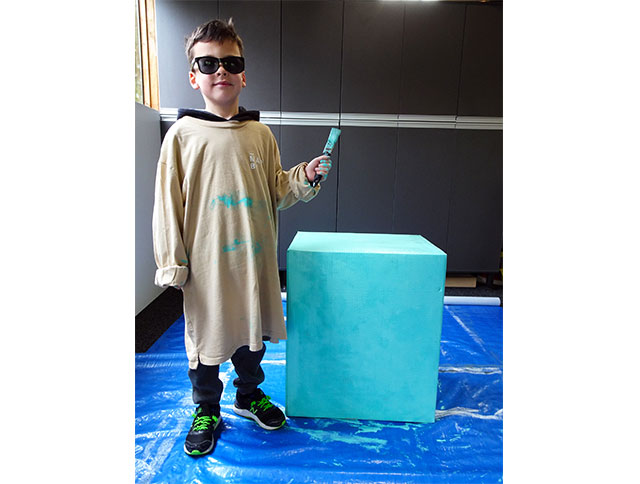
Step 1 Secure the large cardboard box with masking tape along the joins. Then, apply two coats of paint to the whole box except the bottom. Milo used a testpot brush to apply his paint – he chose Resene SpaceCote Flat tinted to Resene Keppel. Make sure the area you’re painting in is well covered with dropcloths, because when kids paint, things can get very messy!
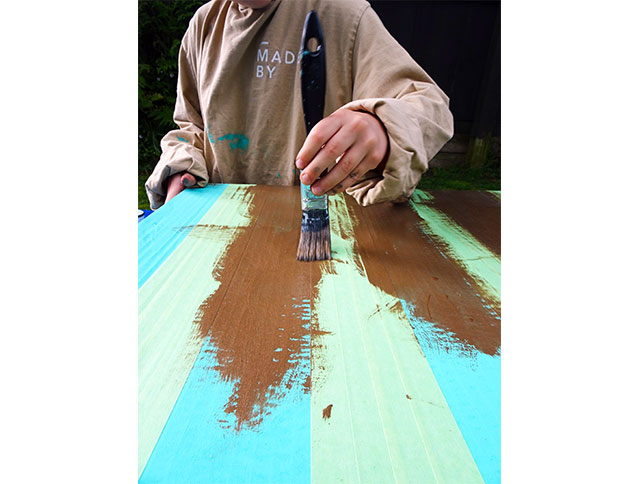
Step 2 Milo really wanted stripes on his lemonade stand, so Sarah showed him how to use high quality painter’s masking tape to block out a striped design. Milo painted his stripes with a Resene testpot in Resene Spark metallic paint to make his stand extra snazzy.
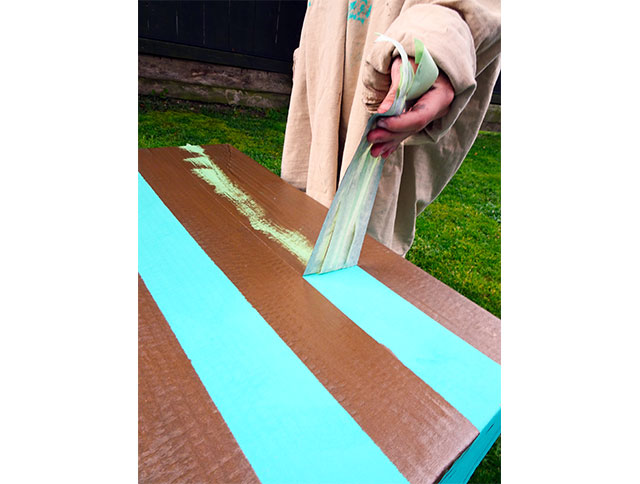
Step 3 Once it’s dry to the touch, peel off the masking tape to reveal the striped design.
Step 4 To create your sign, tape two long pieces of dowel to a piece of cardboard. Milo’s dowels were approximately 18mm in diameter. Punch two holes in the top of the painted lemonade stand with a screwdriver to hold the sign upright – we recommend an adult helps with this.
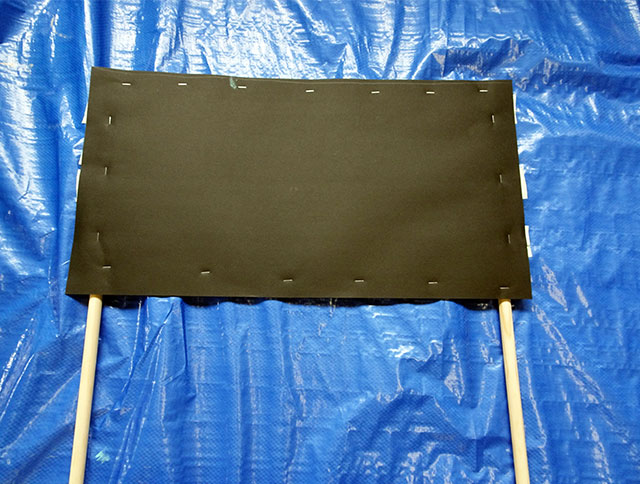
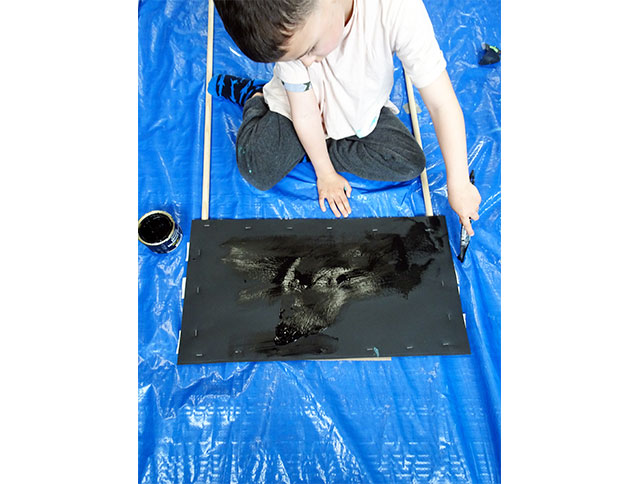
Step 5 Paint the sign with two coats of Resene FX Blackboard Paint so that it works as a re-useable chalkboard.
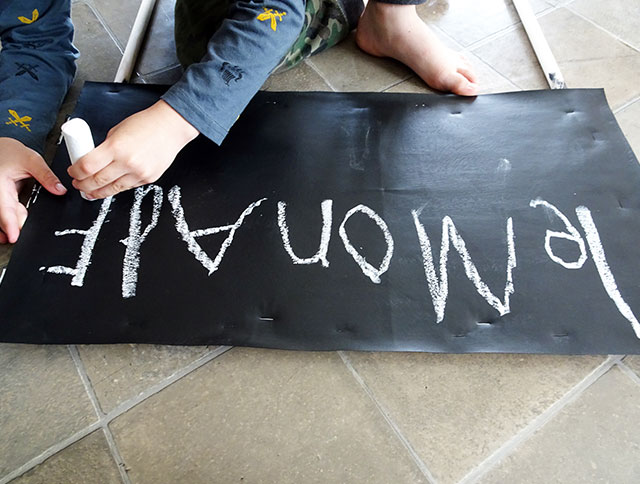
Step 6 Once the sign is dry, write on what you are selling. Milo used chalk to write ‘LEMONADE’ on his sign. You can also make yours a vegetable stand to sell any extra produce from your garden.
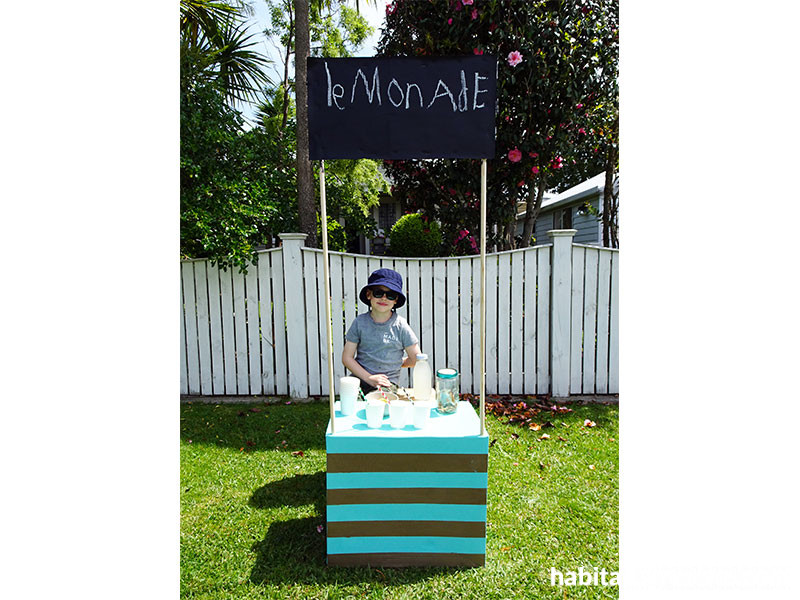
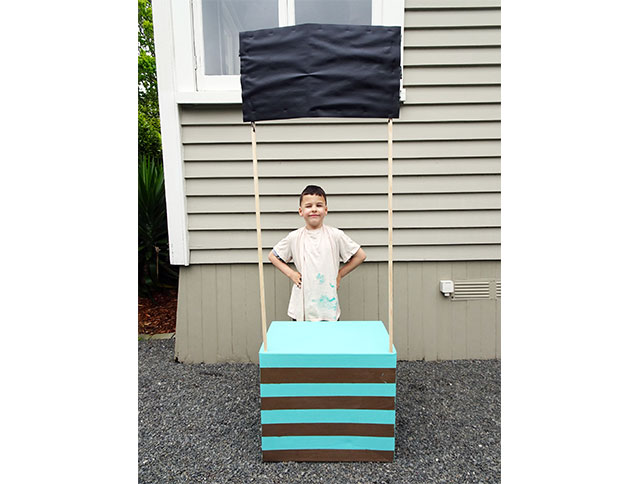
Step 7 Start selling! Milo placed his lemonade stand outside his house and waited patiently with Sarah for the customers to arrive. Milo was so proud to show everyone what he had made, and the local community gave him lots of support!
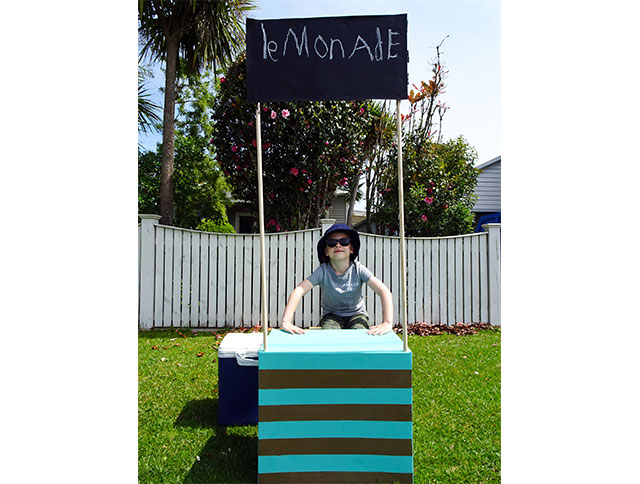
Milo awaiting customers at his completed lemonade stand painted in Resene SpaceCote Flat tinted to Resene Keppel with stripes in Resene Spark. The black sign was painted with Resene FX Blackboard Paint so Milo could write on it with chalk.
project and images Sarah Herring
Published: 11 Mar 2020

