
latest
habitat tv

Say goodbye to the morning scramble for keys, coats and sunglasses and hello to this… see this and more videos
blog

Re-living the 1980s through art
Clint C is an artist whose work instantly sparks recognition and joy. Based in Hamilton,… more
DIY painted pallet reindeer
26 Nov 2019
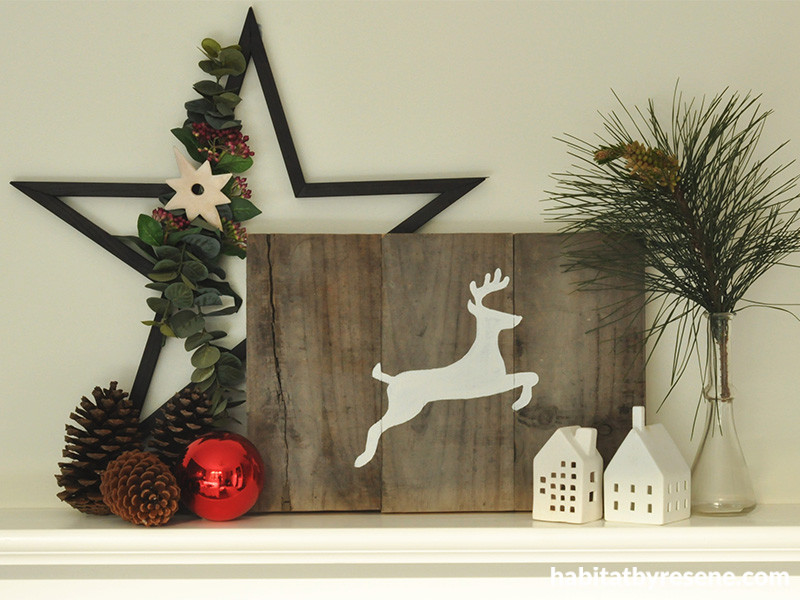
Christmas decorations needn’t be brand new, expensive and store-bought. With reclaimed pallet wood, Resene testpots and a little festive spirit, you can create cute décor that’ll spread cheer throughout your home.
You will need:
- Old pallet wood – Fleur used three lengths, 30cm long
- Wood glue
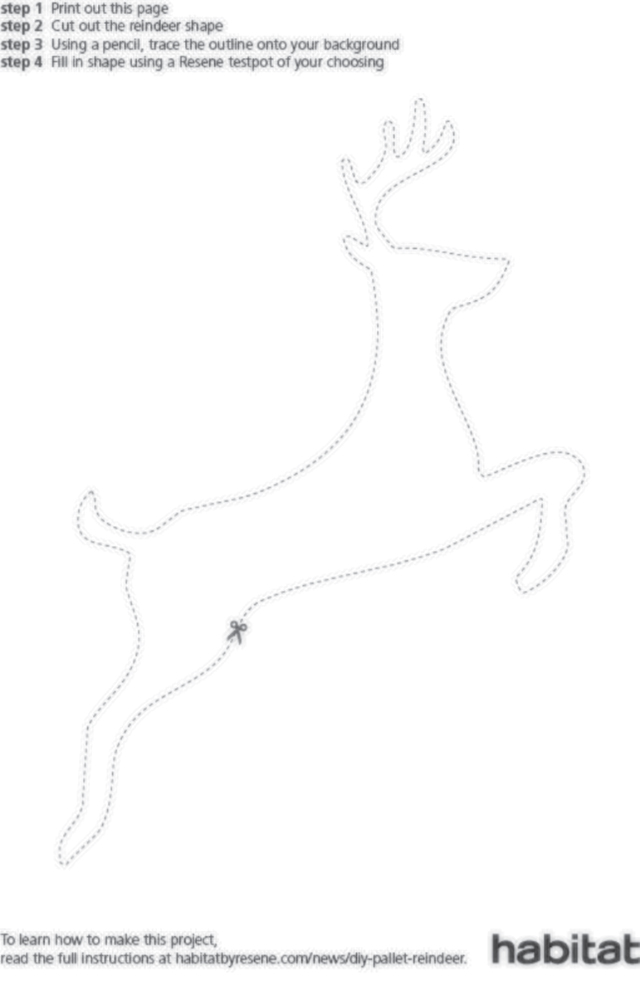
- Reindeer silhouette template (download at the bottom of the page)
- Scissors
- Sellotape
- Pencil
- Small artist’s paintbrush
- Resene testpot in a colour of your choice – Fleur used Resene Triple Sea Fog
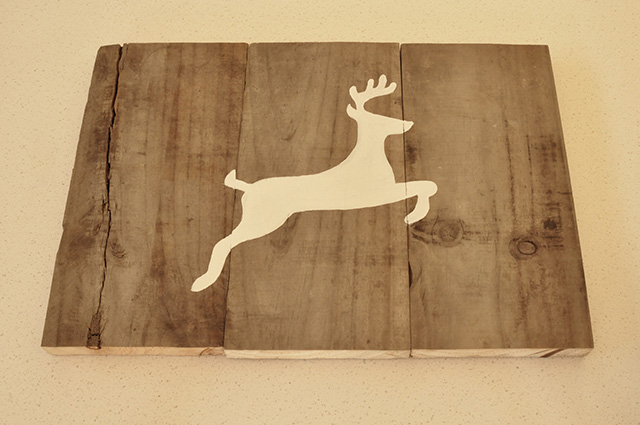
Step 1 Start by cutting your pallet wood into equal lengths. Since Fleur’s pallet wood was quite wide, she only used three lengths cut to 30cm long. If your wood is narrower, you might want to use more lengths, depending on how large you want your finished piece to be.
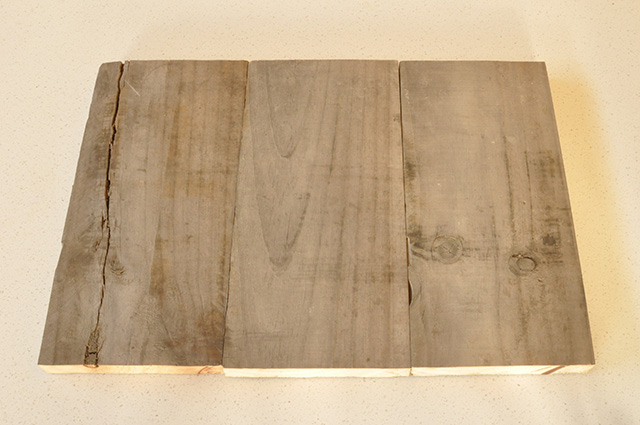
Step 2 Use wood glue to glue the edges of your wood together and allow it to dry.
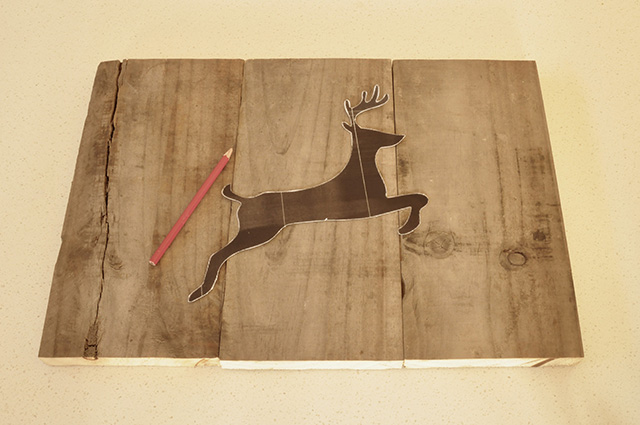
Step 3 Download the reindeer template at the bottom of this page. If needed, re-size the image so that it will be the right size for your pallet picture. Print it out and use scissors to cut around the silhouette shape, then use loops of Sellotape to stick the printout to your wood and keep it in place. With a pencil, trace around the reindeer on to the wood.
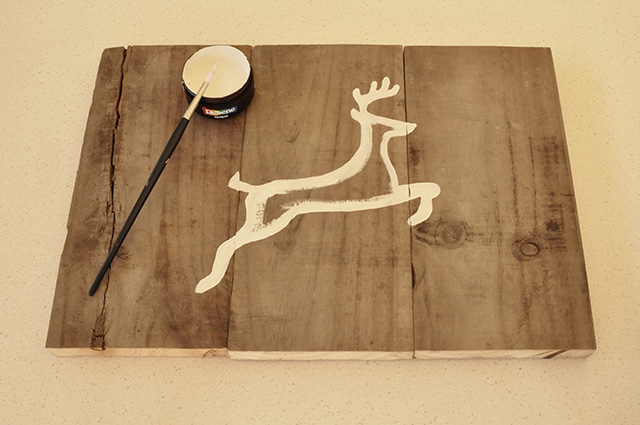
Step 6 Remove the print-out and, using a small artist’s paintbrush, paint the outline of the reindeer before filing it in.
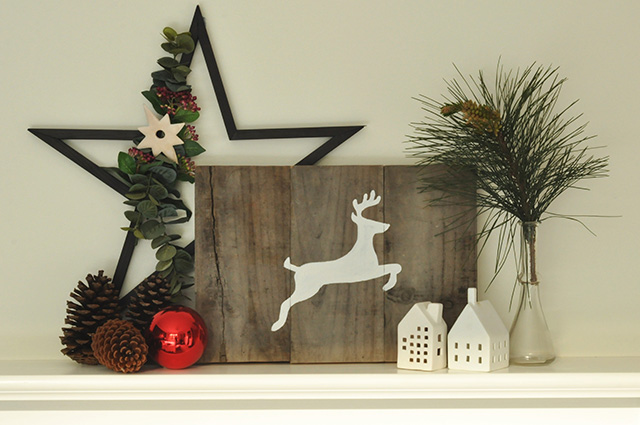
Finished pallet in Resene Triple Sea Fog, wall in Resene Carrara and mantle in Resene Half Rice Cake.
Top tip: If your pallet wood is looking a little the worse for wear, you can rejuvenate it by staining it with Resene Colorwood, before painting on your design.
images and project Fleur Thorpe
To print out the below template, right click on the template and select 'save image as'. Save the image to your computer and then print it out on to A4-sized paper.
Published: 26 Nov 2019

