
latest
habitat tv

Say goodbye to the morning scramble for keys, coats and sunglasses and hello to this… see this and more videos
blog

Re-living the 1980s through art
Clint C is an artist whose work instantly sparks recognition and joy. Based in Hamilton,… more
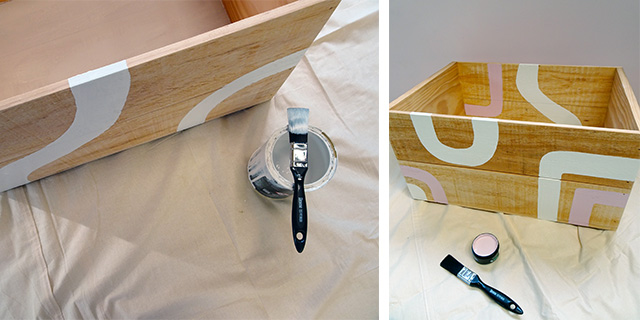
DIY painted toy crate
29 Oct 2019
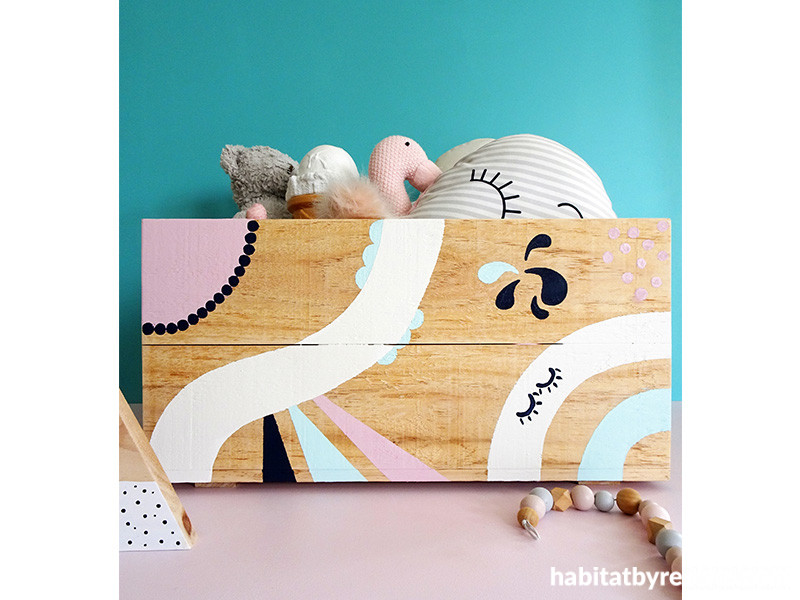
Get the kids to help decorate a place to stash their play things using their favourite Resene colours and designs.
You will need:
- Plain timber crate (any size)
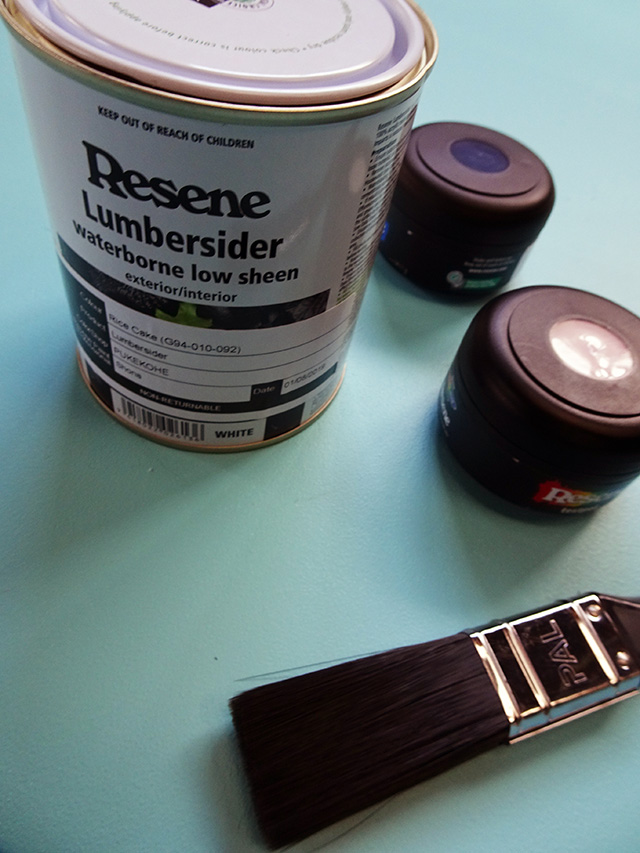
- Resene testpot and detail brushes
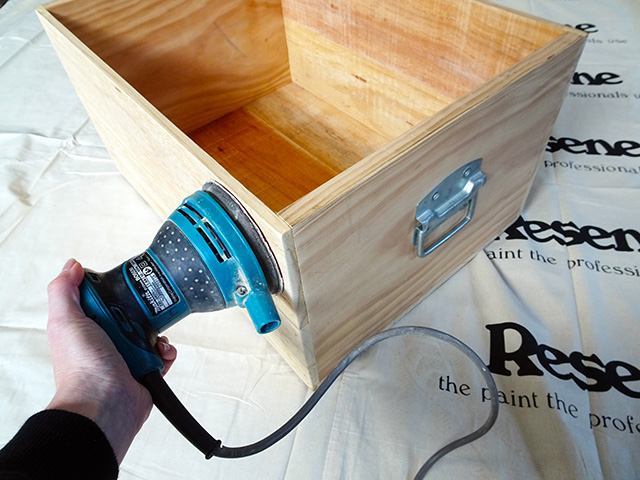
- Sandpaper/Electric sander
- Resene testpots in the colours of your choice; Sarah used Resene Rice Cake, Resene Gelato, Resene Reservoir and Resene Midnight Express
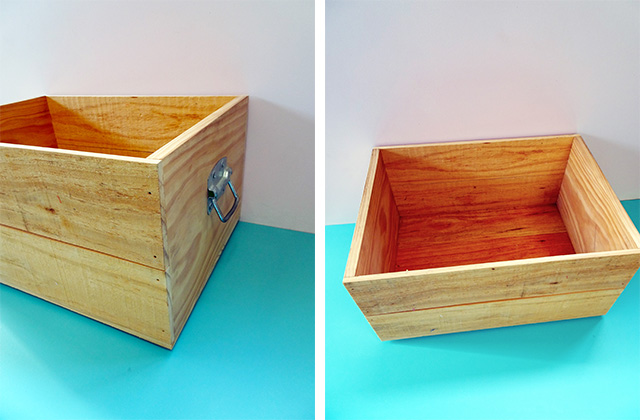
Step 1 Plain wooden crates are fairly easy to come by. You can purchase simple storage ones from places like Kmart, or you might have a rustic old drinks crate gathering dust in the garage that could be put to good use.
Lightly sand your crate first and wipe it clean with a soft cloth. Remove any splintering wood if you are bringing an old one inside.
Step 2 Choose four colours for your colour scheme. Sarah used Resene Rice Cake, Resene Gelato, Resene Reservoir and Resene Midnight Express.
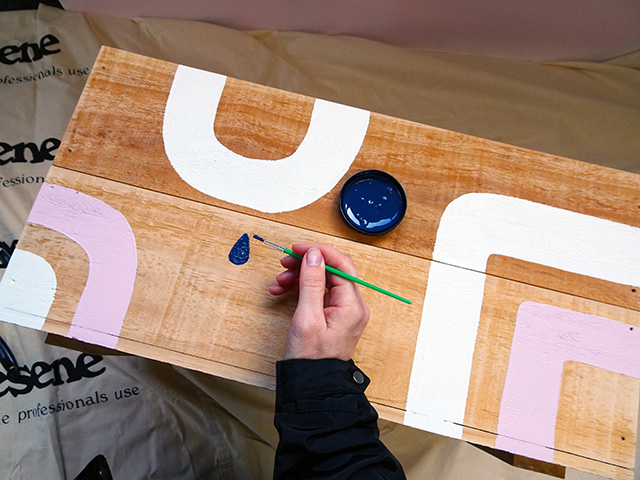
Step 3 Paint bendy stripes all over the outside of the crate, and some on the inside too. Sarah used Resene Rice Cake and Resene Gelato, using a testpot brush.
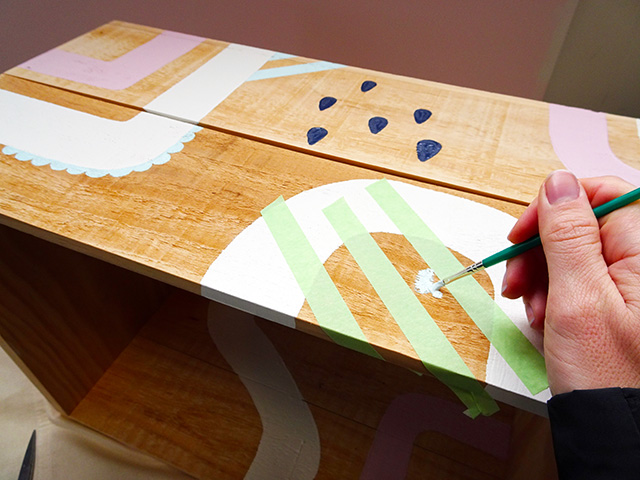
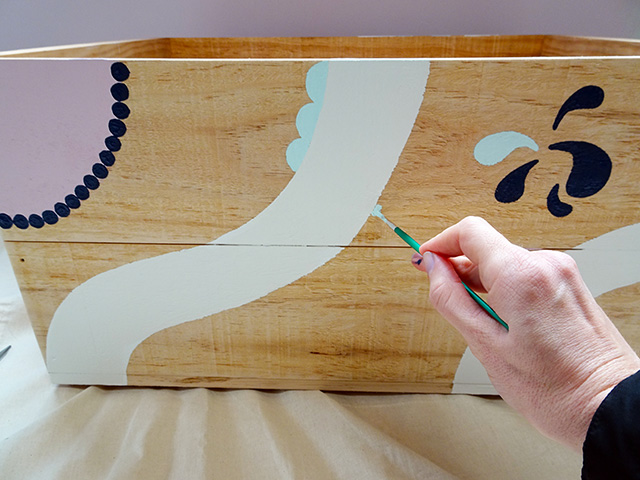
Step 4 Using all four colours apply lots of little doodles all over the crate. Think of it as much the same as scribbling on a piece of paper while you chat on the phone. Try polka dots, raindrops, zigzags and flowers. If you aren’t confident painting freehand, try stencils or use masking tape to help guide you. Use small detail brushes for this.
Top tip: Attach castors to the bottom of your crate to make it easier to move the box between play areas without damaging your flooring.
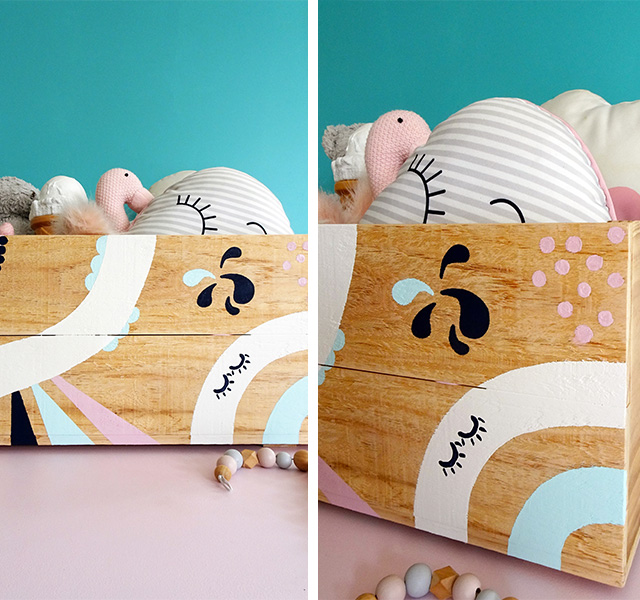
Think of this project as an opportunity to paint mindfully. Painting can be relaxing, and calming, a bit like an adult colouring book. Use your imagination and try a similar doodle-type of artwork on canvas or paper. The wall is painted in Resene Fountain Blue and the floor is in Resene Pale Rose.
project and images Sarah Herring
Published: 29 Oct 2019

