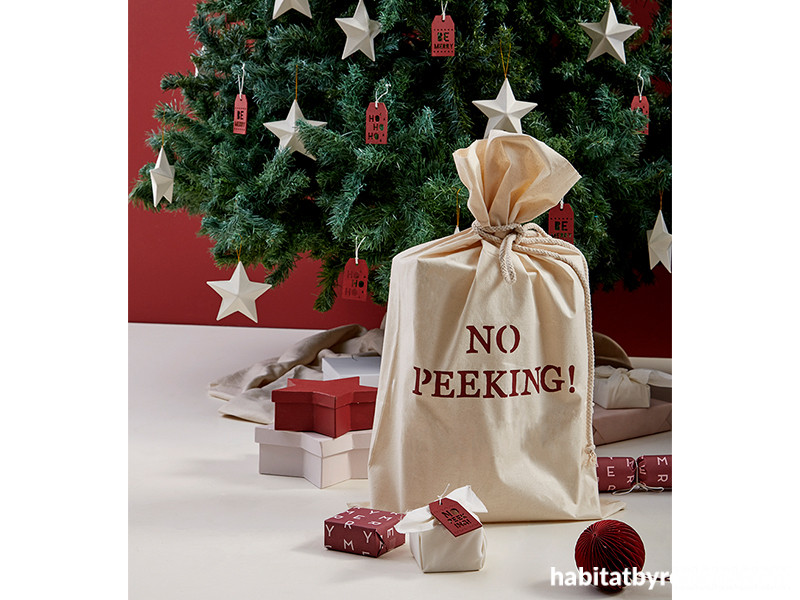
DIY santa sack
05 Dec 2019
Hide gifts away from curious eyes (or prying fingers) with this quick and easy DIY santa sack project. Or, throw sneaky peekers or would-be box shakers off the trail by filling decoy gifts with a handful or two of cereal!
You will need:
- Two pieces of calico cotton or canvas fabric (70cm x 45cm)
- Sewing machine
- Resene testpot brush
- Resene testpot in a colour of your choosing – we used Resene Merlot
- Scrap cardboard approx. 65cm x 40 cm
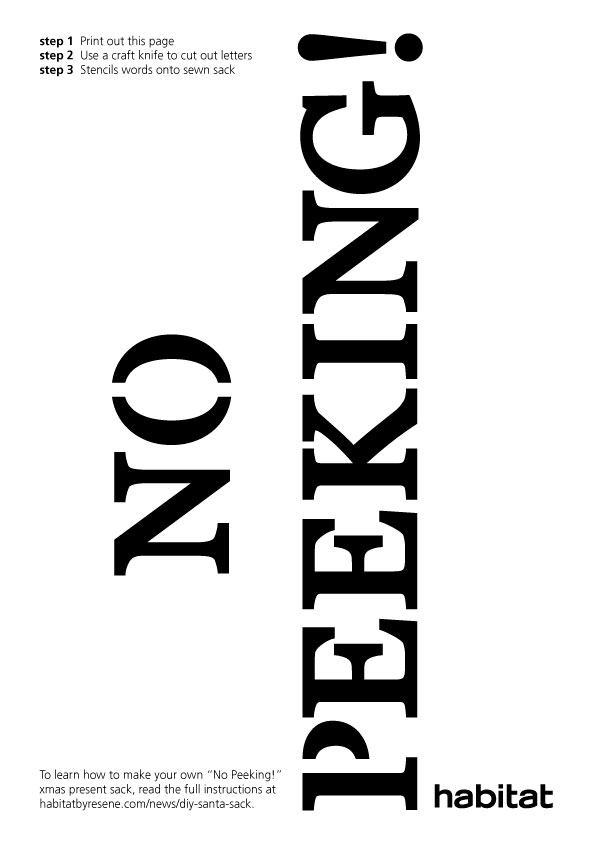
- “NO PEEKING!” stencil (download below) printed on A4-sized glossy cardstock or acetate transparency
- High quality painter’s masking tape
- Craft knife
- Rope or ribbon (approximately 60cm long)
Step 1 Sew up the two sides and bottom of the santa sack on a sewing machine. If you don’t own a sewing machine, you could also hand stitch your sack or, alternatively, use a plain cotton pillowcase.
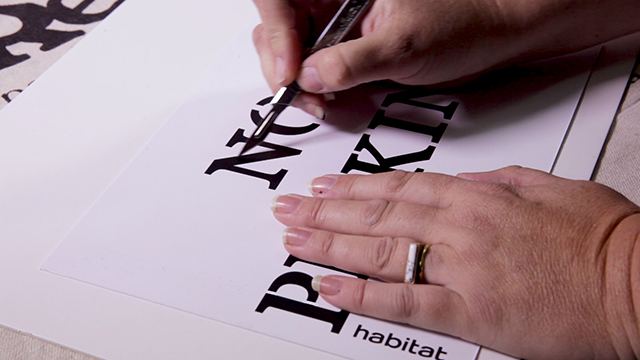
Step 2 Using a craft knife, cut out the black letters from the template (download below).
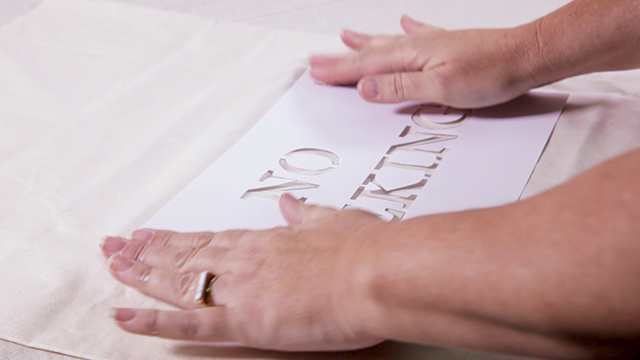
Step 3 Centre and align stencil and adhere it to the santa sack using high quality painter’s masking tape, taking care that the stencil is flush against the sack and isn’t at risk of moving.
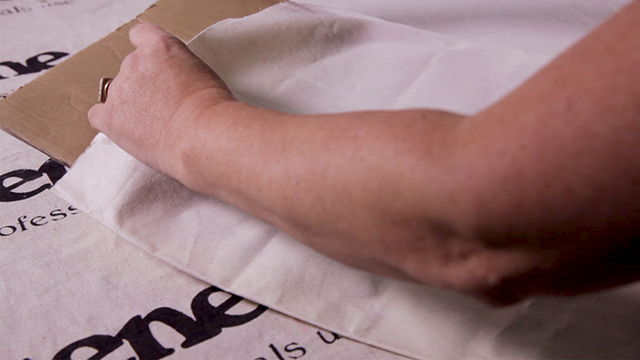
Step 4 Slide a piece of cardboard into your sack before painting to keep paint from leaking through on to the opposite side.
Step 5 Using a Resene testpot brush and a Resene testpot in your colour of choice (we used Resene Merlot), dab paint over holes in the stencil, working up light thin layers until the letters are completely covered.
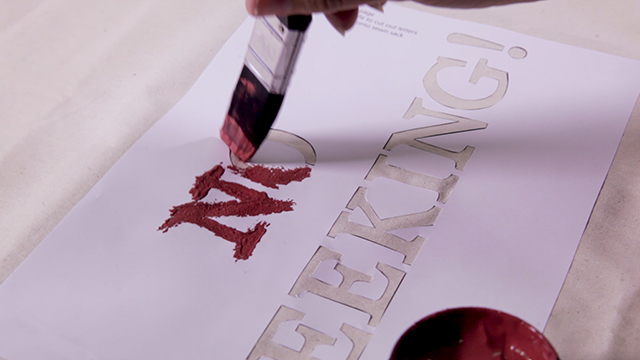
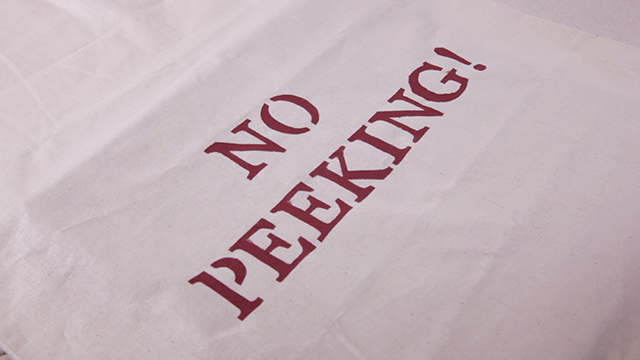
Step 6 Peel stencil off to reveal your painted lettering then allow them to dry completely. You can use a hair dryer to help speed up the process.
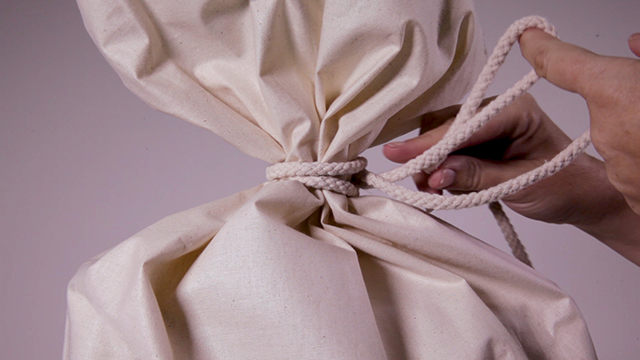
Step 7 Pop in gifts, secure with a length of rope or ribbon, then put your sack under the tree.
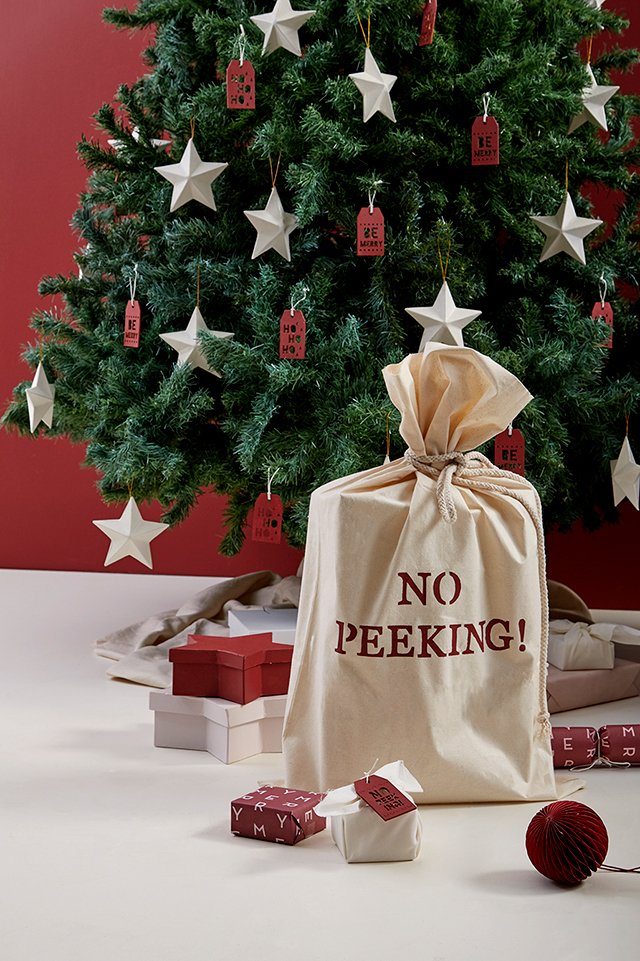
Wall in Resene Merlot, floor in Resene Half Spanish White, ornaments in Resene Merlot and Resene Half Spanish White, gift boxes in Resene Merlot and Resene Ebb and “NO PEEKING” stencilled in Resene Merlot.
styling Vanessa Nouwens
images Bryce Carleton, Ben Whorwood
videography Ben Whorwood?
To print out the below template, right click on the template and select 'save image as'. Save the image to your computer and then print it out on to A4-sized paper.
Published: 05 Dec 2019


