
latest
habitat tv

Say goodbye to the morning scramble for keys, coats and sunglasses and hello to this… see this and more videos
blog

Reader roundup: See what our readers have been up to!
Refurbished vintage furniture, charming exteriors and magnet walls for kids. These projects are sure to… more
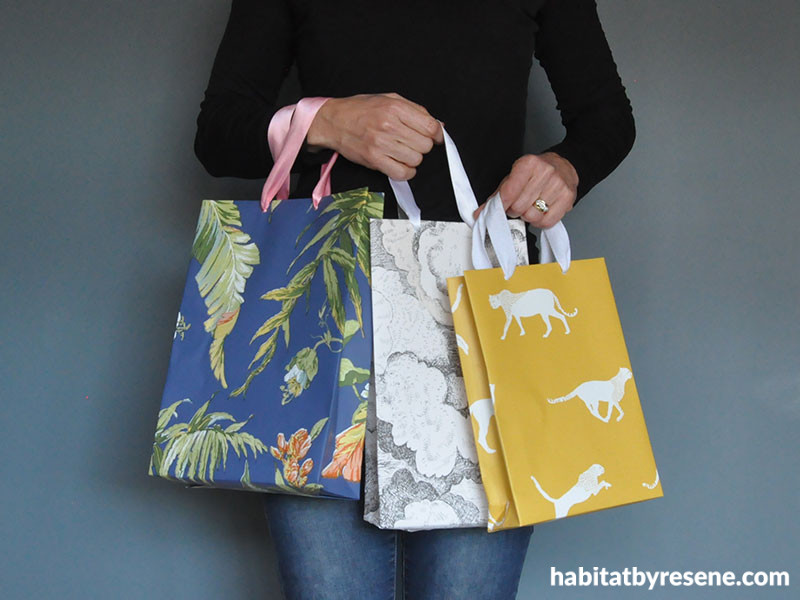
DIY wallpaper gift bags
19 Jun 2019
Package your prezzies in some serious style with this quick and easy craft using a few favourites from the Resene Wallpaper Collection.
You will need:
- Wallpaper – Fleur used Resene Wallpaper Collection AT 7094, 219263 and 69742020, but you can pick any design that best suits the personality of the gift’s recipient. Selected wallpaper designs can be purchased by the metre at Resene ColorShops if you only want to make a small number of bags or use full rolls to make many bags.
- Ruler
- Pencil/pen
- Scissors
- Glue
- Hole punch
- Ribbon
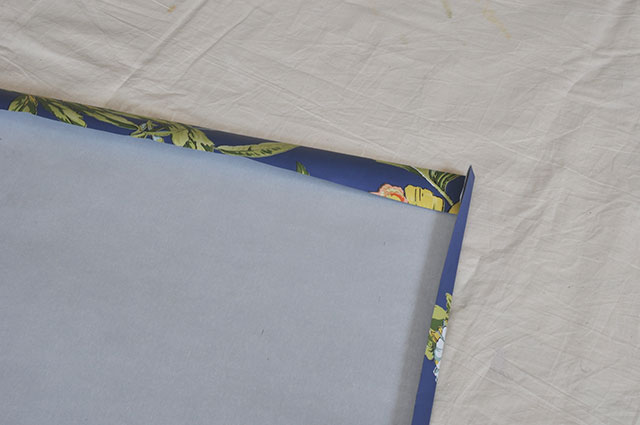
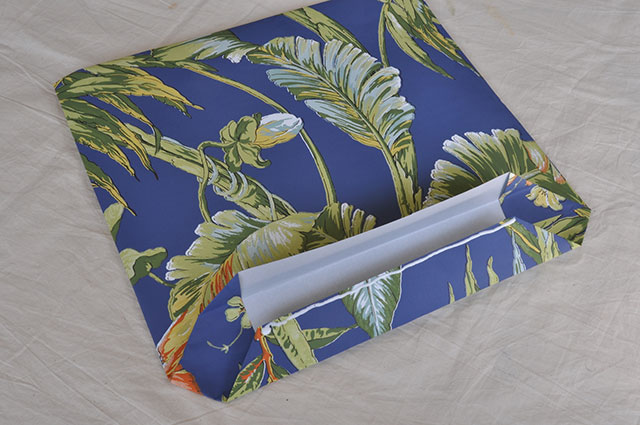
Step 1 To begin, you need to first decide how big you want your gift bag to be. For our bags, we used the width of the roll. With a ruler and pencil, measure and cut a length of 40cm. Next, fold the top edge over by about 4cm and the shorter right-hand edge over by 1.5cm.
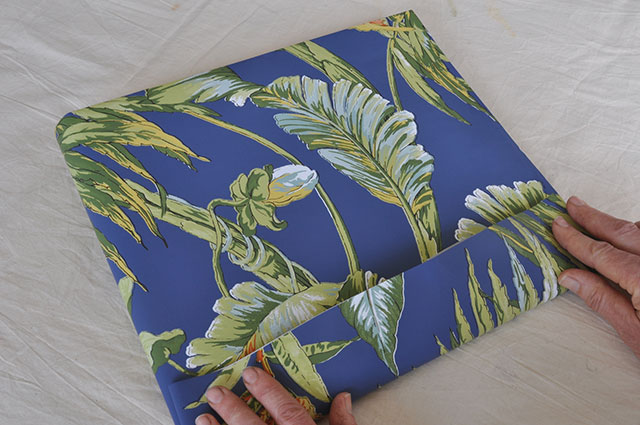
Step 2 Once folded, put a bead of PVA glue at the right-hand edge and fold the left-hand end of the paper over to glue it in place. This will mean you should have a tube, which you can now flatten and crease at the sides.
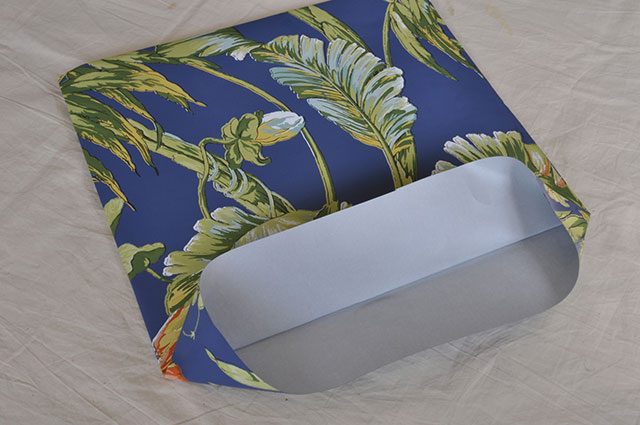
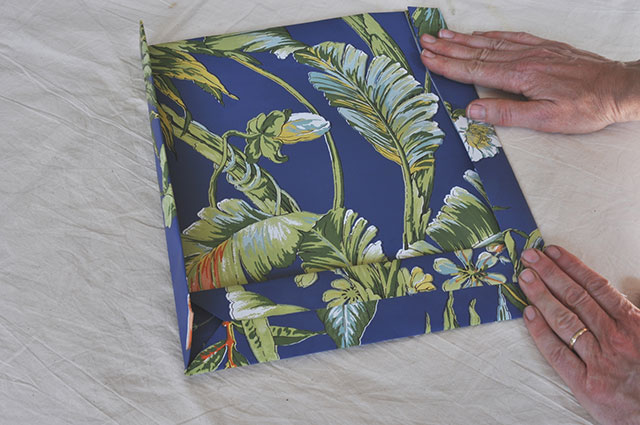
Step 3 Now you’re ready to create the base of the bag. Fold the bottom up by about 8cm, or more if you want extra space to insert your gifts.
Step 4 Open the fold up and push down each end to create triangles.
Step 5 Fold the bottom edge up so that it just underlaps the bottom of the other fold. Seal the base of your bag by running a strip of glue along the top of the fold, and bring the top fold down to glue into place.
Step 6 To create the sides of the gift bag, fold both sides over so that the edge meets the intersection formed by the triangle folds that you made at the bottom. Press all your folds firmly so that the creases are nice and crisp.
Top tip: Don’t forget to make sure that the folds are equal so that the bag is even and not wonky.
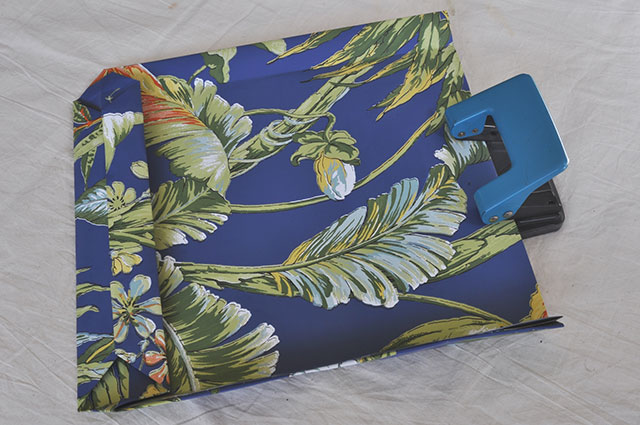
Step 7 Use a hole punch to make holes for the handles at the top opening of the bag.
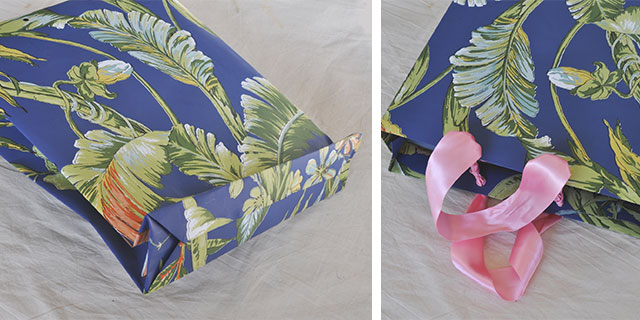
Step 8 Put your hand in the bag to open it up and push the sides in to invert the folds, which will form the concertina sides of the bag. Carefully fold the corners at the bottom into the right shape, so that it sits flat and smooth. Add the finishing touches to your creation by adding lengths of thick ribbon for handles and, for additional strength, cut a piece of cardboard to size and insert it into the bottom of the bag.
Once the glue has dried, all that’s left is to fill your gift bags with goodies for your loved ones.
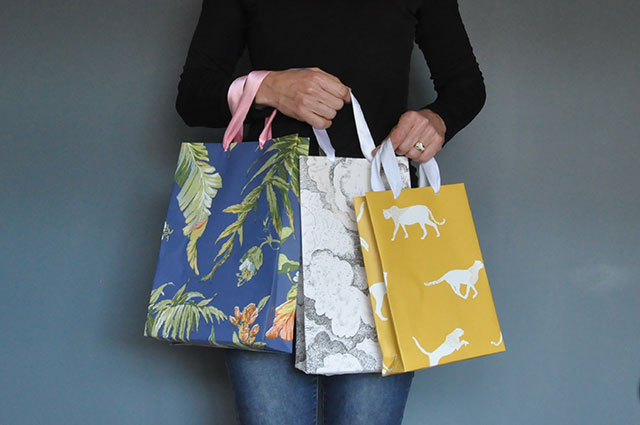
Fleur made her bags (from left to right) using Resene Wallpaper Collection AT 7094, 219263 and 69742020. In the background, the wall is painted Resene Balderdash.
Styling Fleur Thorpe
Published: 19 Jun 2019

