
latest
habitat tv

Say goodbye to the morning scramble for keys, coats and sunglasses and hello to this… see this and more videos
blog

Brick Bay unveils its poetic new folly for 2026
The winner of the 2026 Brick Bay Folly competition has been unveiled. Within the Wings… more
DIY wood plank welcome sign
06 Mar 2019
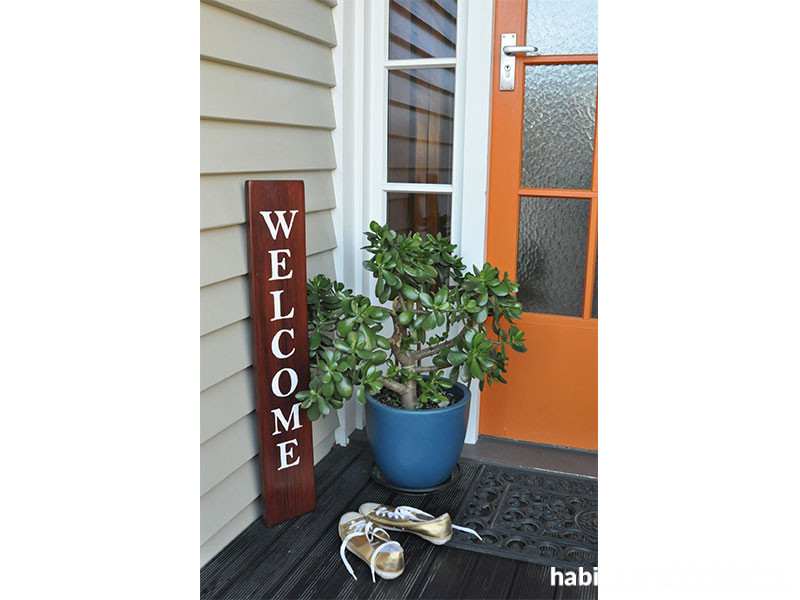
Extend a friendly invitation to visitors with this easy-to-make welcome sign.
You will need:
- Resene Timber and Furniture Gel in your choice of colour (we used Resene Jarrah Tree)
- Resene testpot in a colour of your choosing (we used Resene Ebb)
- Wooden plank (ours is recycled rimu measuring 14.5cm x 84cm x 2cm, but new pine would work fine too)
- Sandpaper in medium and fine grit
- Disposable gloves
- Lint-free cotton cloth
- Printout of the word ‘Welcome’
- Sellotape
- Ballpoint pen
- Small flat artist’s paint brush
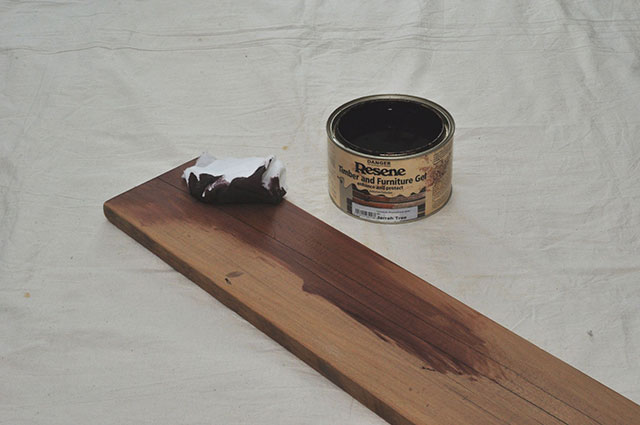
Step 1 Prepare your board by sanding off any rough areas with medium grit sandpaper followed by fine grit sandpaper for an extra smooth finish.
Using a lint-free cotton cloth, wipe Resene Timber and Furniture Gel over your board. It’s a good idea to wear disposable gloves. The more layers you apply, the darker the colour will get. Allow the gel to dry between each coat.
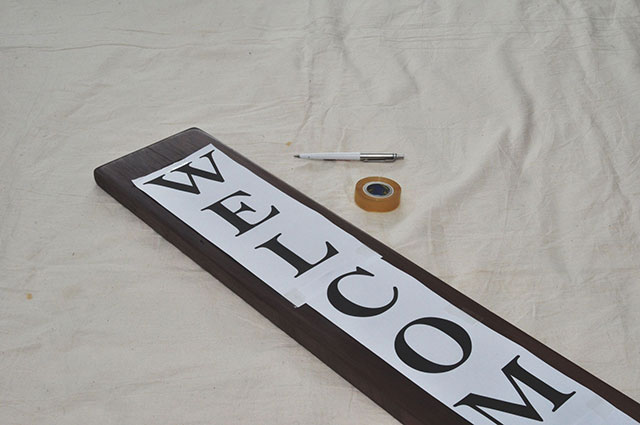
Step 2 Once you are happy with the colour and your board is dry, use sellotape to attach your printout to the board. Make sure the word is centred and straight.

Step 3 Using a ballpoint pen, trace around each letter pressing firmly so that you leave an indentation on the surface of the wood.
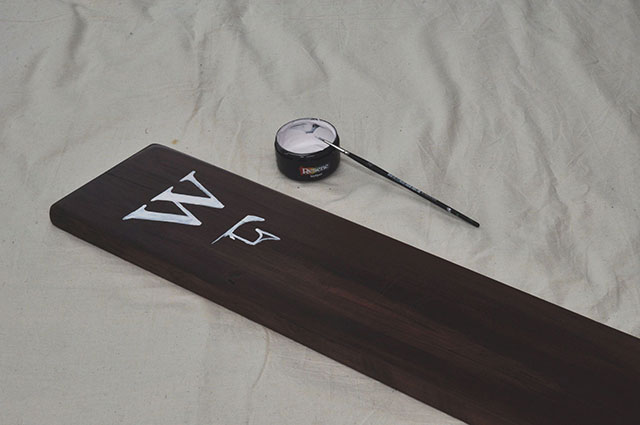
Step 4 Remove the printout and use the indentation as your guide to paint in the letters. We used Resene Ebb to paint in our letters.
Let the paint cure for one week before displaying your sign outdoors.
top tip: Unlike urethane, Resene Timber and Furniture Gel doesn’t require a topcoat.
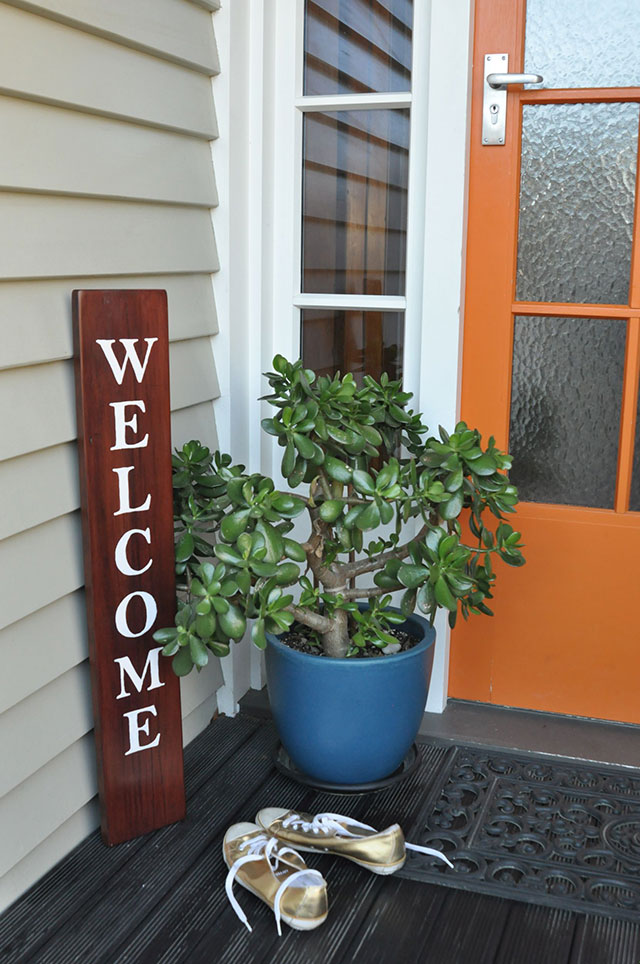
This door, painted Resene Clockwork Orange, is the perfect colour for welcoming in autumn. The weatherboards are in Resene Triple Ash, the trim is in Resene Quarter Thorndon Cream, and the door sill is in Resene Double Masala. The welcome sign is in Resene Timber and Furniture Gel in Resene Jarrah Tree and Resene Ebb.
styling and images Fleur Thorpe
Published: 06 Mar 2019

