
latest
habitat tv

Say goodbye to the morning scramble for keys, coats and sunglasses and hello to this… see this and more videos
blog

Re-living the 1980s through art
Clint C is an artist whose work instantly sparks recognition and joy. Based in Hamilton,… more
Easy DIY: Joy to the world
29 Nov 2018
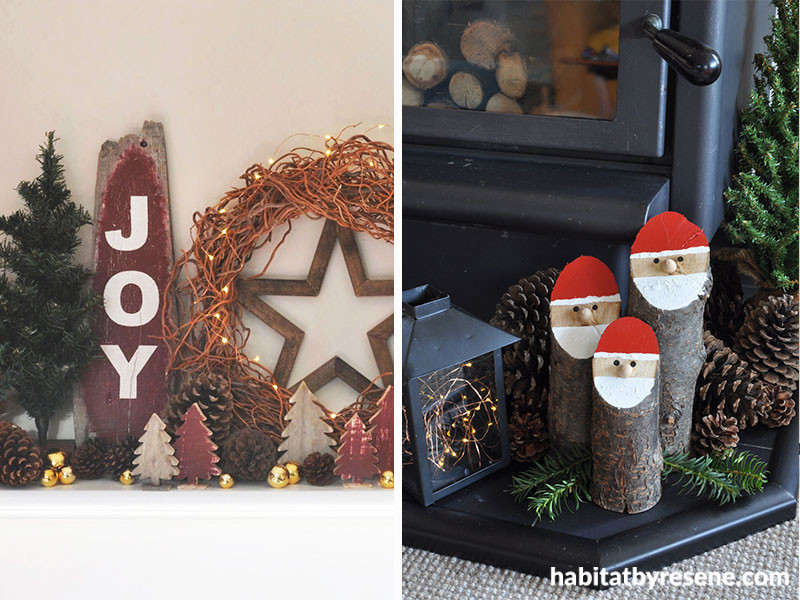
Make these cheeky little Santas from logs, and a joyful sign from a piece of old timber with just a few Resene testpots.
Christmas sign
You will need:
- Resene FX Crackle effect - this causes the topcoat to shrink and crack, giving an aged look
- Testpots in in your choice of colours. We used Resene Double Blanc and Resene Lonestar?
- Board – this is salvaged pine from an old pallet (45cm tall x 14cm at widest point)
- Sandpaper, medium grit
- Paint brush
- Small piece of sponge
- Printout of the word Joy
- Tape
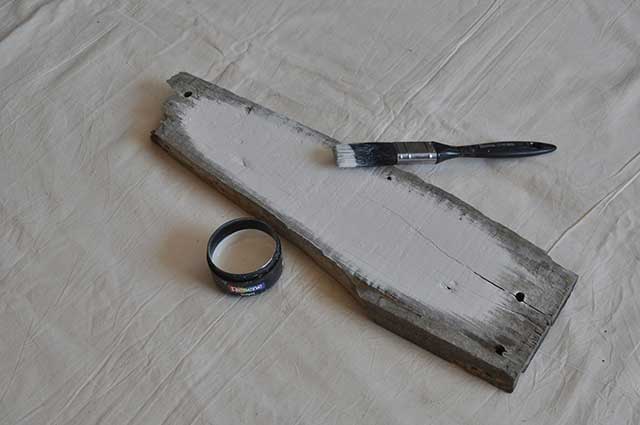
Step 1: Prepare your board by sanding any rough areas with medium grit sandpaper.
Paint Resene Double Blanc over your board. For a more rustic look don’t go right to the edges, allowing some weathered timber to show.
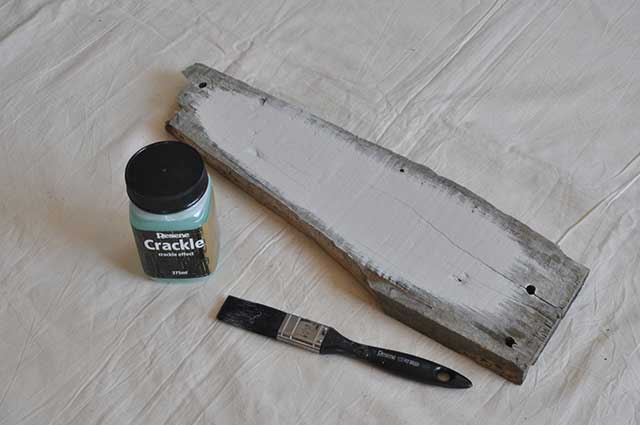
Step 2: Once the painted area has dried, cover it with Resene FX Crackle effect. Leave to dry for two hours.
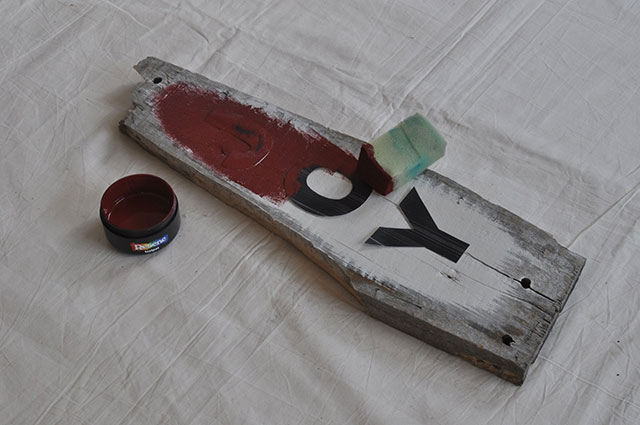
Step 3: Cut out your Joy letters and use loops of tape to stick them to your board. Make sure the letters are evenly spaced and straight. Using a small piece of foam sponge, dab Resene Lonestar over the letters, making sure to cover all the Resene Double Blanc paint.
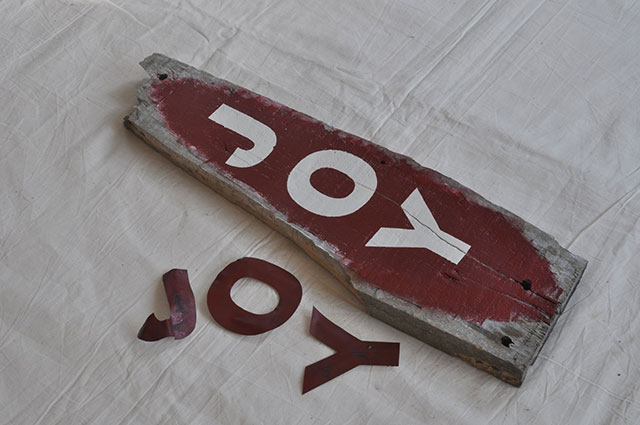
Step 4: Carefully remove the letters while the paint it still wet.
Top tip: If you want to give your finished piece a more aged and distressed look, wait until it is fully dry then lightly sand it all over with medium grit sandpaper.
Santa logs
You will need
- Resene testpots in your choice of colours. We used Resene Monza, Resene Half Sea Fog and Resene Nero
- Three logs
- Saw and sandpaper
- Small paint brush and cotton bud
- Three old-style wooden pegs
- Wood glue
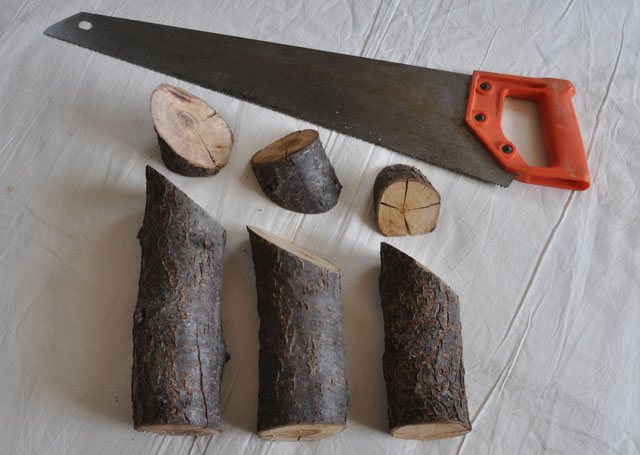
Step 1: Cut one end of each of your logs at 45 degrees. Make sure they are different heights; the ones in our photos are 25cm, 20cm and 17cm. Also ensure the bottom of the log is flat enough to stand up. Give the cut end a quick sand with medium grit sandpaper.
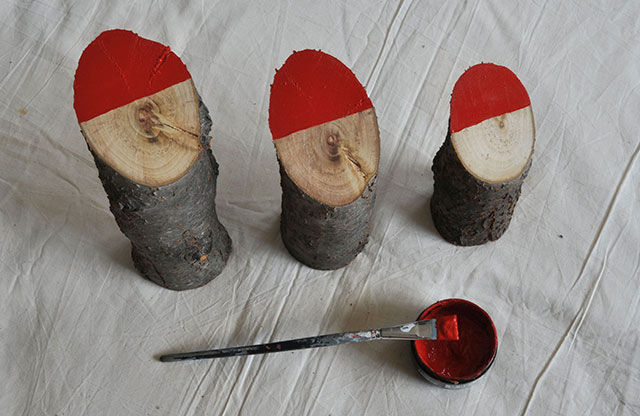
Step 2: Paint the top third of the cut end with Resene Monza. This is the hat.
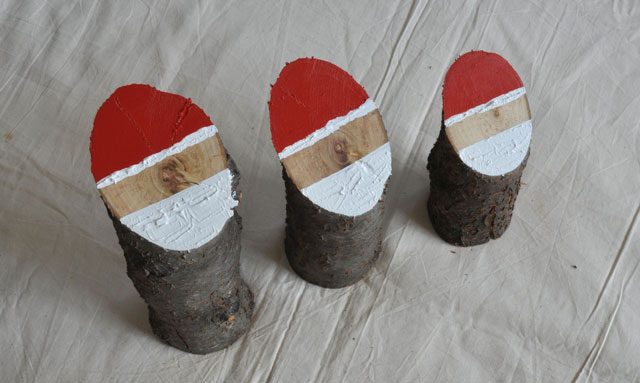
Step 3: Paint the bottom third with Resene Half Sea Fog. Try using plenty of paint, and dabbing it for a textured look, so it looks like a beard. Add a thin strip of Resene Half Sea Fog for the fur trim of the hat.
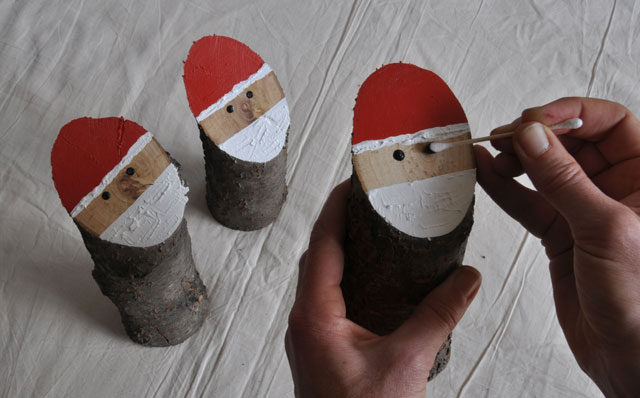
Step 4: Use a cotton bud to dot on the eyes, using Resene Nero.
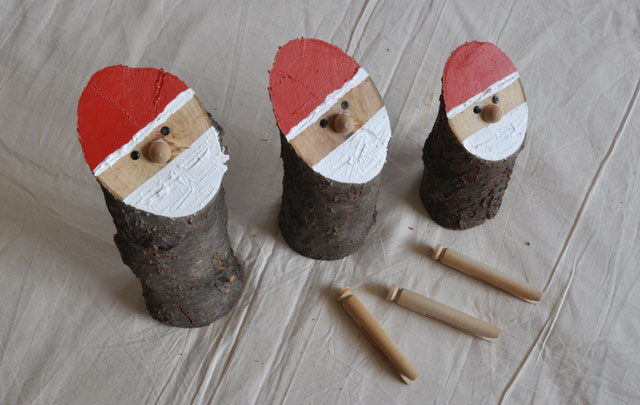
Step 5: Use a saw to cut the end off each wooden clothes pegs and glue these on for the noses. Alternatively, you could use a wooden bead.
Styling and photography by Fleur Thorpe
Published: 29 Nov 2018

