Easy DIY: Rustic photo frames
21 Sep 2017
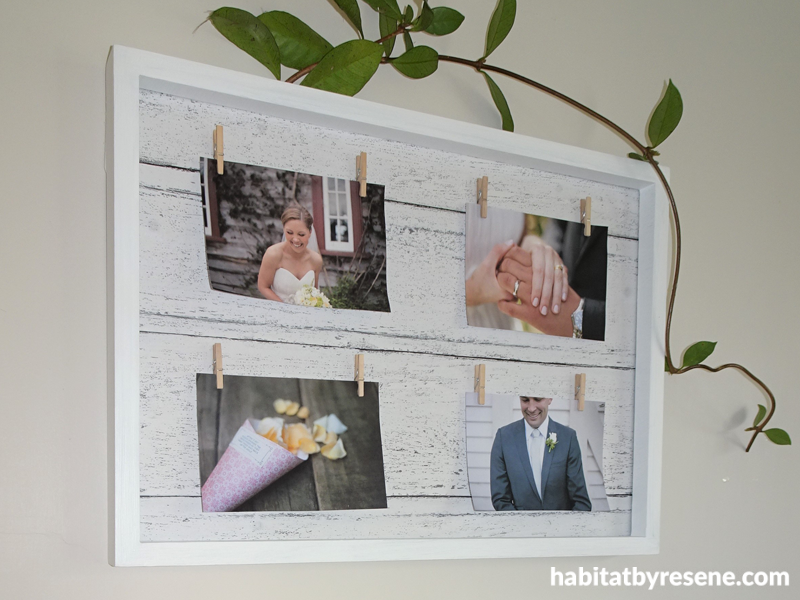
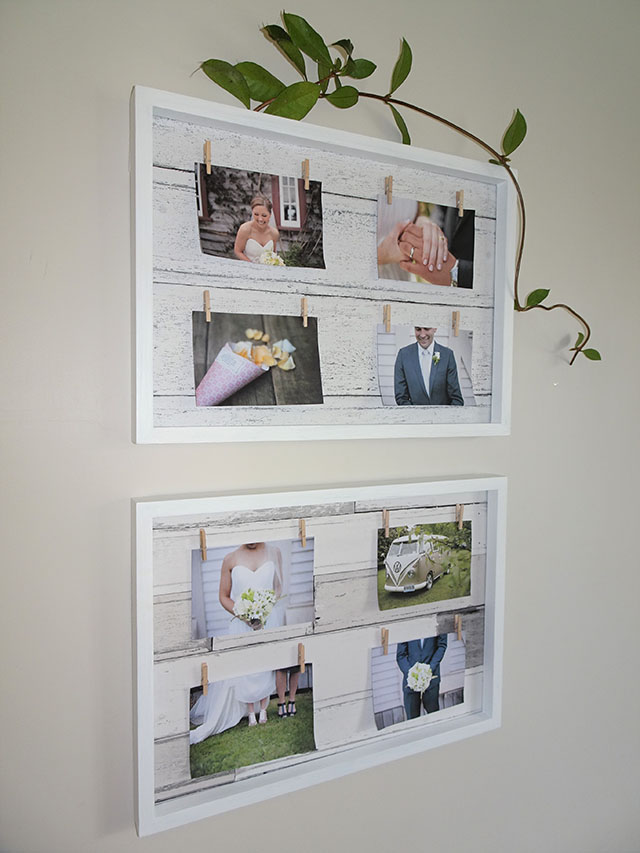
Second hand shops are filled with old frames that can easily be transformed into functional and on-trend photo boards. Using wallpaper and a Resene testpot, Sarah Herring has created these cool rustic-themed frames perfect for displaying her treasured memories. She shows us how.
You will need:
- Craft pegs
- PVA glue
- Resene testpot in Resene Alabaster
- Resene Waterborne Smooth Surface Sealer
- Resene Quick Dry waterborne primer undercoat
- Testpot brushes
- Wallpaper samples, available from Resene ColorShops
Step 1
Remove any old artwork from your frames and give them a wipe to clean off any dust. Remove and safely discard the glass panels as you won’t need these for this project. Set aside the backing card from the frames.
Step 2
For frames with a plastic finish, apply a coat of Resene Waterborne Smooth Surface Sealer to prepare the surface for painting.
If you are working with wooden frames, give them a light sand and then apply a coat of Resene Quick Dry waterborne primer undercoat.
Step 3
Once your surface preparation has dried, apply two coats of your chosen paint colour. We used Resene Alabaster.
Step 4
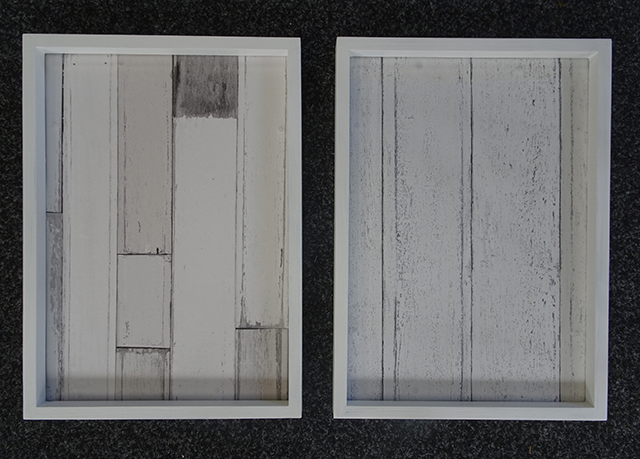
Take your wallpaper samples – the ones used here are discontinued, but you can get the look with the Resene Wallpaper Collection (code: FJ100107) available at Resene ColorShops.
Glue them down onto your backing boards using a quality PVA glue. If you were papering a much larger surface, you might like to use wallpaper paste, which can also be purchased from Resene ColorShops.
Apply with a testpot brush to get an even coverage of glue across the wallpaper.
Once the wallpaper has dried onto the backing boards, trim away any excess paper from the edges using a craft knife.
Step 5
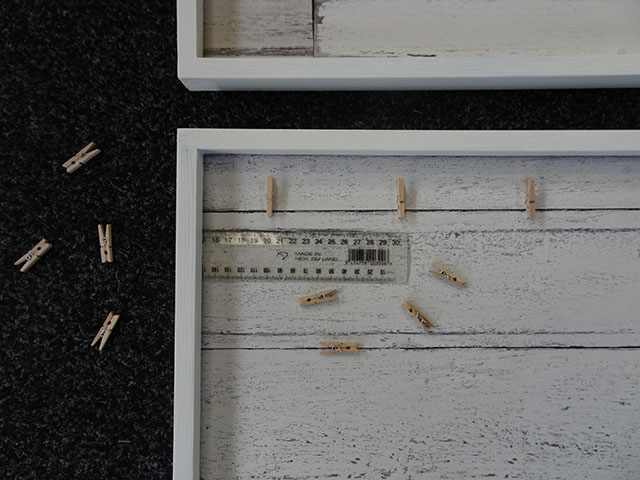
Take your wooden craft pegs and measure out where you want to place them on the wallpaper. Glue them down using PVA glue (preferably clear-drying). Only glue down the back of the peg so that the spring function still works.
Step 6
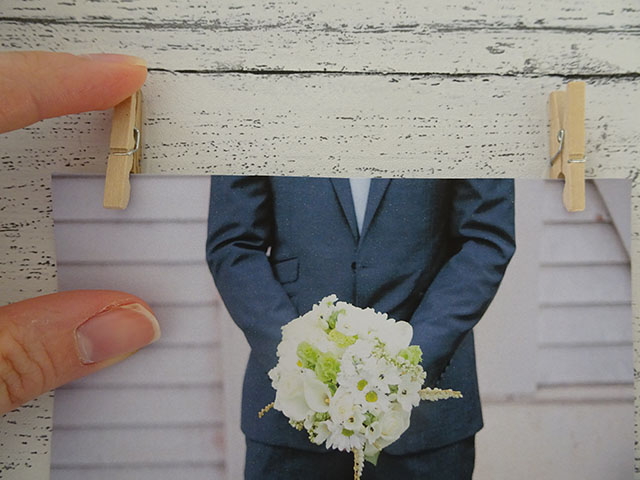
Once the pegs have all dried, reassemble your frames and pop your favourite photos into the pegs. Sarah has used wedding photos taken by Poppymoss Photography, but the great thing about these photo boards is by simply changing out the photos you can have a totally new theme every time.
This DIY is brought to you by Upcycling for Good, a collaboration between Resene and The Salvation Army family stores. The project asks keen DIYers to upcycle second-hand items using Resene paint – look out for this regular feature on Habitat by Resene.
Published: 21 Sep 2017


