
latest
habitat tv

Say goodbye to the morning scramble for keys, coats and sunglasses and hello to this… see this and more videos
blog

Reader roundup: Public murals and powder blues
A Morningside mural, an exterior refresh, and striped walls. Let these projects be your inspiration… more
Create a DIY watermelon hat
27 Aug 2025
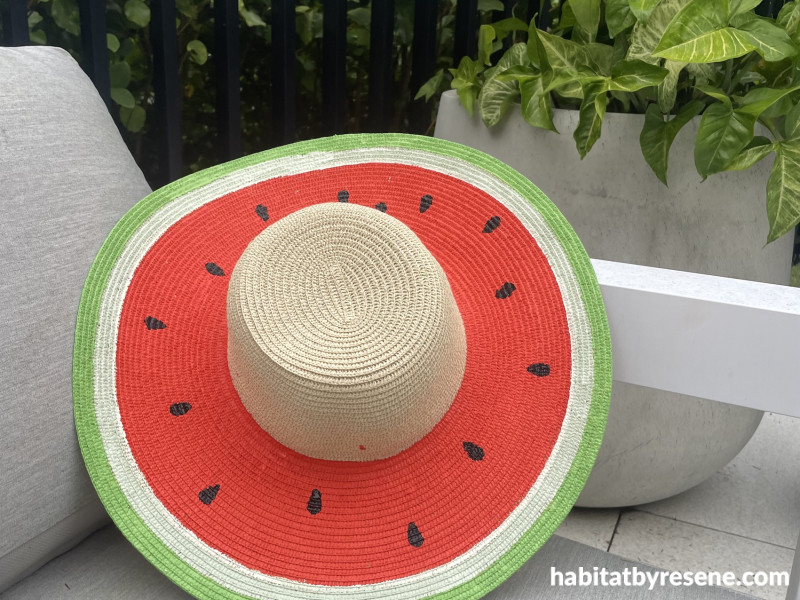
Bring a plain hat to life with this fun and easy DIY painted hat craft for kids and adults. Using just a few Resene paint colours and a touch of creativity, you can transform a simple straw or fabric hat into a vibrant design, like this juicy watermelon that's perfect for fancy-dress, kids’ parties or sunny outdoor adventures. This colourful painting project is a great way to enjoy creative time together, making it one of the best family-friendly crafts for school holidays or weekend fun.
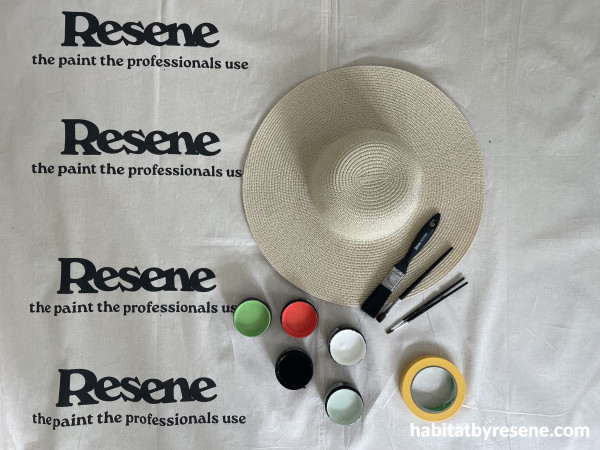
You will need:
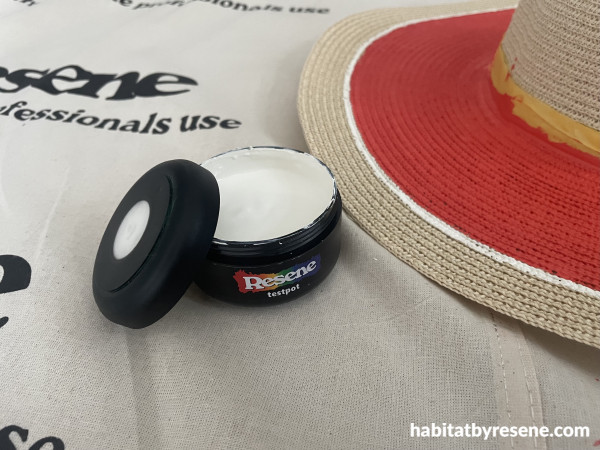
- Resene testpots – we used Resene Pursuit, Resene Pearl Lusta, Resene Groovy, Resene Pale Leaf and Resene Black
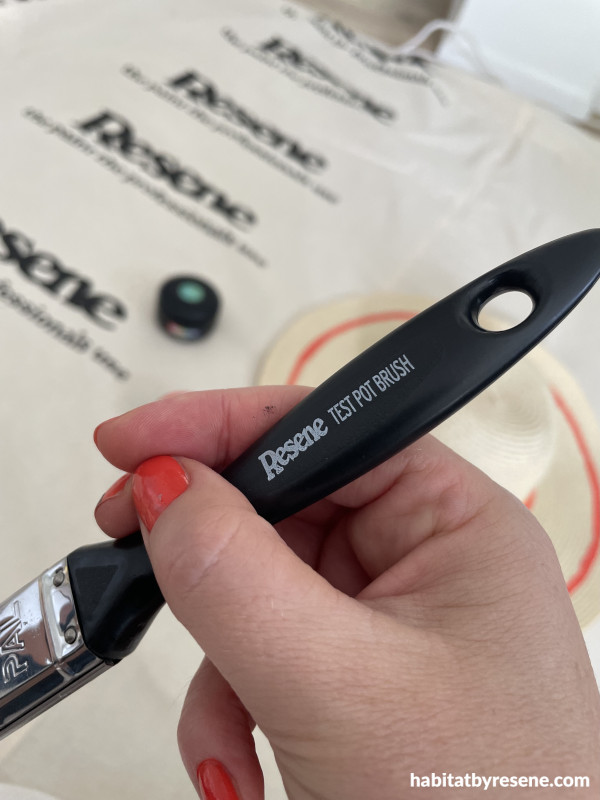
- Resene Testpot Brush
- hat
- painter’s tape
- artist paint brushes

Step 1: Using painter’s tape, tape the area on the vertical part of the hat that you’d like to keep clean.
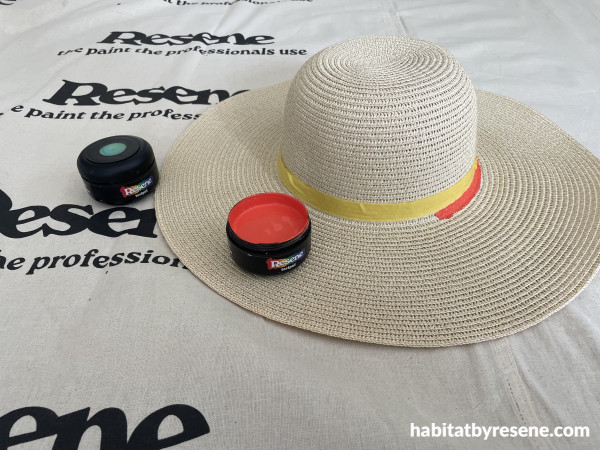
Step 2: With a Resene Testpot Brush, paint Resene Pursuit from the centre of the hat towards the edge, allowing about 3cm clean space around the outer rim.
Step 3: Using an artist’s paint brush, paint a thin line of Resene Pearl Lusta next to Resene Pursuit.
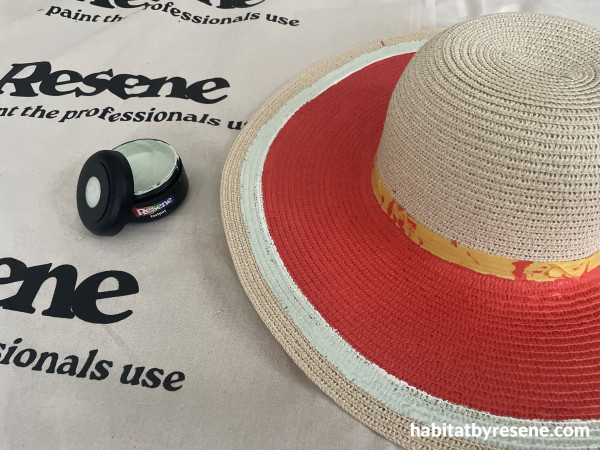
Step 4: Using an artist’s paint brush, paint a 1cm line of Resene Pale Leaf next to Resene Pearl Lusta.

Step 5: Using an artist’s paint brush, paint a line around the edge of the rim with Resene Groovy, to represent the outside of the watermelon. Allow paint is dry, then remove the painter’s tape from the hat.
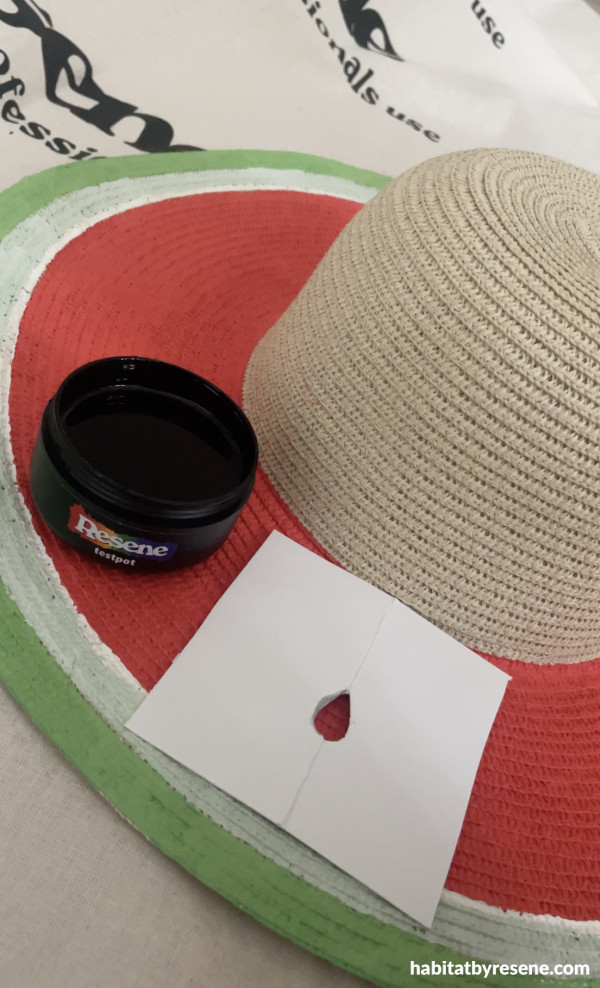
Step 6: Paint watermelon seeds in a teardrop shape with Resene Black (we used a homemade template, see picture). Allow to dry.
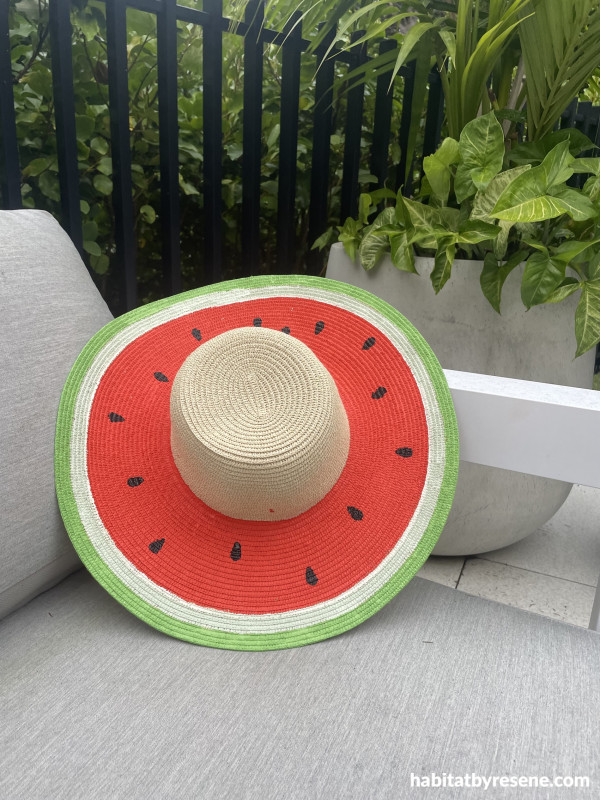
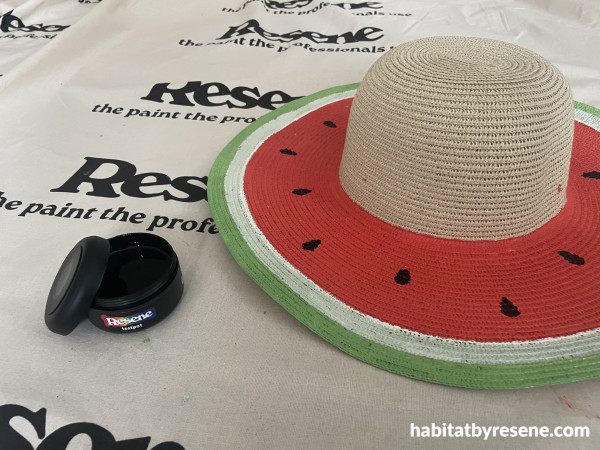
Above: Watermelon hat in Resene Pursuit, Resene Pearl Lusta, Resene Groovy, Resene Pale Leaf and Resene Black
project, styling and images Pamela McIntosh
Published: 27 Aug 2025

