
latest
habitat tv

Say goodbye to the morning scramble for keys, coats and sunglasses and hello to this… see this and more videos
blog

Re-living the 1980s through art
Clint C is an artist whose work instantly sparks recognition and joy. Based in Hamilton,… more
Get arty with old frames
24 May 2018
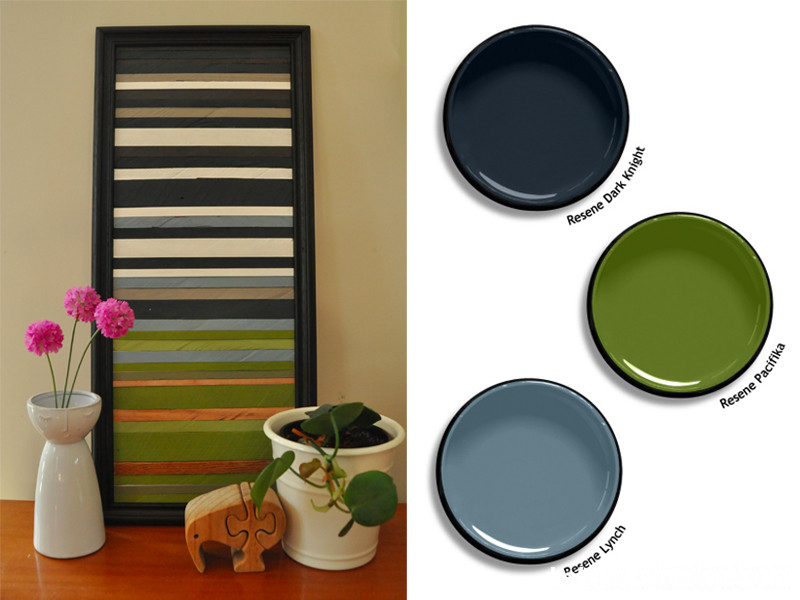
We love clever DIY ideas, especially when they look as good as this deconstructed piece of frame art, painted up using Resene testpots. Create your own with these easy steps.
You will need:
- Resene testpots in Resene Pacifika, Resene Woodland, Resene Black, Resene Dark Knight, Resene Lynch and Resene Half Sea Fog
- Resene testpot brushes
- Photo frame
- Scrap wood
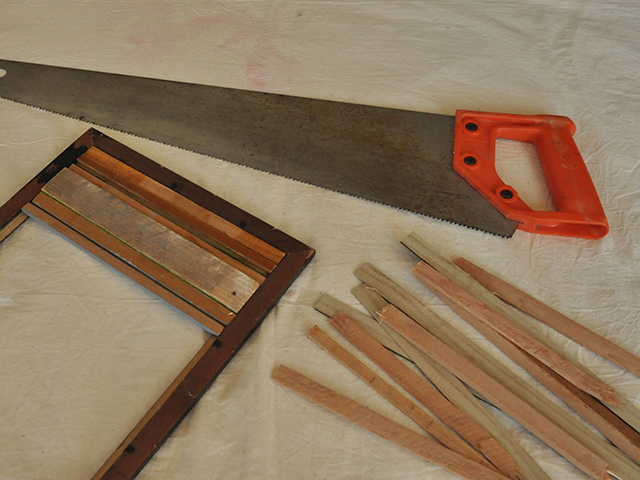
- Saw
- Wood glue
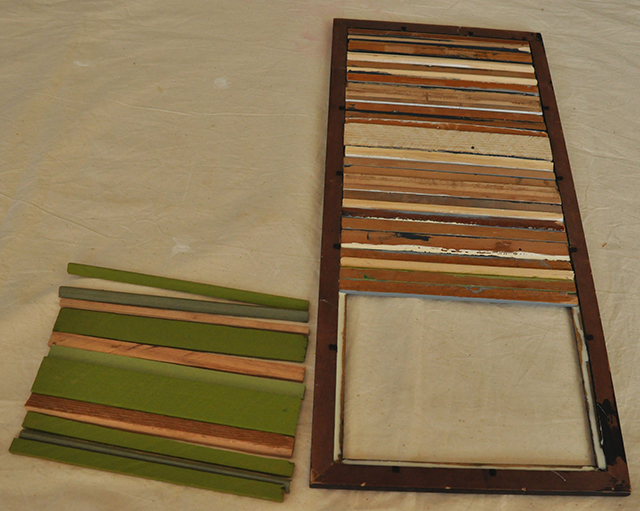
Step one. Taking the photo frame, carefully remove the glass, backing board and metal tabs.
Step two. Using the saw, cut thin strips of wood to length so that they fit into the back of the frame. Cut enough strips to fill up the whole frame. If you don’t have access to wood, chop sticks or strips of thick cardboard would achieve the same look.
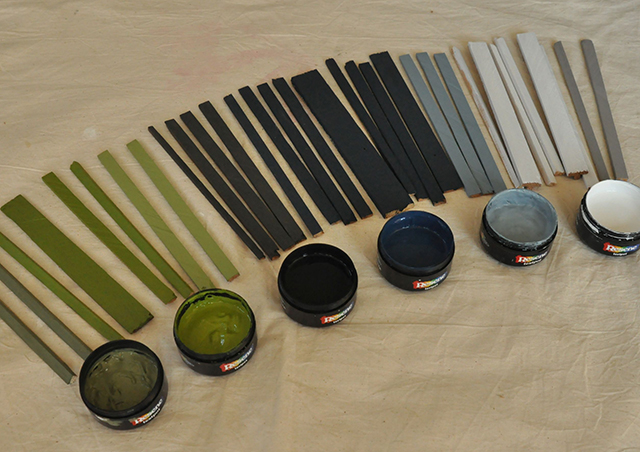
Step three. Paint your wood strips with the Resene testpots and then arrange them into the layout that you are wanting. We went with a landscape theme, starting with Resene greens mixed with unpainted wood at the bottom for the land, moving up into Resene blues and whites for the sky and clouds. We also mixed some of the paints together to make the grey and the pale green colours. Leave to dry.
Step four. Paint the frame in Resene Black. Leave to dry.
Step five. Using wood glue, run a bead of glue around the back edge of the frame.
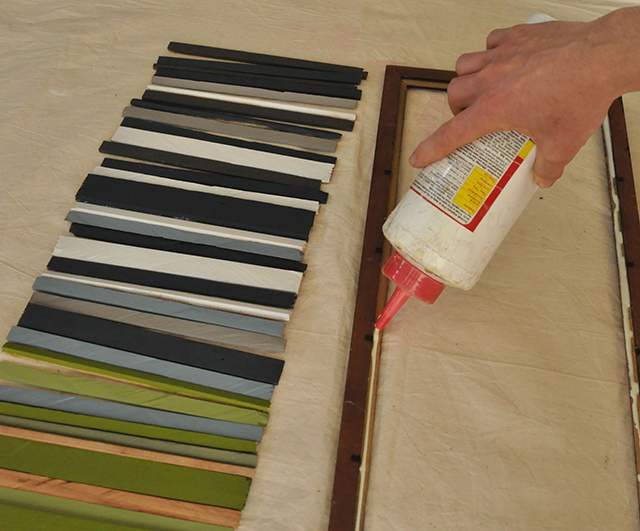
Step six. Insert the wood strips into the frame and use a weight, such as a few heavy books, to hold the strips in place while the glue dries.
Step seven. Hang up or nestle your slatted art amongst indoor plants for a beautiful organic look to your shelf.
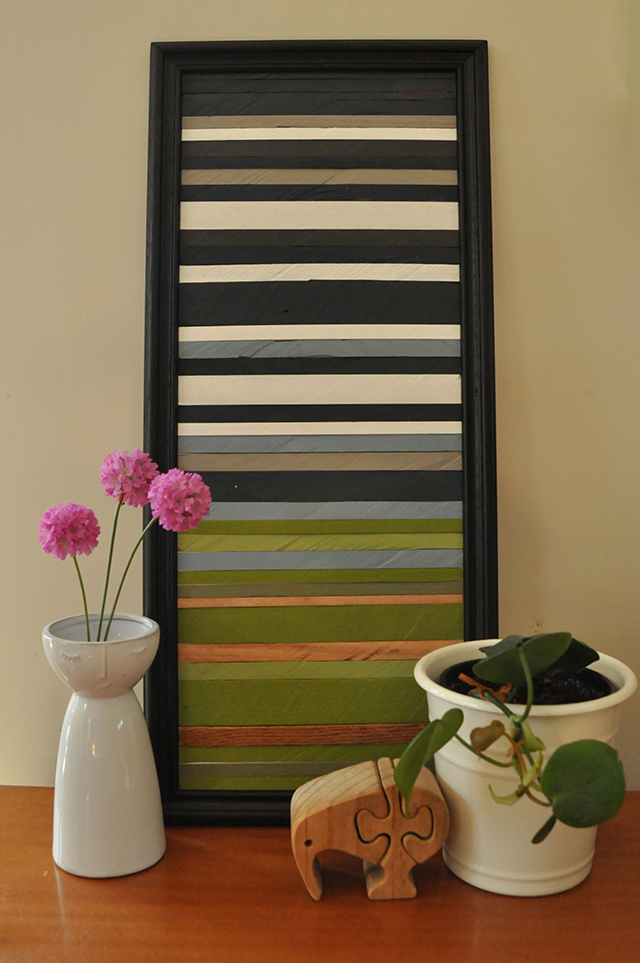
Styling and photography by Fleur Thorpe.
Published: 24 May 2018

