
latest
habitat tv

Say goodbye to the morning scramble for keys, coats and sunglasses and hello to this… see this and more videos
blog

Brick Bay unveils its poetic new folly for 2026
The winner of the 2026 Brick Bay Folly competition has been unveiled. Within the Wings… more
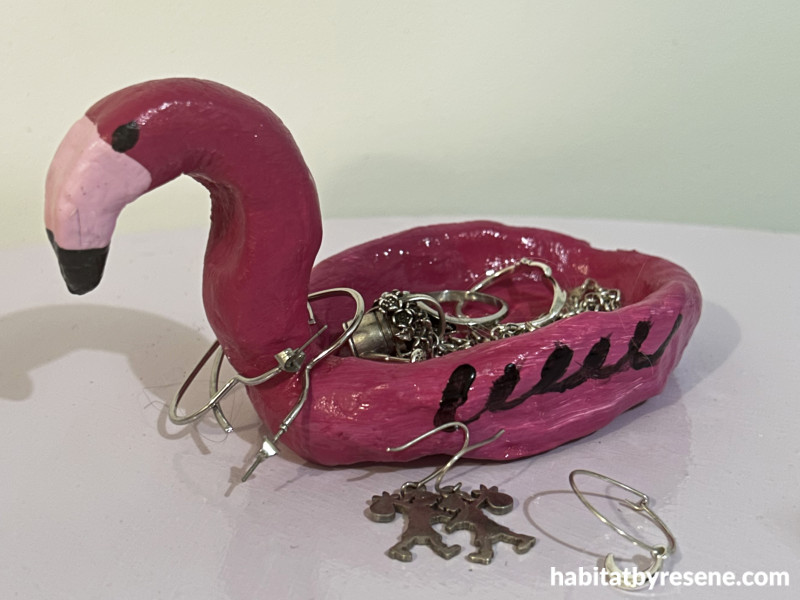
Get your pink on with this DIY flamingo jewellery holder
31 Jul 2023
Hop on the Barbie train and get your favourite pink testpots from your local Resene ColorShop to make this fun DIY. Keep your jewellery flocking together with an adorable flamingo holder for your bedside table. You can enjoy the creative touch of painting, as well as making and shaping your own flamingo, or animal of your choice!
You will need:
- Air dry clay
- A fork or scoring tool
- Water
- Paintbrushes
- Resene Aquaclear waterborne urethane varnish
- Resene testpots in colours of your choice. Emma used Resene Black, Resene Colour Me Pink and Resene Ballerina
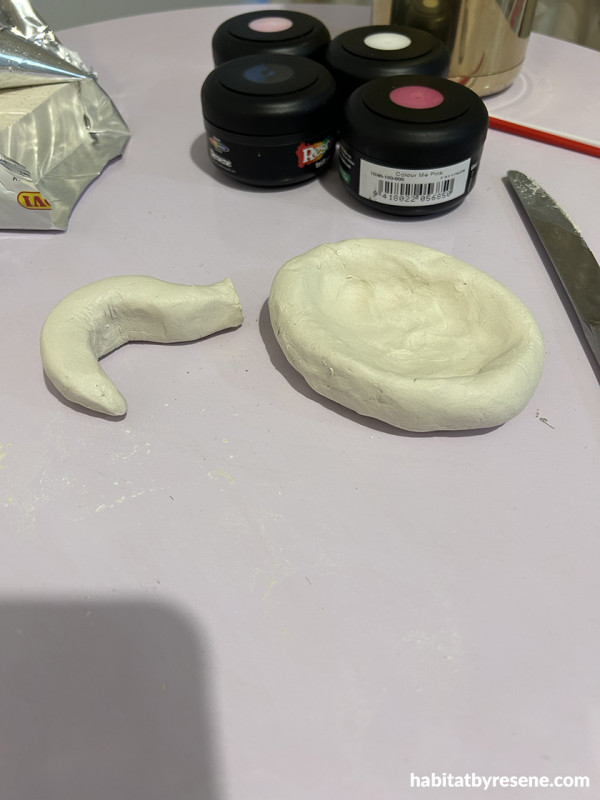
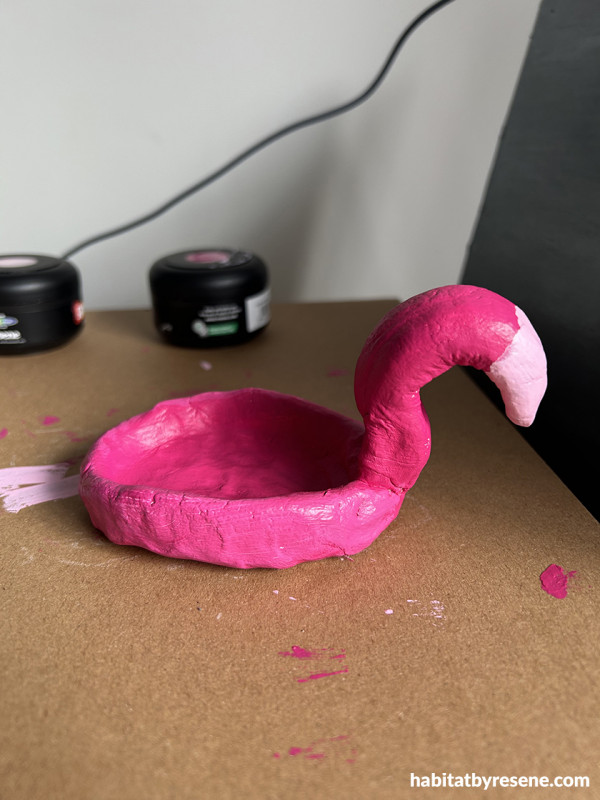
Step 1: Start by moulding a base and neck out of the air-dry clay.
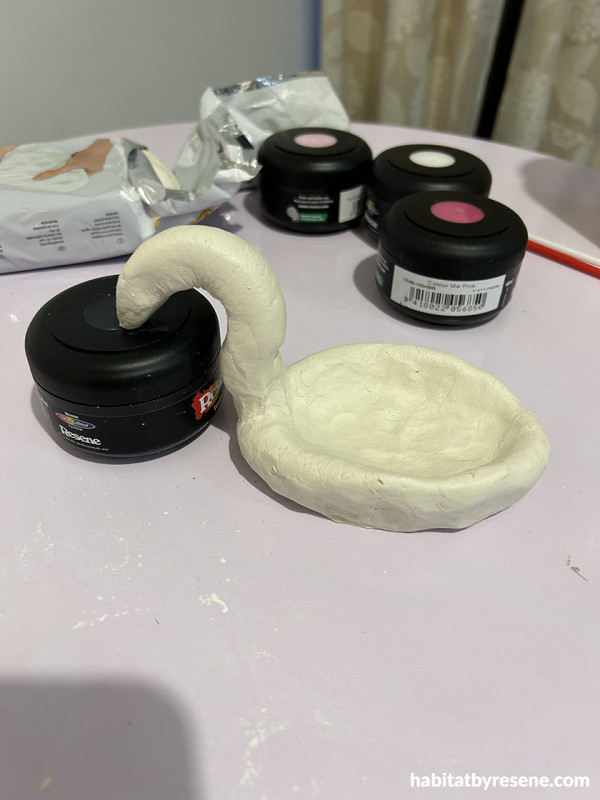
Step 2: To attach the neck to the base start by mixing a little bit of clay with water, then score the base of the neck and top of the flamingo base with a fork. Next, use a paintbrush to paint the clay and water mixture to the area that you’ve scored. Attach the neck to the base and smooth down the edges of the clay. Leave the clay to completely dry, this may take a few days. To help the neck dry in place, use a Resene testpot to hold it still.
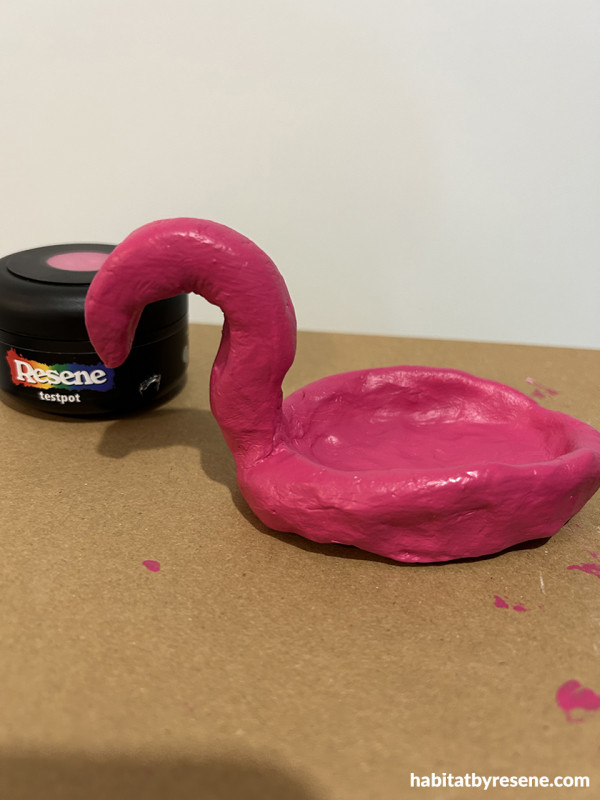
Step 3: After the clay is completely dry and hard to the touch, paint two coats of your chosen Resene paint colour onto the flamingo. Emma used Resene Colour Me Pink. Wait for the first coat to dry before painting the second.
Step 4: Apply two coats of your chosen Resene paint colour to the beak of the flamingo. Emma used Resene Ballerina.
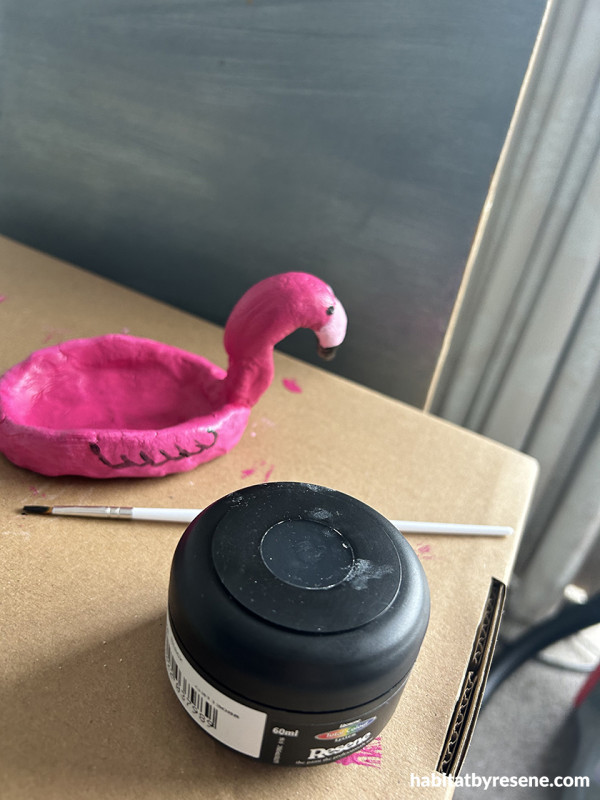
Step 5: After the beak has dried, use another of your chosen Resene paint colours for the eyes, nose and wings. Emma used Resene Black.
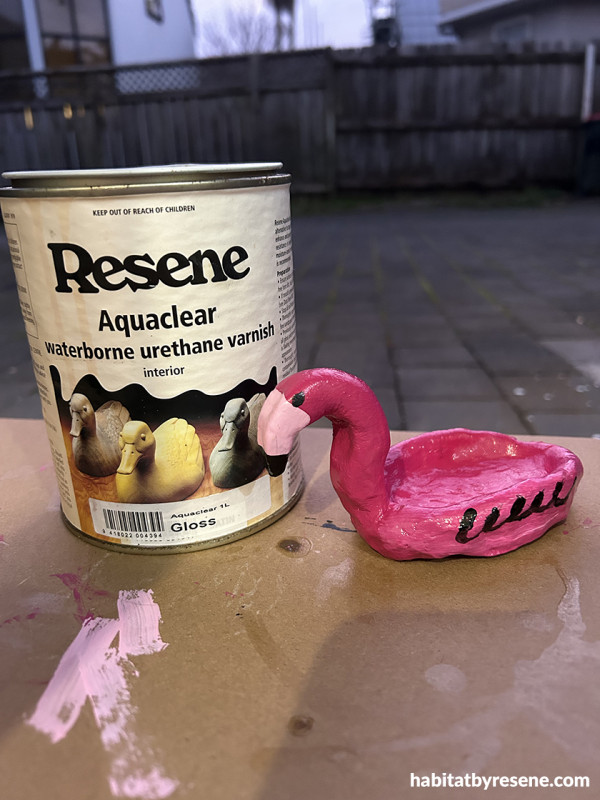
Step 6: To keep your paint looking fresh and easy to dust, finish the flamingo with Resene Aquaclear waterborne urethane varnish. Or you could use Resene Concrete Clear if you prefer.
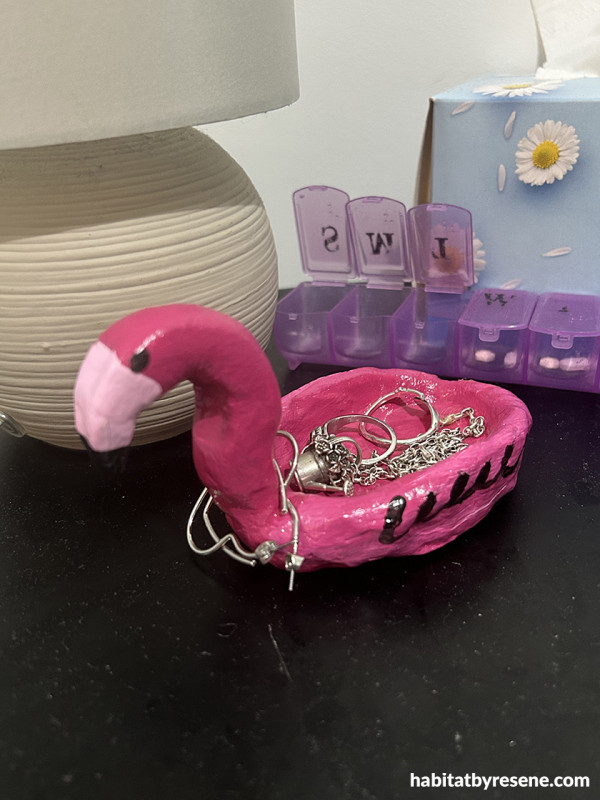
Step 7: Once dry, put your favourite jewellery on the flamingo. If you’ve made the neck thin enough, this can be used to hold your rings.
project and images Emma Napper
Published: 31 Jul 2023

