
latest
habitat tv

Say goodbye to the morning scramble for keys, coats and sunglasses and hello to this… see this and more videos
blog

Reader roundup: See what our readers have been up to!
Refurbished vintage furniture, charming exteriors and magnet walls for kids. These projects are sure to… more
Glow and behold: DIY lampshade food covers
04 Feb 2025
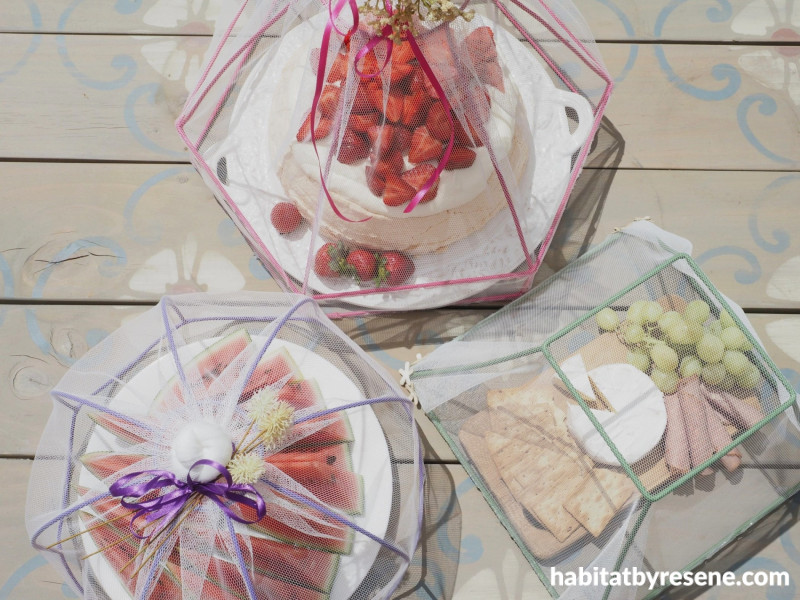
Give your outdoor dining setup a stylish twist with these upcycled lampshade food covers! Not only do they keep pesky flies and bugs at bay, but they also add a charming, decorative touch to your table. Follow this simple DIY to create your own unique covers, perfect for picnics, garden parties and alfresco dining.
You will need:
Lampshades with metal frames
Sandpaper
Resene ArmourX GP Metal Primer
Paintbrush
Tulle fabric
Hot glue gun
Rubber band
Ribbon and faux flowers
Resene testpots in your chosen colours. Fleur used Resene Irresistible, Resene Green House and Resene Kingfisher Daisy

Step 1: Get everything together and have your old lampshades ready.
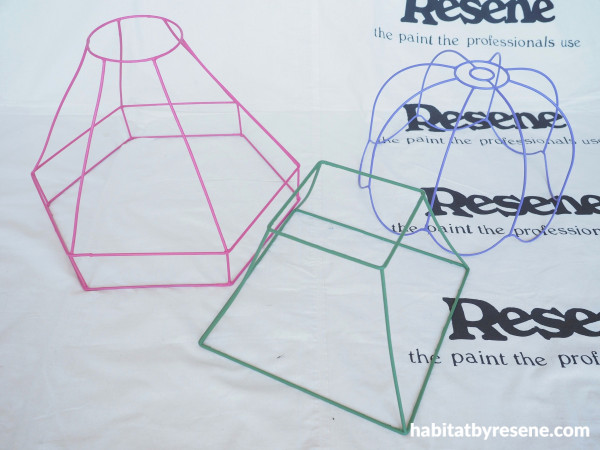
Step 2: Start by removing the fabric from the lampshades. Sand the metal frames with medium grit sandpaper. Prime with one coat of Resene ArmourX GP Metal Primer and once this is dry, paint with two coats of your chosen paint colour. Fleur used Resene Irresistible, Resene Green House and Resene Kingfisher Daisy.
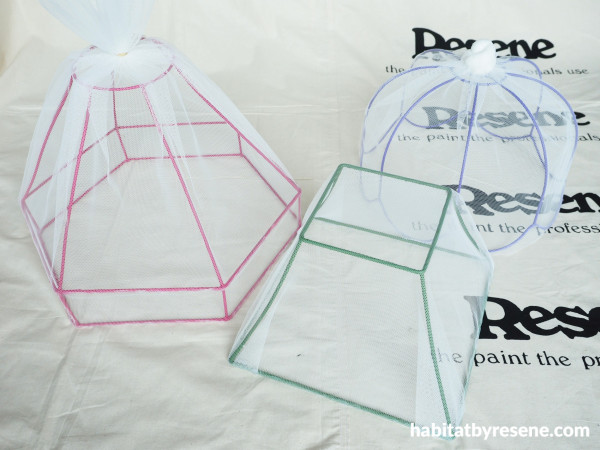
Step 3: For the Resene Irresistible and Resene Kingfisher Daisy shades, Fleur used a hot glue gun to glue the fabric to the bottom edge of the lampshade, and then worked around the shade, gluing it as she went. Once back to the start, Fleur cut off the excess fabric and bunched the fabric together at the top, tying it together with a rubber band. You can leave the fabric like this, or twist it around into a top knot and secure with more hot glue (like the Resene Kingfisher Daisy shade).
For the Resene Greenhouse shade, Fleur draped the fabric over the top of the lamp shade and pulled it tight, attaching it with hot glue around each of the four sides. She then bunched the fabric at each corner and secured it with more hot glue.
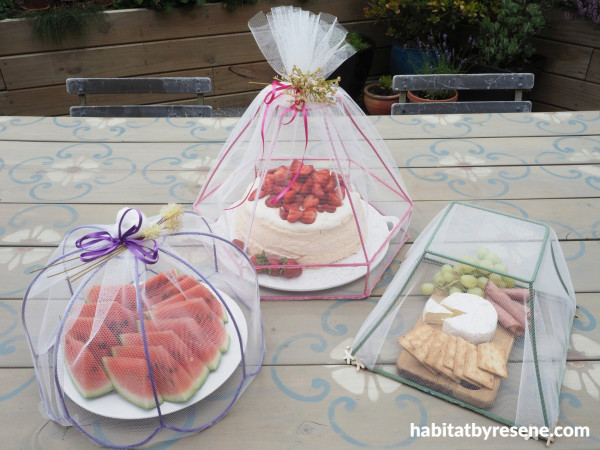
Step 4: Embellish as much as you like by attaching faux flowers and ribbon.
Table painted in Resene Blue Bayoux, Resene Parchment, Resene Cumin with Resene Waterborne Woodsman Equilibrium wood stain.
project and images by Fleur Thorpe
Published: 04 Feb 2025

