How to make your own DIY animal plant pots for the kids
16 Jun 2022
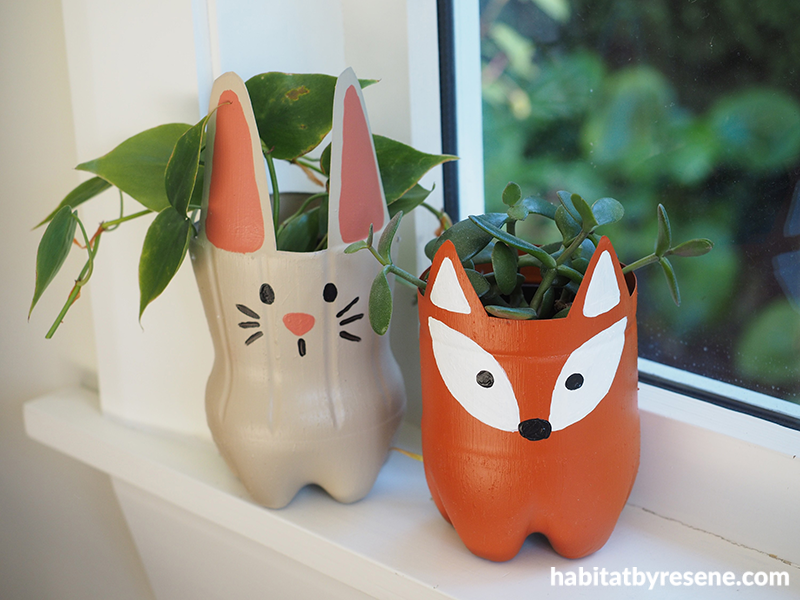
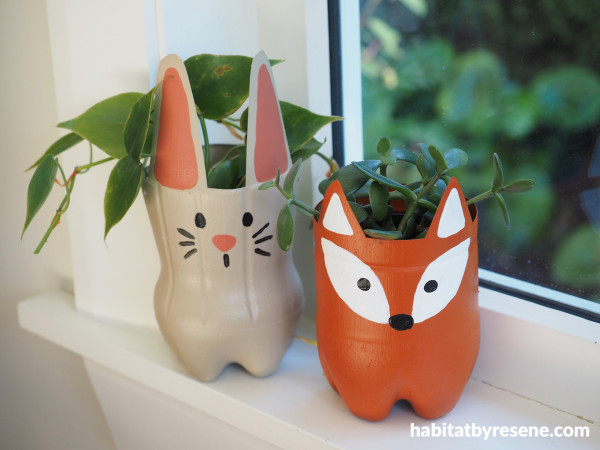
Have you ever seen cuter plant pots? This might just be the most adorable way to re-use old plastic bottles and give them a second life. It’s a great DIY to get crafting with the kids over the weekend.

These planters are bright and bold in Resene Fire, Resene Double Pavlova, Resene Apple Blossom, Resene White and Resene Black. Architraves in Resene Half Rice Cake and wall in Resene Carrara.
You will need:
- Two empty plastic bottles
- Sandpaper
- Resene Waterborne Smooth Surface Sealer
- Permanent marker pen
- Scissors or craft knife
- Resene testpot in paint colours of your choice (Fleur used Resene Fire, Resene Double Pavlova, Resene Apple Blossom, Resene White and Resene Black)
- Paintbrush
How to:

Step 1: Start by giving the bottom half of your bottles a sand with sandpaper. Fleur used coarse sandpaper (60 grit) which left the surface quite rough. When painted this gave the finished item a ‘hairy’ look. If you don’t want this, use finer sandpaper.

Step 2: Use a permanent marker to draw the shape of your animal onto the bottle. Use scissors or a craft knife to cut out the shape.

Step 3: Paint on one coat of Resene Waterborne Smooth Surface Sealer and allow to dry

Step 4: For the fox, paint on two coats of Resene Fire, and for the rabbit, paint on two coats of Resene Double Pavlova. Allow the first coat to dry before applying the second coat.

Step 5: Use Resene White to start adding on some of the facial features to the fox, and Resene Apple Blossom for the rabbit.

Step 6: Finish painting the faces with Resene Black. Fleur placed a pot plant in each bottle that was already in its own plastic pot If you want to put soil directly into the bottle, make sure you drill drainage holes in the bottom of the bottles first. You could also experiment with hanging these planters, by drilling or punching three holes around the top edge, threading string through and tying them up as a hanging planter.
project and images Fleur Thorpe
Published: 16 Jun 2022


