
latest
habitat tv

Say goodbye to the morning scramble for keys, coats and sunglasses and hello to this… see this and more videos
blog

Re-living the 1980s through art
Clint C is an artist whose work instantly sparks recognition and joy. Based in Hamilton,… more
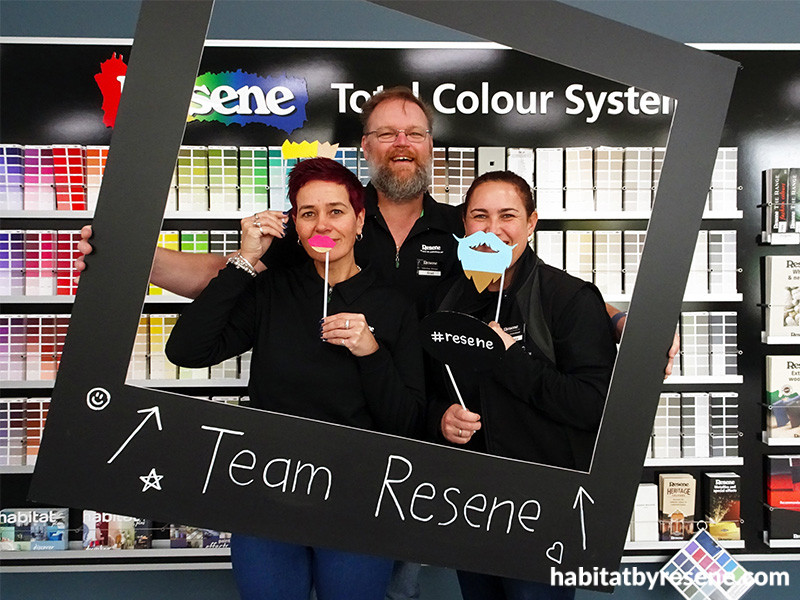
Make your own photo booth
18 Dec 2019
Scrambling to find that little something extra for your New Year’s party or summer wedding? A photo booth is the perfect way to bring people together to create lasting memories. The best part is you don’t have to break the bank and hire one out. With this simple DIY project, you can create your own bespoke and easy to transport photo booth.
You will need:
- One large square of MDF or very strong cardboard (Sarah used an MDF sheet measuring 1200mm x 1200mm and 4.75mm thick)
- Suitable saw or sharp craft knife depending on your material (Sarah used a skill saw)
- Sandpaper or electric sander
- Resene testpot roller kit and sleeves
- Resene Quick Dry waterborne primer undercoat
- Resene Blackboard Paint
- Resene Lumbersider tinted to Resene Black White
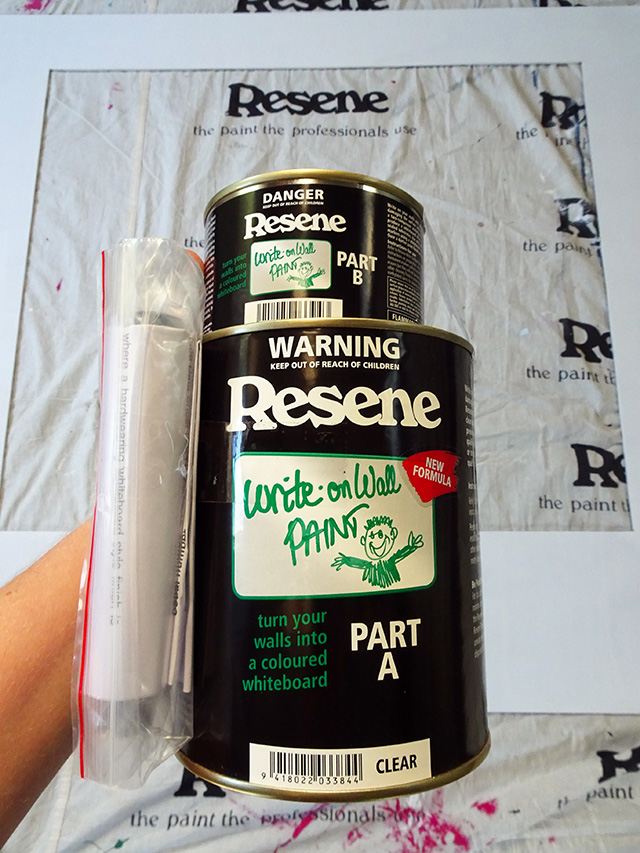
- Resene Write-on Wall Paint
- Chalk/high-quality whiteboard markers
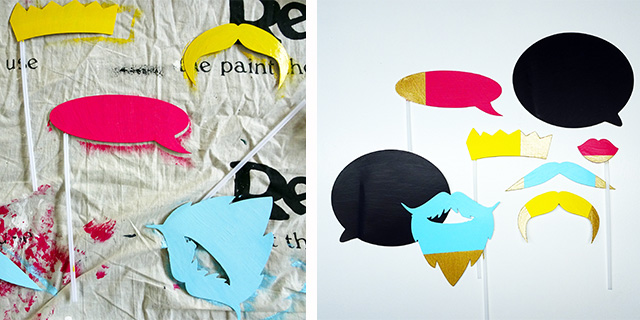
- Resene testpots in your choice of colours to add character to your photo booth props – Sarah used Resene Irresistible, Resene Spray, Resene Bright Spark, Resene Solid Gold and Resene FX Blackboard Paint.
Step 1 Measure out the size of your photo booth based on the shape of a Polaroid photo. The bottom edge of the frame will need to be wider to allow for writing. Cut and sand your frame.
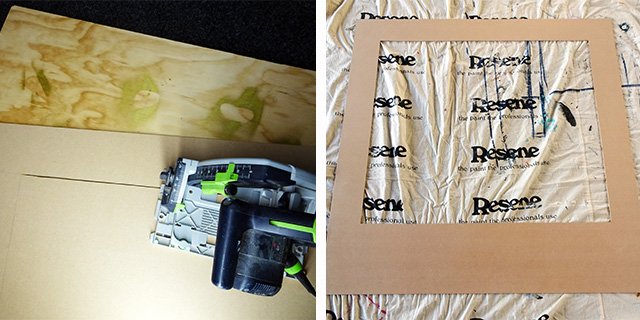
Step 2 Using a testpot roller, apply one coat of Resene Quick Dry waterborne primer undercoat to both sides of the frame. Make sure each side is completely dry before flipping it over to paint the reverse.
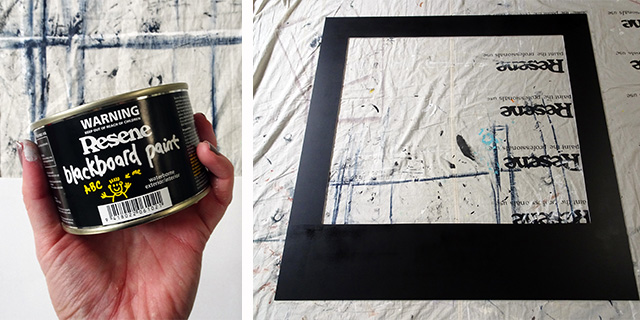
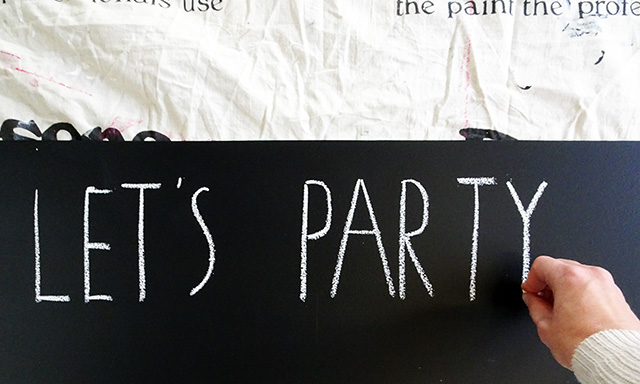
Step 3 Apply two coats of Resene FX Blackboard Paint to one side of the frame using a testpot roller.
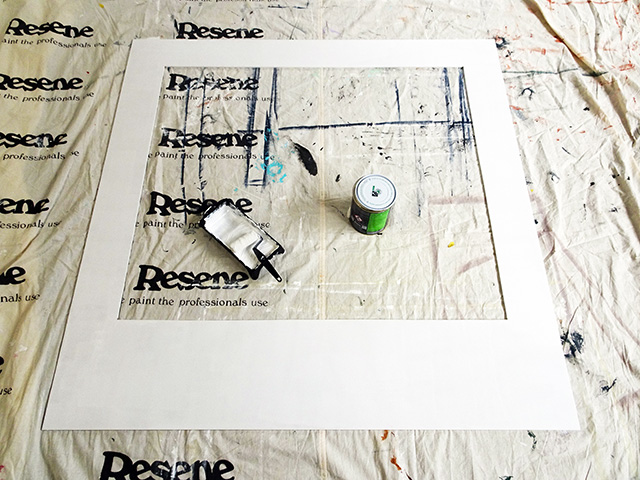
Step 4 Once your first side is complete, flip the frame over and apply two coats of Resene Lumbersider in Resene Black White using a testpot roller.
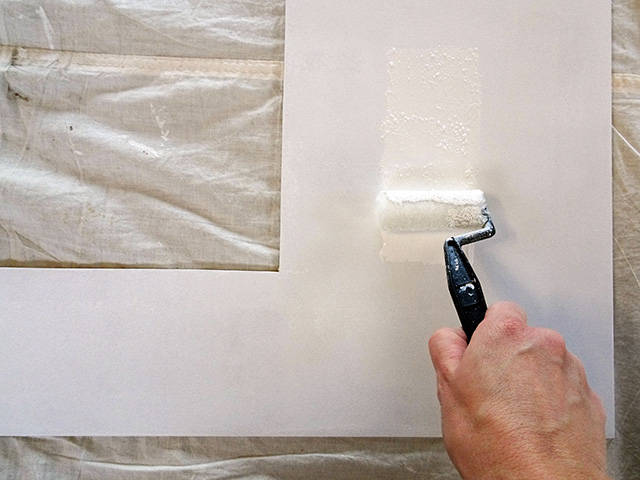
Step 5 Once the Resene Black White paint has dried completely, mix up your Resene Write-on Wall Paint according to the instructions. Using a clean testpot roller sleeve, apply two coats of the Resene Write-on Wall Paint. Wait for this to cure as per the product instructions on the side of the tin.
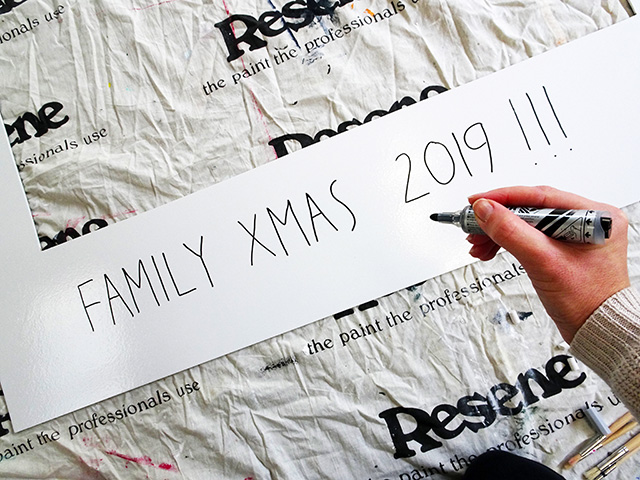
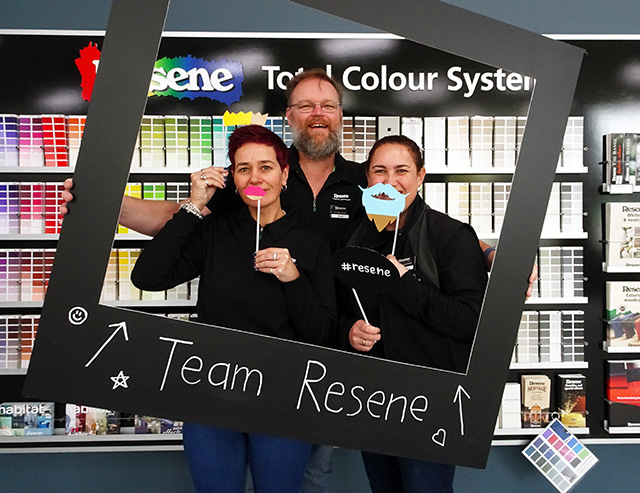
Step 6 Once your board is ready to use, simply add your hashtag, event description, guest names or whatever you like in the lower part of the frame. The best thing about this photo booth is that you can easily erase and change your text to reuse the frame for different events. Perfect for baby showers, hen parties, birthdays and much more!
Step 7 (Optional) If you also love a good photo booth prop, why not make some of your own like Sarah did. You could paint over existing props purchased from a dollar store or cut and make your own. Sarah painted them in a selection of bright colours using Resene testpots and Resene FX Blackboard Paint. Have fun and be creative!
Top tip: To get the most use out of your Resene Write-on Wall Paint, plan a few projects using it that you can paint at the same time, such as this photo frame and noticeboard areas. That way, you’ll get multiple writable wall features out of one pack.
project and images Sarah Herring
Published: 18 Dec 2019

