
latest
habitat tv

Say goodbye to the morning scramble for keys, coats and sunglasses and hello to this… see this and more videos
blog

Reader roundup: See what our readers have been up to!
Refurbished vintage furniture, charming exteriors and magnet walls for kids. These projects are sure to… more
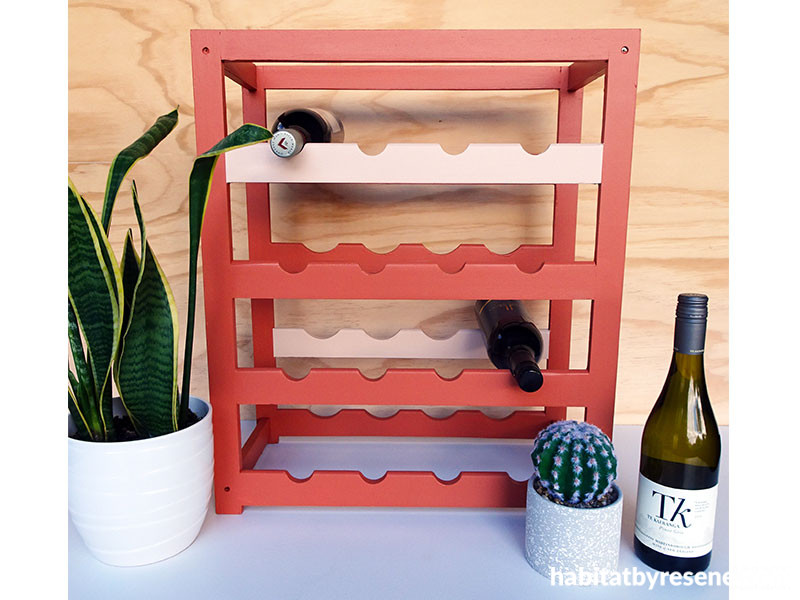
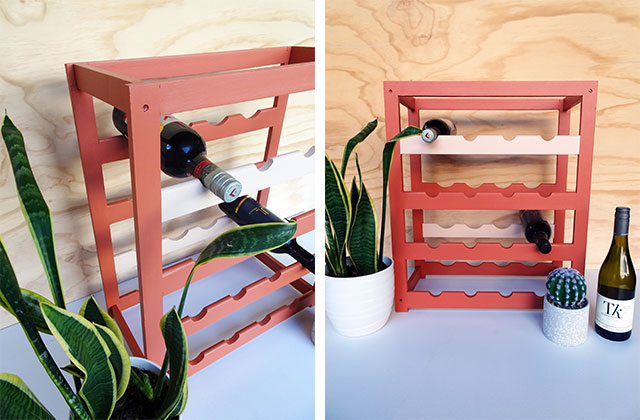
An op-shop wine rack gets brought into the 21st century
12 Sep 2019
Update a plain old wine rack with on trend colour.
You will need:
Sandpaper
Testpot brushes
Painter’s masking tape and scissors
Resene Quick Dry primer undercoat
Resene Aquaclear Natural
Resene testpots in your choice of colours – Sarah used Resene Wild West and Resene Cashmere
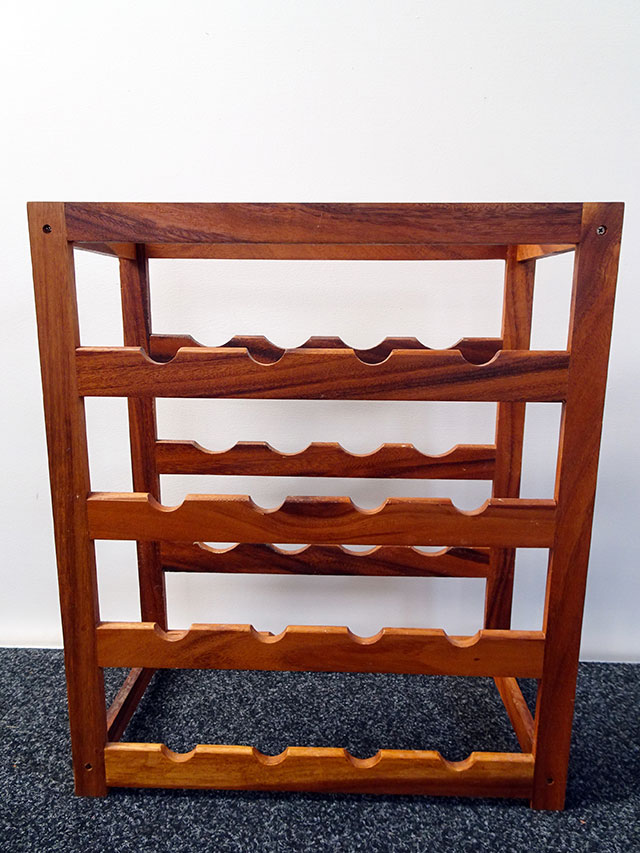
Step 1 The first step with upcycling second-hand items is to always clean and check for any damage or parts that need repairs. Sarah’s timber wine rack was very wobbly, so she started by tightening up all the screws (no-one likes spilled wine!) and then sanded back the timber with sandpaper to prepare it for painting.
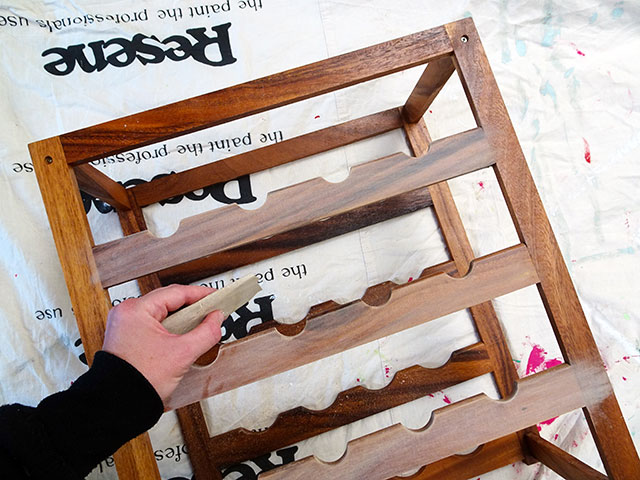
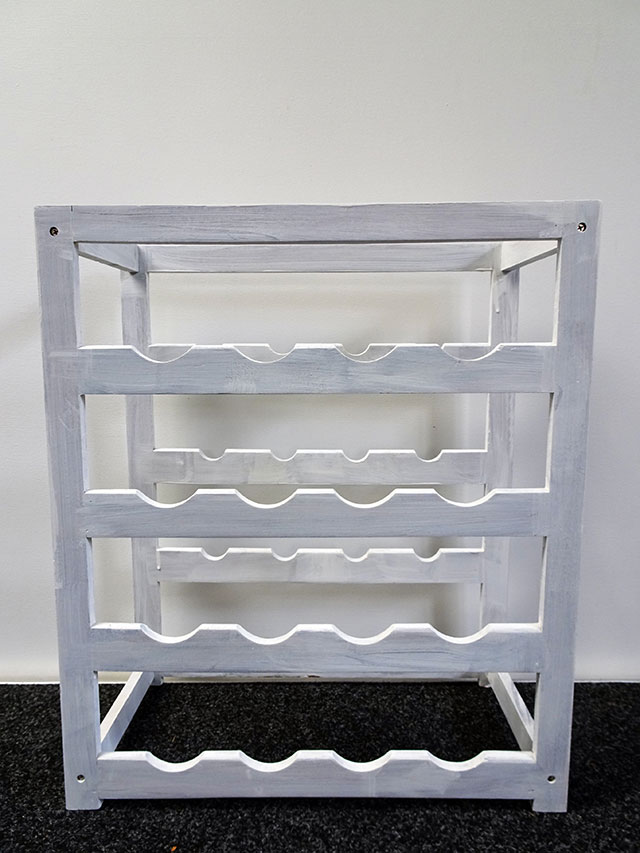
Step 2 Prime using one coat of Resene Quick Dry primer undercoat using a testpot brush and allow to dry.
Step 3 Once the primer is dry, apply two coats of your chosen main colour, Sarah used Resene Wild West. Painting items with a lot of different surface areas can be tricky, but if you don’t overload the brush with paint, you should be able to avoid drip marks. Sarah painted the whole wine rack in Resene Wild West, with the exception of two rails.
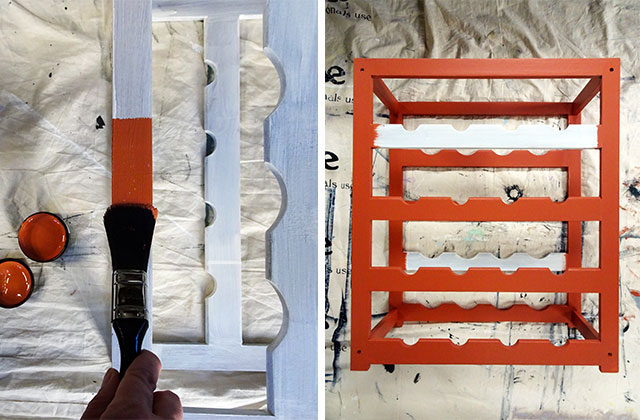
Step 4 Once the main colour is dry, paint the two remaining rails with your second chosen colour. Sarah used Resene Cashmere. Breaking up the main colour gives the wine rack a fun and modern point of difference. Sometimes the best part of upcycling old items is making them totally unique.

Step 5 Once all the paint has dried, you can apply a clear varnish. Sarah finished the wine rack by applying three coats of Resene Aquaclear Natural to provide extra protection.
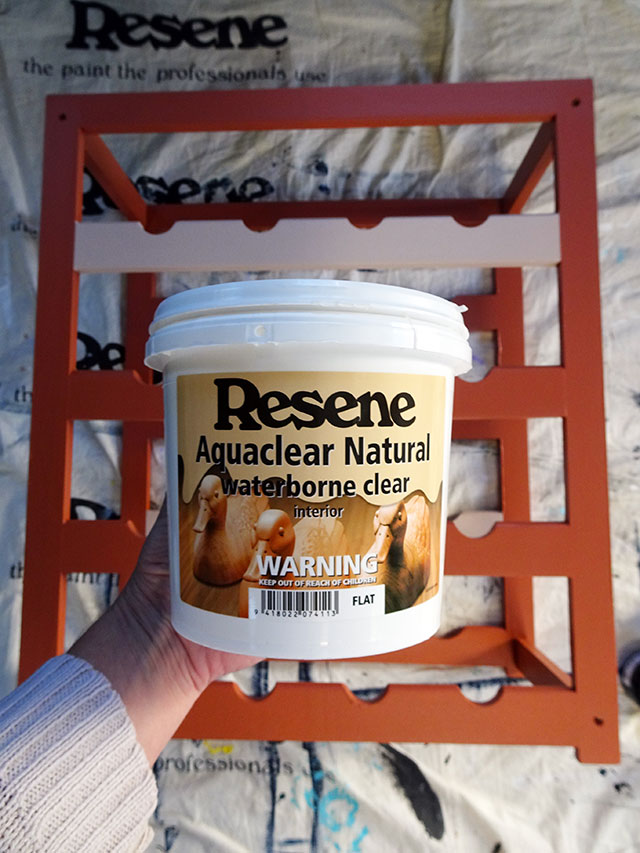
Top tip: Resene Aquaclear comes in a range of finishes – gloss, semi-gloss, satin and natural. Usually the higher the gloss level the easier the surface will be to wipe clean.
Project and images Sarah Herring
Published: 12 Sep 2019

