
latest
habitat tv

Say goodbye to the morning scramble for keys, coats and sunglasses and hello to this… see this and more videos
blog

Reader roundup: See what our readers have been up to!
Refurbished vintage furniture, charming exteriors and magnet walls for kids. These projects are sure to… more

How to make an outdoor plant stand
01 Mar 2025
Protect your surfaces and literally elevate your plant pots with this pot stand. Complement your flowers by painting your pot stand in Resene colours inspired by your flowers or use a Resene wood stain for a more natural look.
You will need:
4x pieces of 40mm x 40mm x 300mm (h) pine for the legs
8x pieces of pine 40mm x 40mm x 260mm (long) to construct the two frames.
Ruler
Drop saw or hand saw
Try square
10mm drill bit and electric drill
10mm pine doweling
Chisel
Mallet
Sander or sandpaper
Paintbrush
PVA glue
Resene testpots. We used Resene Caper & Resene Bianca
Step 1: Cut four pieces of pine to 40mm x 40mm x 300mm for the legs.
Cut eight pieces of pine to 40mm x 40mm x 260mm to make the two horizontal frames, one for the plant pot to rest on and the other to sit underneath to keep the legs sturdy.
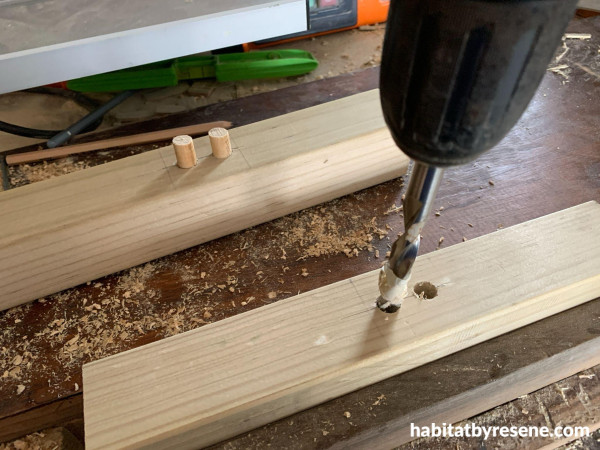
Mark off with a ruler and try square 120mm and 100mm from each end that will give 40mm for the two dowels to be inserted 15mm from the edge for the cross bars to make the frames.
Using a 10mm drill bit and electric drill, create your holes and insert the dowelling
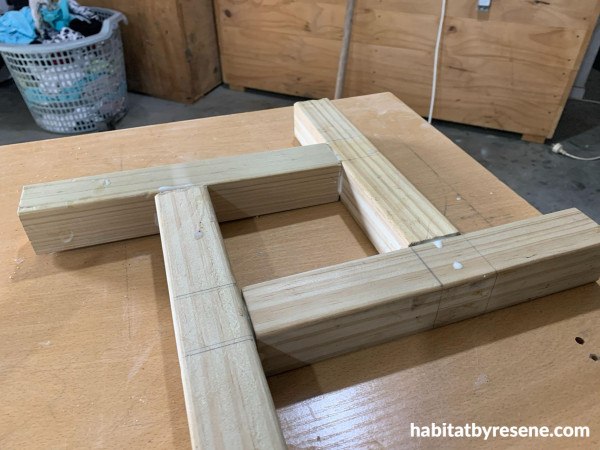
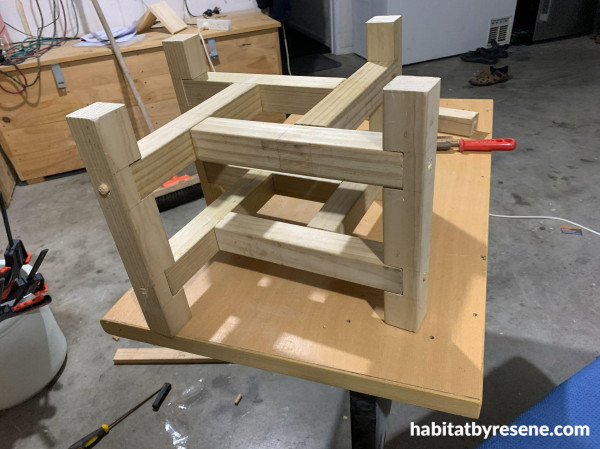
Step 2: To assemble the first horizontal frame take four of the 40mm x 40mm x 260mm lengths of pine, place them on a flat surface allowing a small square of 120mm x 120mm in the centre. Then to keep the structure stable use PVA glue and a mallet if needed, to attach each piece to the next using the dowels to anchor the joints. Repeat this step on the other four pieces of 40mm x 40mm x 260mm lengths to make the second frame.
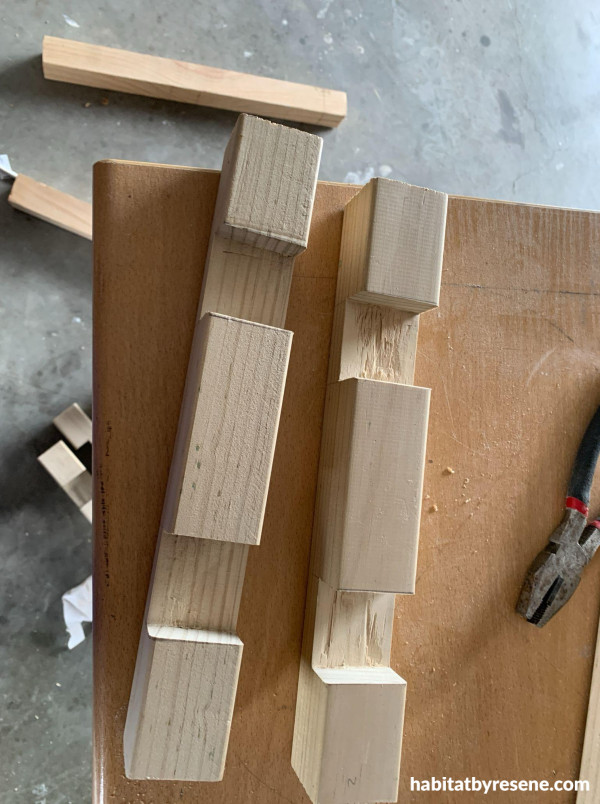
Step 3: On the lengths of pine for the legs (40mm x 40mm x 300mm) mark with a pencil 60mm from the ends and another 100mm for the joints. Cut the joints 20mm deep with a saw and chisel. Use a file to clean the joints.
Step 4: To attach the two frames to the legs, use a dado joint with the doweling going into the vertical legs of the outdoor plant stand.
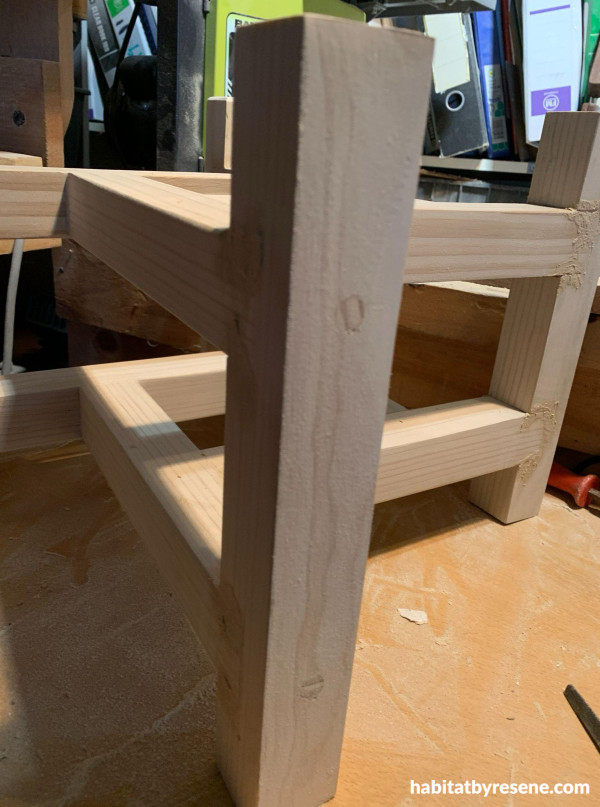
Step 5: Join the parts with dowels and PVA glue and use clamps to keep the structure square whilst it dries.
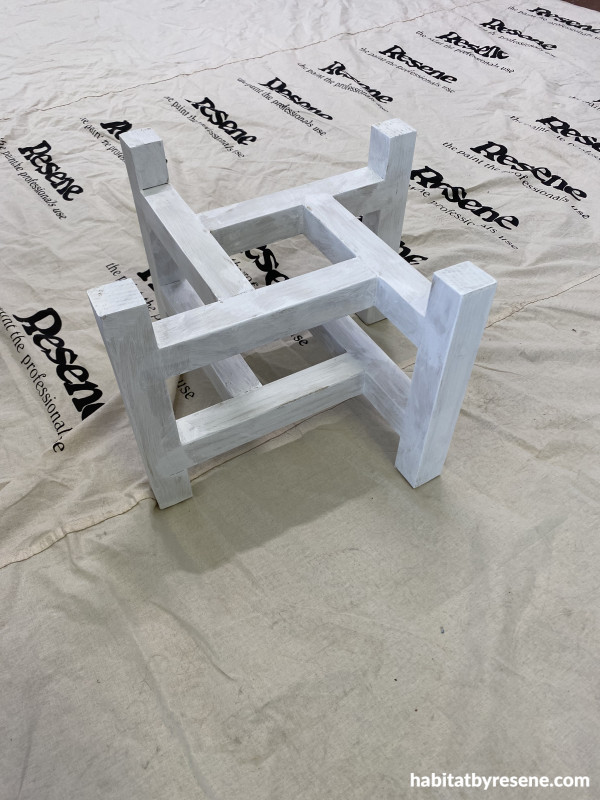
Step 6: Once dry, sand and wipe off the sanding dust with a damp cloth. Apply one coat of Resene Quick Dry primer before applying two coats of your favourite Resene colour allowing dry time between coats. We used Resene Caper.
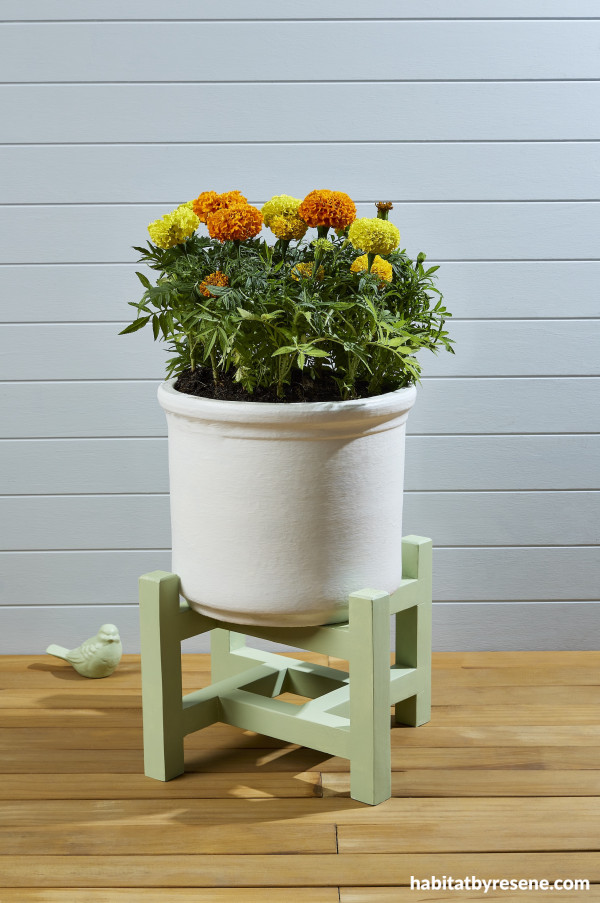
Wall painted in Resene Quarter Powder Blue, deck stained in Resene Woodsman Decking Oil Stain in Resene Natural, pot in Resene Bianca and plant stand and bird in Resene Caper.
Top tips:
For a higher sheen finish, use Resene Lustacryl (semi-gloss) or Resene Enamacryl (gloss). The higher the sheen finish the more your colour will pop and the easier the stand will be to wash or wipe clean.
To help hide any imperfections in the timber, use a lower sheen finish, like the Resene Lumbersider Low Sheen we used.
Or for a textured effect use Resene Sandtex Mediterranean effect.
If you prefer a more natural timber-look, finish your plant stand in Resene Waterborne Woodsman or Resene Woodsman Wood Oil Stain.
project Ivan Moses
stylist Megan Harrison-Turner
images Bryce Carleton
Published: 01 Mar 2025

