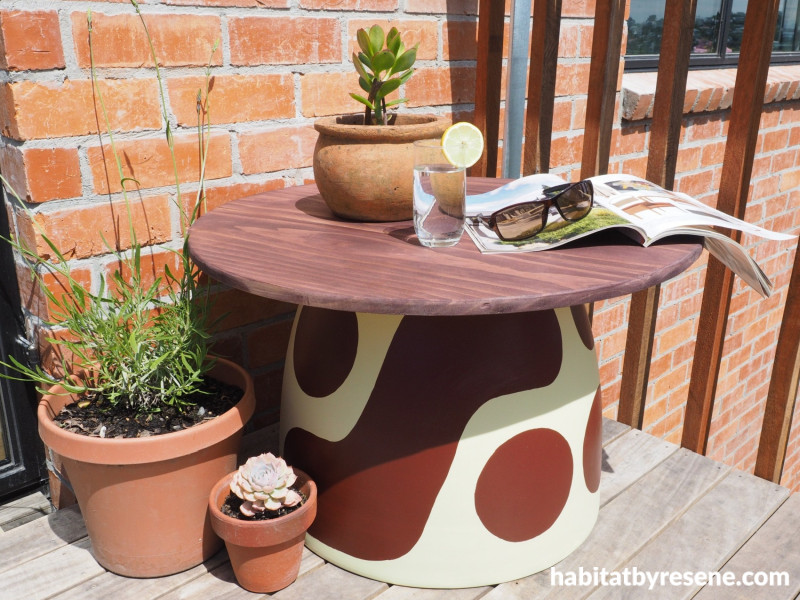
Pot luck: A DIY terracotta table to top off your space
13 Nov 2024
Transform a humble terracotta pot into a stylish, sturdy table that’s sure to be the centre of attention at your next gathering! With a few simple steps and a splash of your favourite Resene colours, you’ll have a versatile piece that brings rustic charm to any indoor or outdoor setting.
You will need:
- Large terracotta pot
- Resene Aquapel & Terracotta Sealer
- Paintbrush
- 1m of treated pine board, 230mm wide x 18mm thick
- Saw
- Wood glue
- Pocket hole jig
- Electric drill and galvanised screws
- Measuring tape
- Pencil, nail and string for compass
- Jig saw or band saw
- Sandpaper
- Rag or cloth
- Industrial adhesive suitable for outdoor use
- Resene testpots in your chosen shades. Fleur used Resene Yuma and Resene Volcano
- Resene Woodsman stain in the colour Resene Tamarind
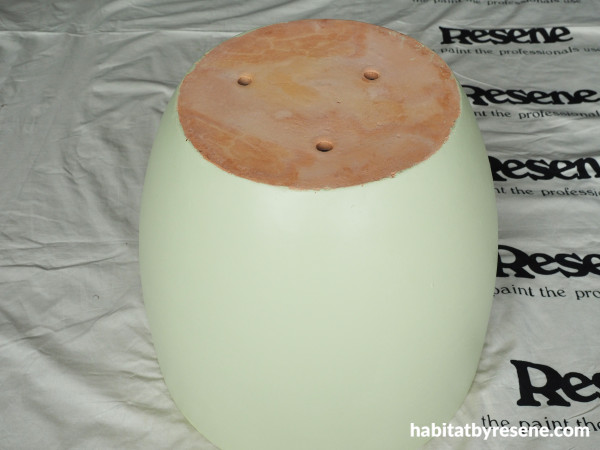
Step 1: Start by sealing the pot inside and out with Resene Aquapel & Terracotta Sealer. Once the sealer and primer is dry, paint on two coats of your chosen colour. Fleur used Resene Yuma.
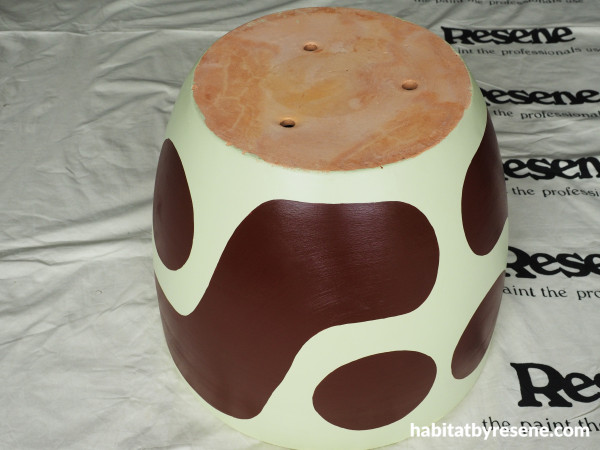
Step 2: Once the paint is dry, paint on a pattern in another of your chosen Resene colours. Fleur used Resene Volcano.
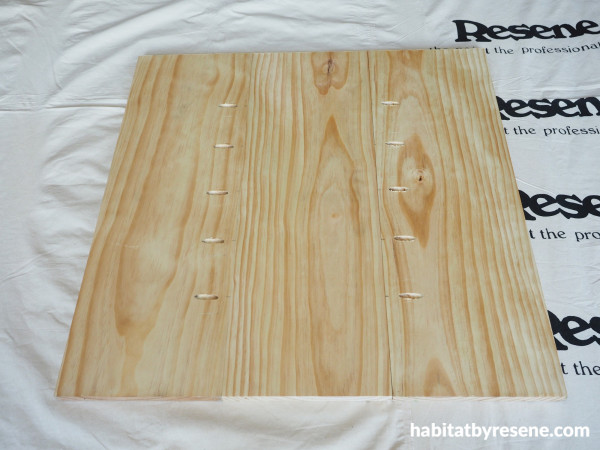
Step 3: For the wooden table top, cut three lengths of 230mm wide treated pine board to 69cm long. Use exterior wood glue to glue the edges together and secure with some galvanised screws. Use a pocket hole jig for the screws, but if you don’t have one of these, you can just drive your screws in at an angle.
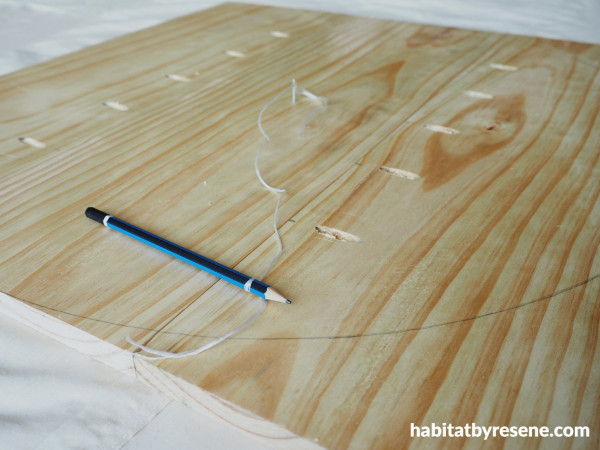
Step 4: Measure to find the middle of the boards and make a simple compass with a nail, string and pencil. Use the pencil stretched out on the string to draw a circle with a circumference of 69cm around the boards. Use a jig saw or band saw to cut the circle out. Sand the edges smooth. Use a rag or cloth to wipe on Resene Woodsman Tamarind – or another colour of your choice.
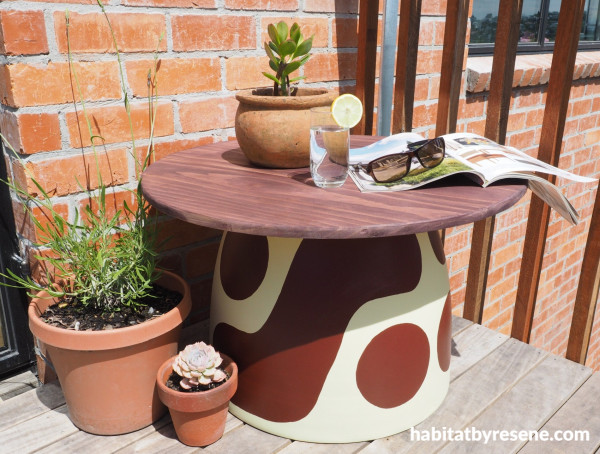
Step 5: Use strong industrial strength adhesive suitable for exterior use to glue the wooden table top to the terracotta pot.
project and images by Fleur Thorpe
Published: 13 Nov 2024


