
latest
habitat tv

Say goodbye to the morning scramble for keys, coats and sunglasses and hello to this… see this and more videos
blog

Reader roundup: See what our readers have been up to!
Refurbished vintage furniture, charming exteriors and magnet walls for kids. These projects are sure to… more

Stack it up! A colourful DIY garden sculpture
05 Mar 2025
Add a pop of personality to your garden with this vibrant stacked sculpture! Using simple materials and bold Resene colours, you can create a playful, eye-catching feature that sways in the breeze and brings a touch of whimsy to your outdoor space.
You will need:
Treated pine wood
Electric drill
Pencil
Jig saw or band saw
Sandpaper
Paintbrush
Resene Quick Dry primer undercoat
2m length of 12mm galvanised steel rod
ReseneArmourX GP Metal Primer
Wire
Pliers
Resene testpots in your favourite colours. Fleur used Resene Pirate Gold, Resene Green House, Resene Saratoga, Resene Pohutukawa, Resene Blue Diamond and Resene Teal Blue
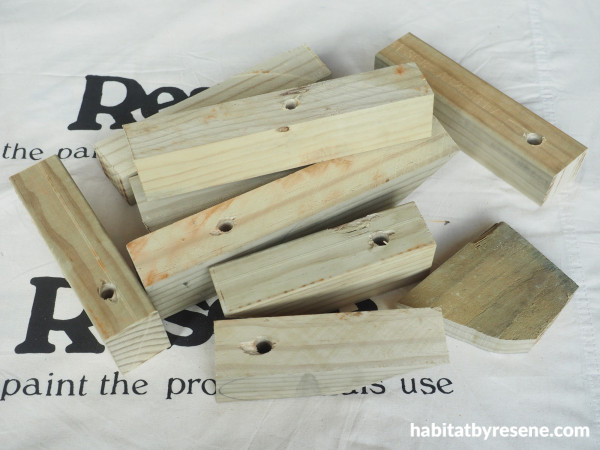
Step 1:Start by cutting your wood into rough lengths. Use an electric drill to drill holes into each piece. The hole needs to be big enough for the galvanised rod to fit into.
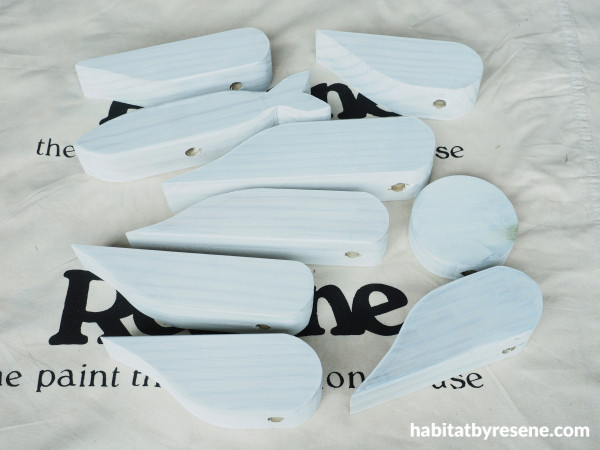
Step 2: Use a pencil to trace your shapes on to the wood, and then use a jig saw or band saw to cut the shapes out. Sand rough edges smooth. Wipe away the dust and prime with one coat of Resene Quick Dry.
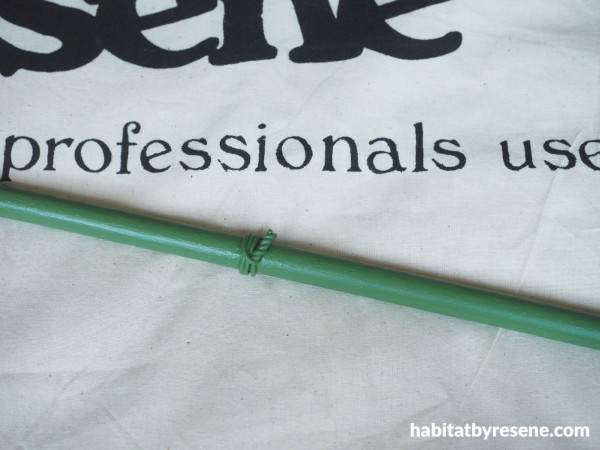
Step 3: Measure all your wooden pieces stacked together like they would be on the sculpture and mark this measurement on to your steel rod, down from the top. Wrap a short length of wire a couple of times around the steel rod at this measurement mark, and use pliers to twist and tighten the wire – this will stop the wooden pieces from slipping down the rod. Prime the rod with one coat of Resene ArmourX GP Metal Primer, and once dry, paint with two coats of your chosen colour. Fleur used Resene Green House.
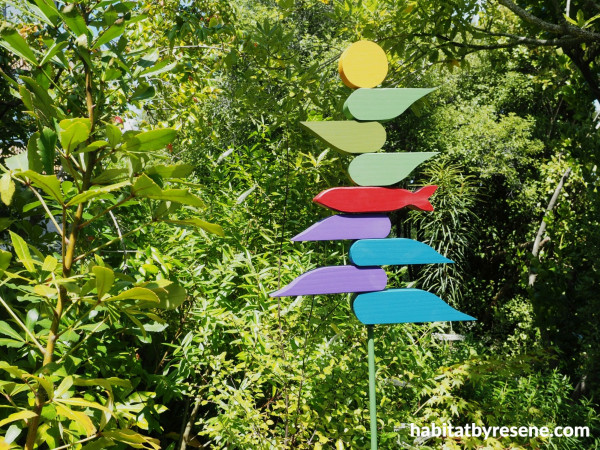
Step 4: Paint all the wooden pieces with your chosen colours. Fleur used Resene Pirate Gold, Resene Green House, Resene Saratoga, Resene Pohutukawa, Resene Blue Diamond and Resene Teal Blue. Use a hammer to bang the rod into the ground and once the wooden pieces are dry, slot them on to the rod. Put the sculpture in your garden and enjoy!
project and images Fleur Thorpe
Published: 05 Mar 2025

