
latest
habitat tv

Say goodbye to the morning scramble for keys, coats and sunglasses and hello to this… see this and more videos
blog

Brick Bay unveils its poetic new folly for 2026
The winner of the 2026 Brick Bay Folly competition has been unveiled. Within the Wings… more
How to make a side table with suitcase storage
28 Aug 2025
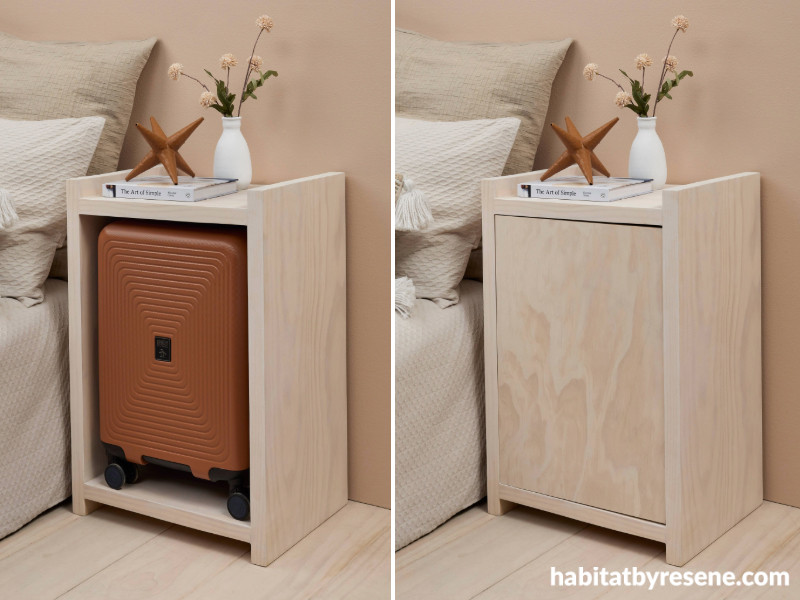
Almost every overnight guest arrives with a suitcase, so why not create a stylish and practical place for it to rest? This DIY side table instantly elevates your guest room, keeping the floor clutter-free while adding a thoughtful touch. By finishing ours in Resene Colorwood Whitewash, we’ve achieved a minimalist Scandinavian look that enhances the natural beauty of the wood. The result is a guest space that feels polished, welcoming and effortlessly functional.
You will need:
- Wood vertical panels x 2: 700mm (h) x 360mm (w) x 32mm
- Wood horizontal panels x 2: 360mm (w) x 385mm (d) x 32mm
- Flat dowels/wood joining biscuits x 12
- Drill with 10m bit
- Kreg pocket hole jig
- Sander
- Sash clamps
- Electric saw
- Sander
- PVA glue
- Resene Colorwood stain of choice – we used Resene Colorwood Whitewash
Optional
- Wood front panel (optional) x 1: 550mm (h) x 385mm (w) x 35mm
- Hinges x 2 and screws to fix to side table
Step 1: Cut the pine side panels and horizontal panels to size. Sand all edges with a sander to remove any defects and to showcase the wood grain. Clean off any sanding dust.
Step 2: Measure your cabin-sized suitcase to determine where you’d like your top and bottom horizontal panels to sit – we sat ours 40mm from the bottom and 35mm from the top.
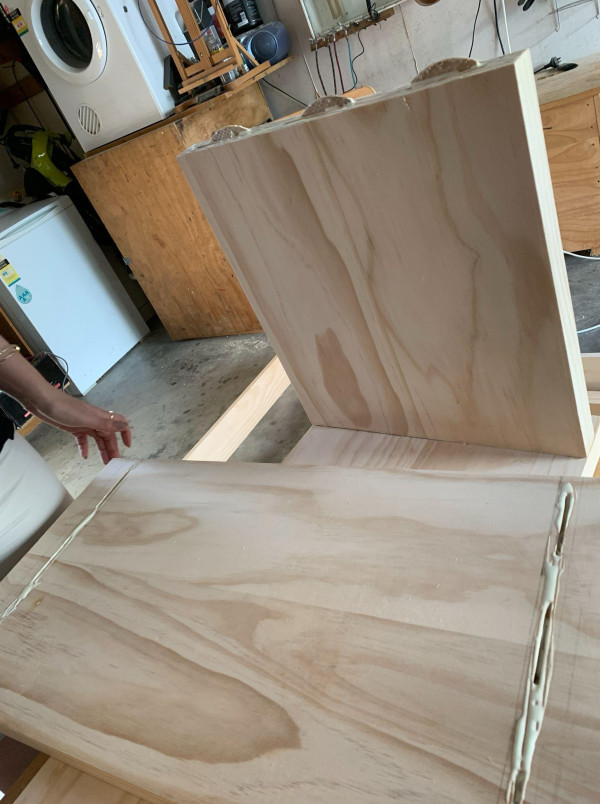
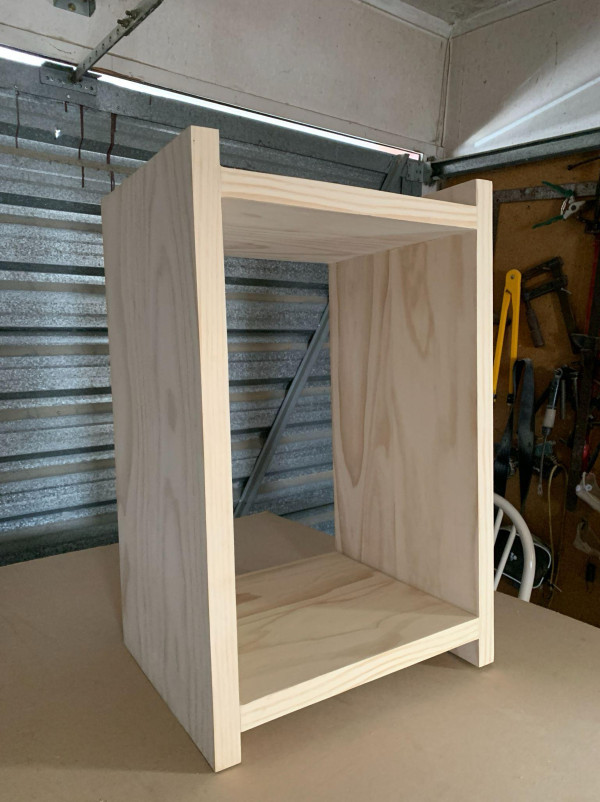
Step 3: Use doweling joints or biscuits to join the shelves 40mm and 35mm from the bottom and top. Use sash clamps to keep the carcase square.
Step 4: See that it is flush and square and remove the excess glue with a damp cloth.
Step 5: When the glue is set, remove the clamps.
Step 6: Apply one coat of Resene Colorwood Whitewash and allow to dry. You can build layers depending on how much wood grain you want showing and the depth of the whitewash you want to achieve.
Step 7: Optional: If using the front door (see main image), add this panel onto your project using hinges and screws, and stain to match the side table.
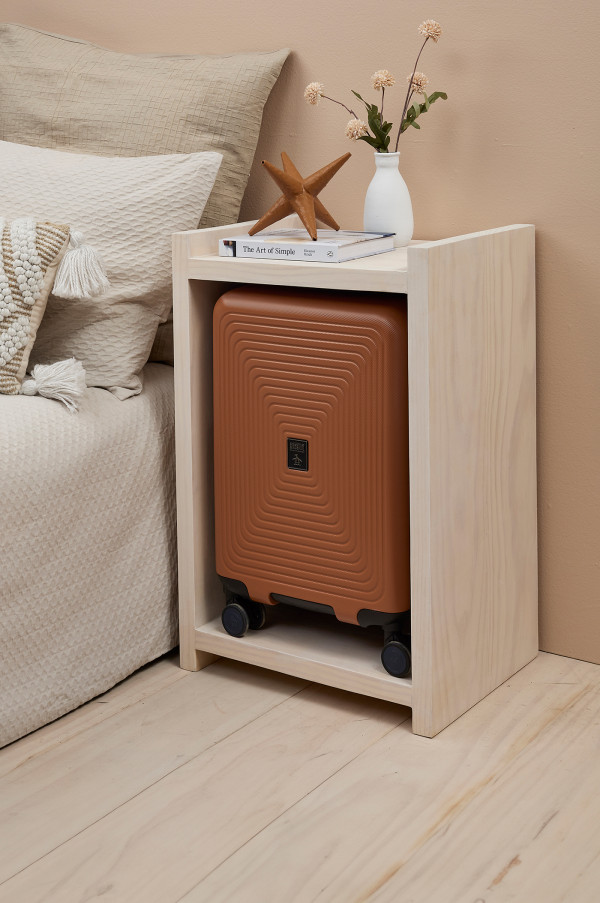
Above: Table whitewashed in Resene Colorwood Whitewash, decor in Resene Mai Tai and Resene Eighth Rice Cake, wall in Resene Cashmere and floorboards in Resene Colorwood Breathe Easy. Other items stylists own.
Top tip: Resene Colorwood is very easy to apply by brush or rag. For best results, wipe excess Resene Colorwood off with a dry, absorbent, lint free cloth, rubbing along the grain. This also ensures maximum adhesion of topcoats.
project Ivan Moses
styling Pamela McIntosh
main image Bryce Carleton
Published: 28 Aug 2025

