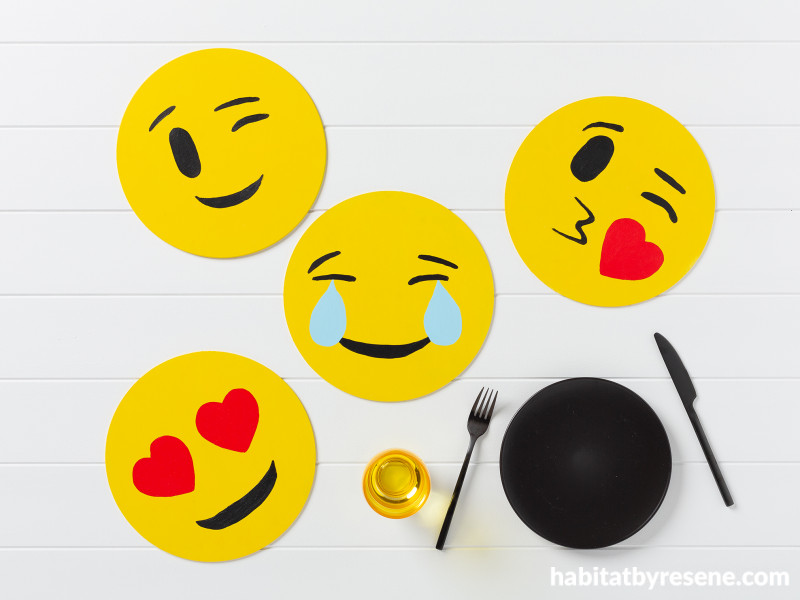
Two fun DIY boredom busters for the school holidays
16 Jul 2024
Wherever you’re at in the school holidays, and however many games you’ve got at home, the kids can still get bored! We’ve got two fun and engaging DIY’s for them to try, that will continue to provide joy even after they are complete! Bring the kids along to your nearest local ReseneColorShop to choose their favourite testpot colours, and let the fun begin!
Memory magic
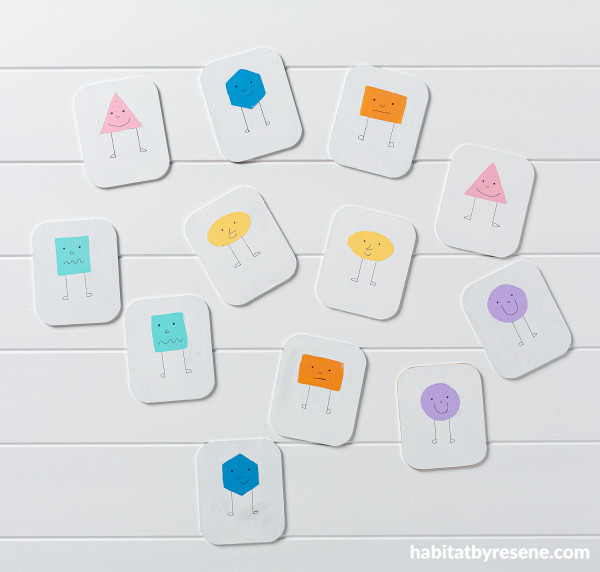
Here is a project the whole family can enjoy. A memory game is not only fun for kids but great for testing out mum and dad’s memories too. To create this fun game, we took some wooden coasters (you could simply cut up some MDF or paint over old coasters), painted them in white, drew our designs on in pencil then painted over them with vibrant hues – just remember you’ll need two of each design to play the memory game!
You will need:
- 12 wooden coasters (or more to make the memory game more challenging for older children)
- Resene testpot brush
- Pencil
- Fine black marker or a Resene testpot of Resene Black paint
- Resene testpots in your favourite colourful shades. We used Resene Alabaster, Resene Subzero, Resene Perfume, Resene Salomie, Resene Cupid, Resene Riptide and Resene Guggenheim
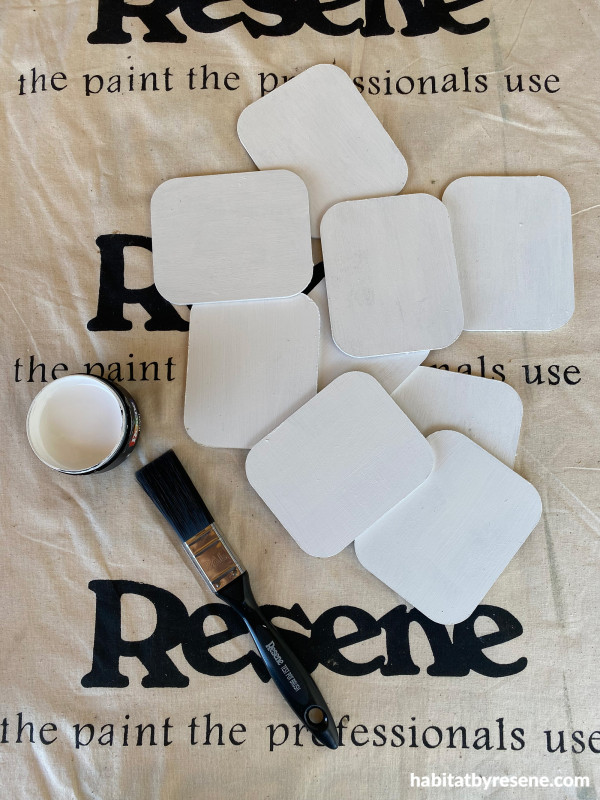
Step 1: Paint the coasters back and front in Resene Alabaster. Two coats of paint will give you best coverage.
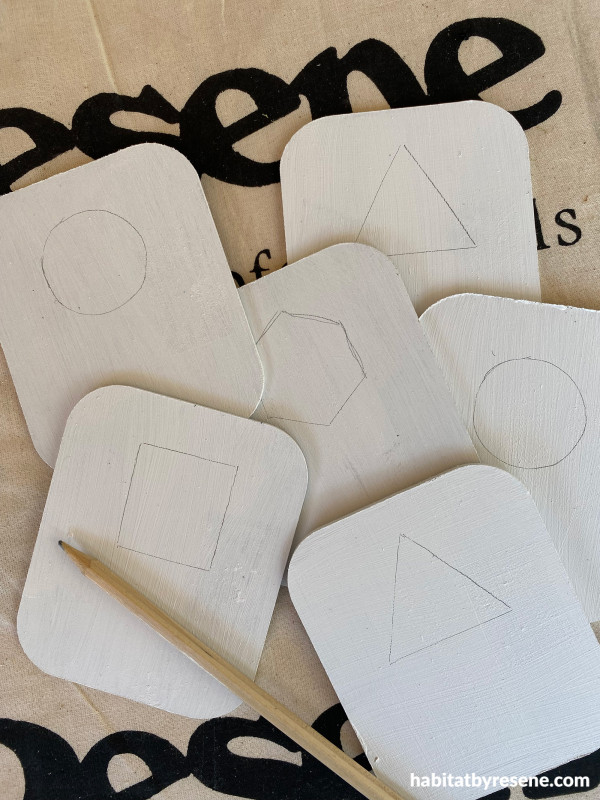
Step 2: Draw the shape onto the coaster using a pencil.
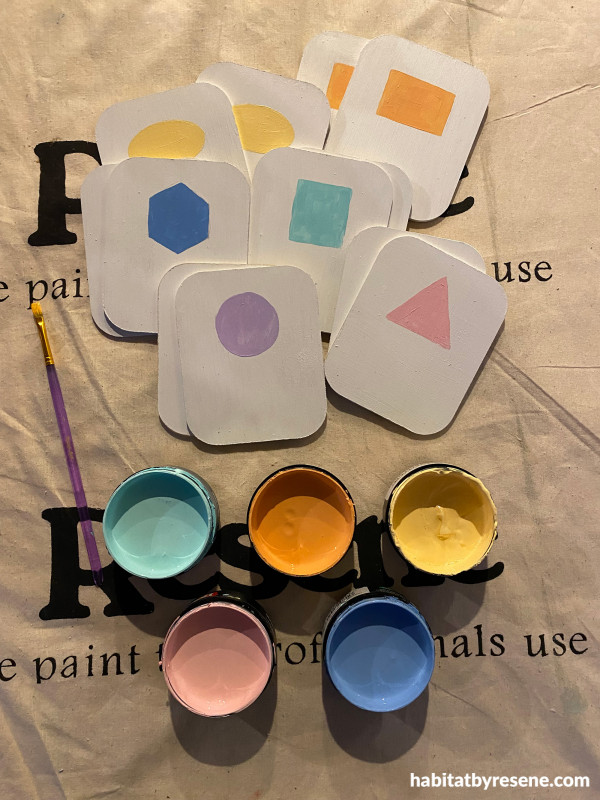
Step 3: Paint the shapes in your chosen Resenetestpot shades. We used Resene Subzero, Resene Perfume, ReseneSalomie, ReseneCupid, Resene Riptide and Resene Guggenheim.

Step 4: Using a fine black marker, draw the legs and faces onto the painted shapes or you can paint these with a testpot of Resene Black paint.
Note: You don’t have to use shades, you can always design your memory game with another theme such as animals, flowers, the solar system, family members or even your favourite cartoon characters.
Table painted in Resene Alabaster.
Happy faces, happy meals
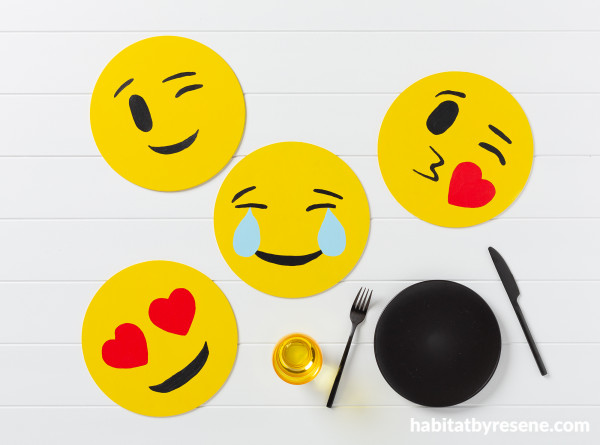
If you struggle to get the kids to come to the table to eat, then these fun, bright emoji placemats might do the trick! Finding the right placemats to suit your home can be tricky so making your own is a great way to exactly the look you want. You could use either old MDF placemats or cork ones. They will be even more special because they will be personalised, and you can really go as wild with your designs as you like!
You will need:
- 4x placemats, either MDF or cork (for larger families add more placemats)
- Resene testpot brush
- Fine paintbrush
- Pencil
- Resene testpots in your favourite colours. We chose Resene Turbo, Resene Roadster, Resene Black and Resene Anakiwa
- Resene Quick Dry primer
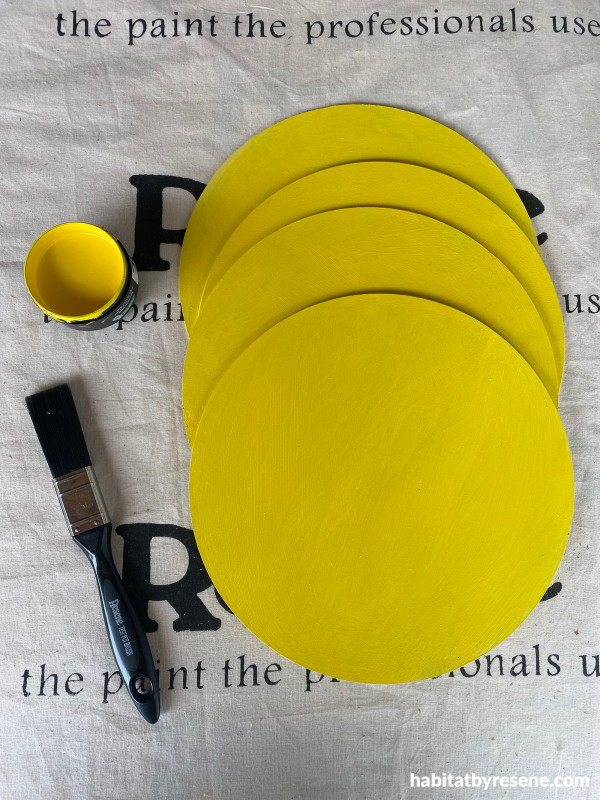
Step 1: Paint the placemats in Resene Quick Dry to cover up the existing picture or for new placemats this will prepare the surface for topcoating. Paint a base onto the placemats using yellow (like the emojis, or another of your favourite Resene shades). We used Resene Turbo. You will need two coats to get good coverage.
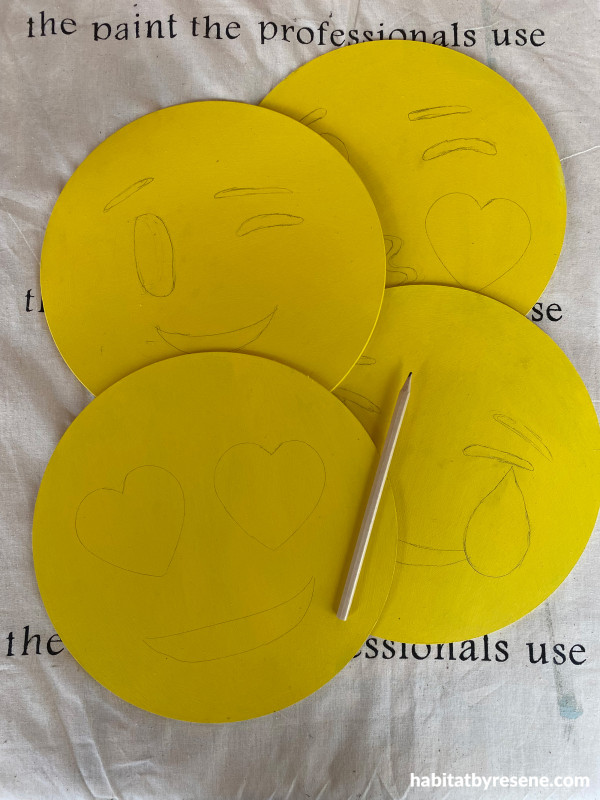
Step 2: Draw your emoji faces onto the painted placemats using a pencil.

Step 3: Paint your placemats using your chosen Resene paint colours. We used Resene Roadster, Resene Black and Resene Anakiwa.
Note: If you want to seal the placemats for easy wiping down then use Resene Aquaclear.
Table painted in Resene Alabaster.
projects Vanessa Nouwens
images Bryce Carleton
Published: 16 Jul 2024


