
latest
habitat tv

Say goodbye to the morning scramble for keys, coats and sunglasses and hello to this… see this and more videos
blog

Reader roundup: See what our readers have been up to!
Refurbished vintage furniture, charming exteriors and magnet walls for kids. These projects are sure to… more

Two fun, easy and extra festive Christmas DIY projects
10 Dec 2025
Christmas is right around the corner, and it’s also a time where family come together and enjoy the excitement and festivities that surround the season. Here are two easy DIY projects that are fun for the whole family to enjoy.
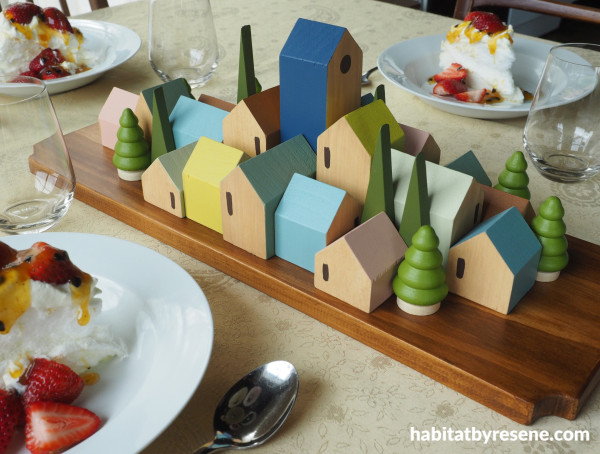
Tiny town of cheer
You will need:
• Untreated pine board, 45mm wide x 45mm deep x 1.8m long
• Untreated pine board, 180mm wide x 18mm thick x 900mm long
• Untreated pine board, 60mm wide x 10mm thick x 900mm long
• Mire saw
• Sandpaper
• Paintbrush, including a small craft paintbrush
• Jig saw
• Soft cotton cloth
• Resene Colorwood Bask
• Resene testpots in your chosen colours. Fleur used Resene Karma, Xanadu, Cinnamon, Stone Age, Juniper, Madison, Awaken, Pacifika, Saratoga and Rebel
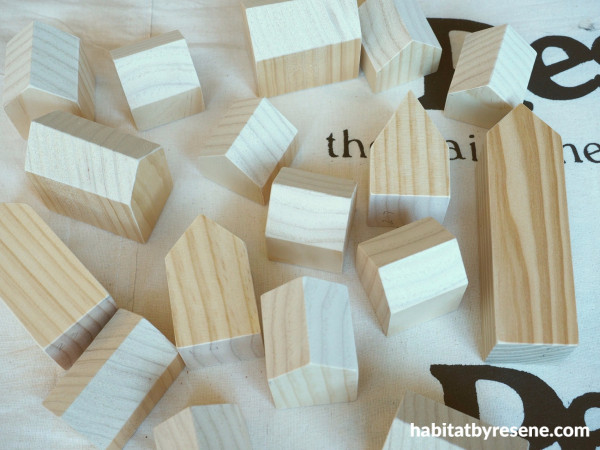
Step 1: Start by using a mitre saw to cut house shapes from your 45mm x 45mm pine board. Fleur set her blade to 45 degrees for the house rooves. Sand any rough edges smooth and wipe away any dust.
Use Resene Quick Dry to prime the roof and the two side walls of each of the houses. Once the primer is dry, it’s a good idea to lightly sand the painted area, especially on the roof where the cut has gone across the grain. The wet primer will make the wood fibres expand and stick up, making the wood rough.
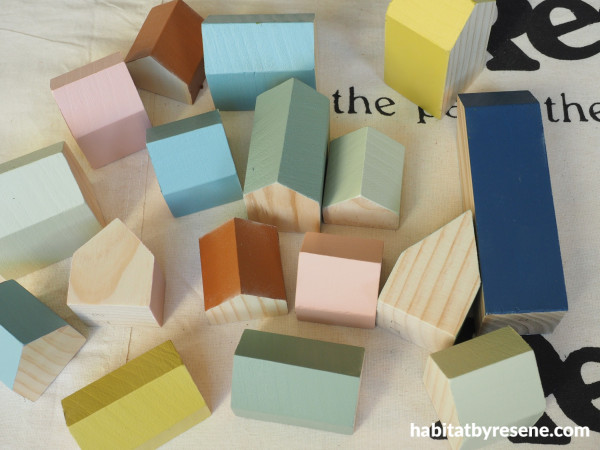
Step 2: Wipe away any dust and then paint on two coats of your chosen colours. Fleur used Resene Karma, Xanadu, Cinnamon, Stone Age, Juniper, Madison and Awaken.
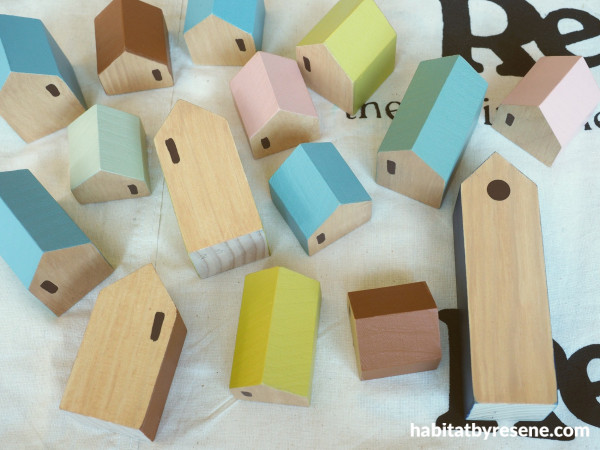
Step 3: Once the paint is dry, stain with Resene Colorwood Bask on to the two unpainted end walls.
Use a small craft paintbrush and Resene Rebel, or another of your chosen shades, to paint on the windows.
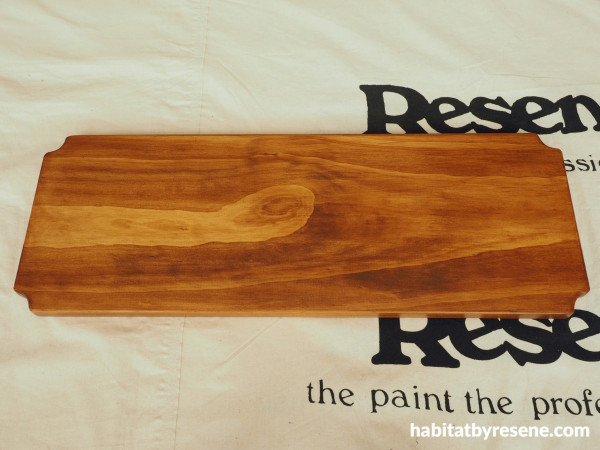
Step 4: For the base, cut a piece of 180mm wide x 18mm thick untreated pine board to your chosen length – Fleur’s is 500mm long. Use a jig saw to cut curves into each of the corners and then sand all the corner edges so that they are slightly rounded. Use a soft cotton cloth to wipe stain on to the board with Resene Colorwood Walnut. Once this is dry, seal the board with two coats of Resene Aquaclear in a satin finish.
Step 5: Cut some tall skinny triangles from 10mm thick pine board and paint these in Resene Saratoga for conifer trees, or alternatively, paint some store bought trees with Resene Pacifika, or other chosen colours. Place the houses and trees on the base board and glue them on with wood glue if you want them stuck on permanently.
Deck the tree with handmade stars
You will need:
• Pine wood, 30mm wide x 10mm thick x 900mm long
• Mitre saw
• Sandpaper
• Paintbrush, including a small craft paintbrush
• Paper towel
• Electric drill
• String
• Resene testpots in your chosen colours. Fleur used Resene Red Berry and Paper Doll
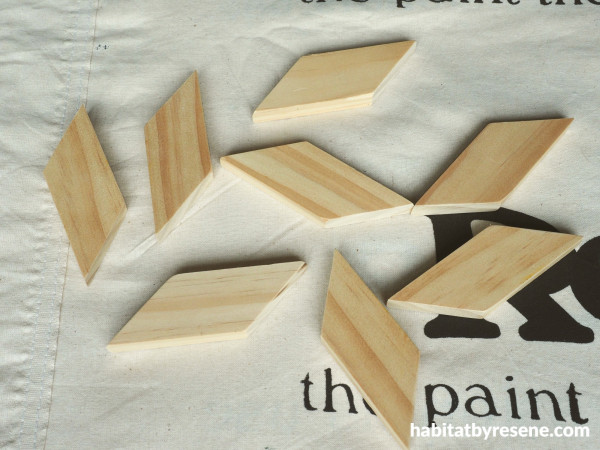
Step 1: Start by setting the mitre saw blade to cut at a 45 degree angle. Cut the 30mm wide pine board into 8 even lengths. Fleur’s are 42mm long.
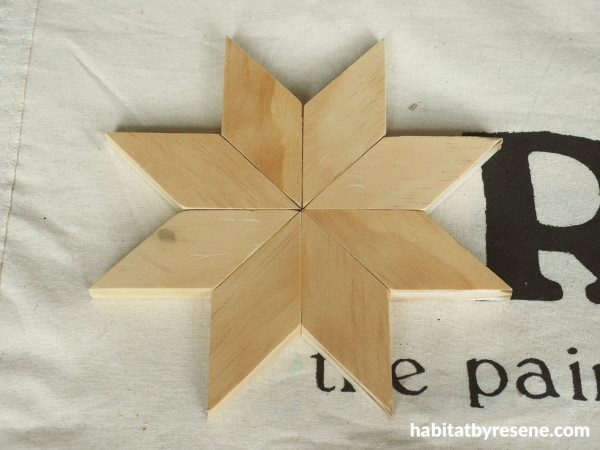
Step 2: Sand any rough edges smooth, wipe away the dust, and use wood glue to glue all the pieces into a star shape. Be careful not to get any glue on the flat surfaces as this will prevent the paint wash from soaking into the wood.
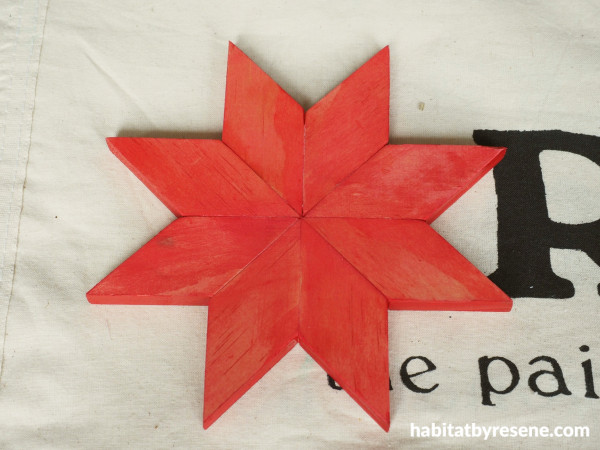
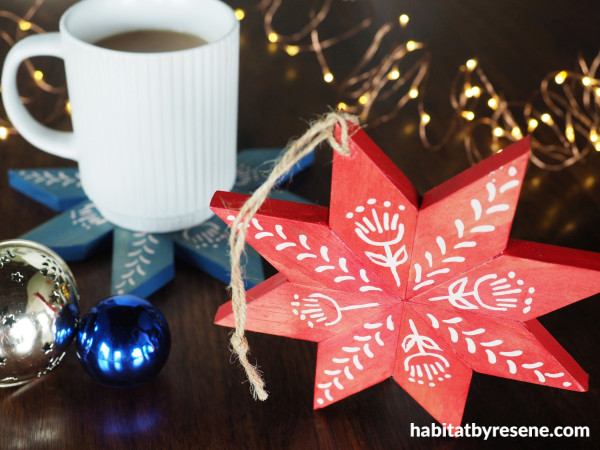
Step 3: Make a watery paint wash by mixing a dab of Resene Red Berry, or your chosen colour, with a teaspoon or two of water. Paint this on to your star and wipe off any excess with a paper towel. Paint the edges of the star in full strength of your same chosen colour.
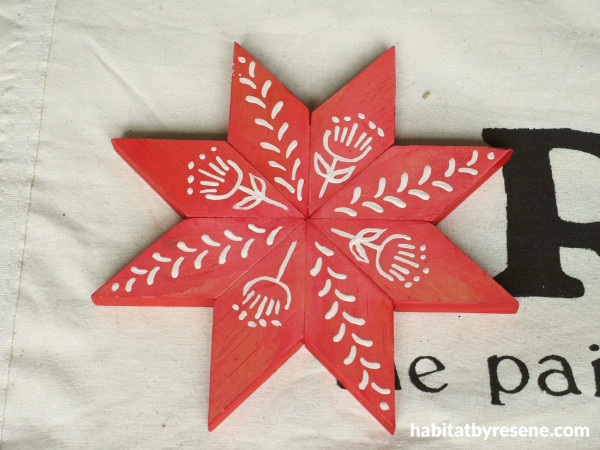
Step 4: Use a thin craft paintbrush to paint patterns on to the star with your chosen shade. Fleur used Resene Paper Doll and painted some stylised leaves, vines and a Pohutukawa flower.
Finish by sealing the star with two coats of Resene Aquaclear in a satin finish, and drilling a hole and threading string through it to hang it up with.
Alternatively you could make this into a trivet or coaster. Experiment with making the length of the wood cuts longer or shorter to create a different looking star.
Blue coaster (in photo) in Resene Madison.
projects and images Fleur Thorpe
Published: 10 Dec 2025

