
latest
habitat tv

Say goodbye to the morning scramble for keys, coats and sunglasses and hello to this… see this and more videos
blog

Reader roundup: See what our readers have been up to!
Refurbished vintage furniture, charming exteriors and magnet walls for kids. These projects are sure to… more

How to make a living art wall planter
01 Mar 2025
This living art planter is an easy way to add 3D living art to your rooms. Continue your wall colour onto the frame for a seamless look or make it even more of a feature with a contrasting Resene paint colour or stain that makes the foliage pop.
You will need
Biscuit joiner or a drill with 10mm bit
Sash clamps
Sander or sandpaper
Electric saw or hand saw
Screwdriver
Nine lengths of wood, we used pine for this project
1500mm x 180mm x 18mm. Two lengths for the long sides of the frame
800mm x 180mm x 18mm. Four lengths. Two for the short sides of the frame and for the long sides of the planter box
144mm x 180mm x 18mm. Two lengths for the short sides of the planter box
800mm x 40mm x 18mm. One length for the wall hanger section
16 pre-cut wood joining biscuits or 10mm wood doweling
PVA glue
Wood filler
Screws
Sandpaper
Resene Aquaclear Satin.
Resene testpots in your chosen colours. We used Resene Element. Or for a higher sheen finish use Resene Lustacryl semi-gloss.
Step 1
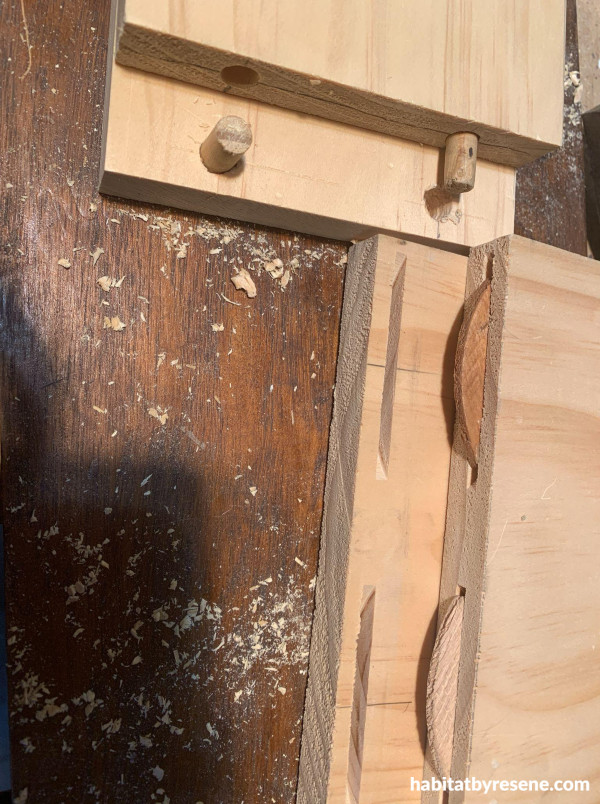
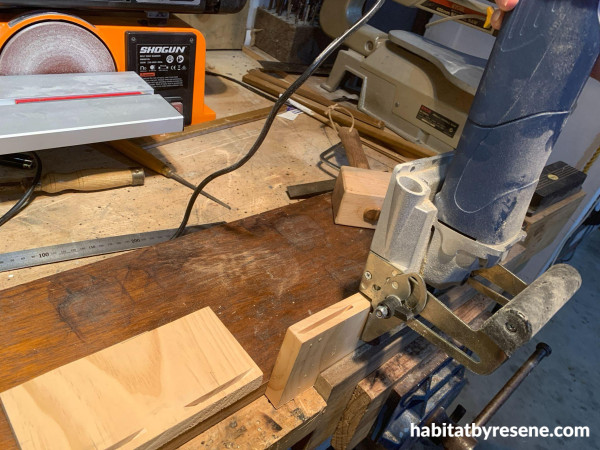
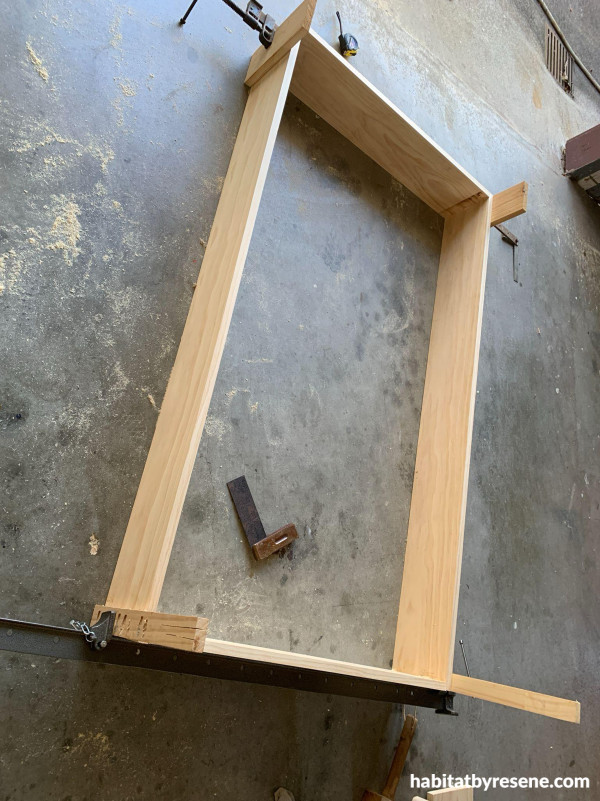
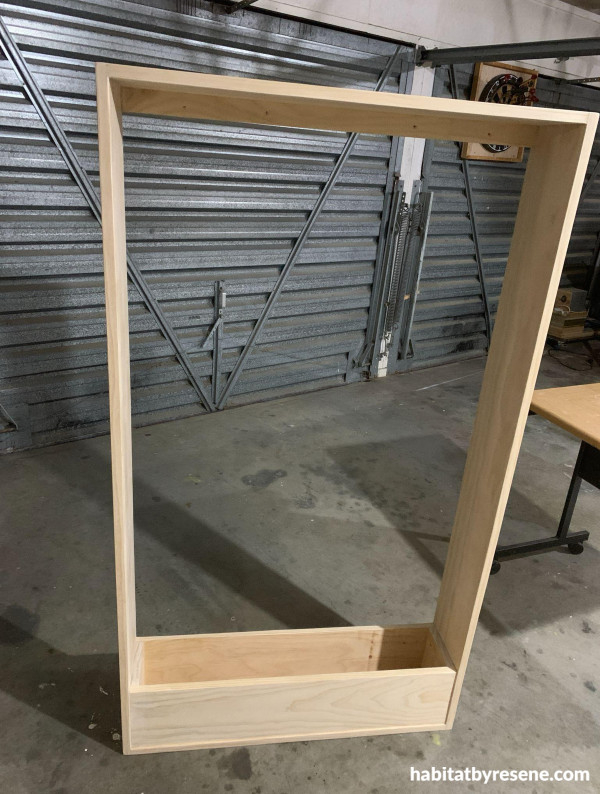
Construct a frame to be 1500mm x 800mm, using the four cut side sections of wood. Connect corners with either doweling or biscuits.
For doweling joins: mark your drill holes in the end of each piece of timber, measuring to make sure they line up. Drill holes using a 10mm doweling bit. Holes should be about 20mm deep
Insert 40mm sections of doweling into one hole at each end of each piece using a small amount of glue. Make sure they alternate to allow the pieces to slot together holes of the two shorter sections of wood, using a small amount of glue.
For biscuit joints: use the biscuit joiner to cut a shallow slot in the end of each piece that will make up the wood frame. Adding glue to each slot, then insert your wood biscuits into the slots on the two short sections of the frame. Make sure slightly more than half the biscuit is inserted.
Join the sections together by inserting the exposed section of biscuit into the slot on the other section of timber.
Step 2
Use sash clamps to keep the frame square until the glue dries.
Step 3
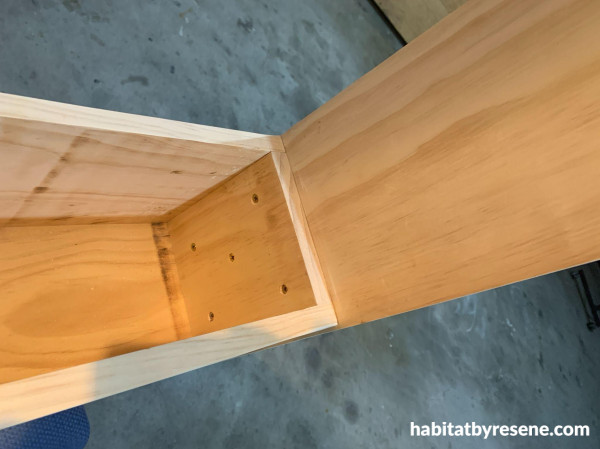
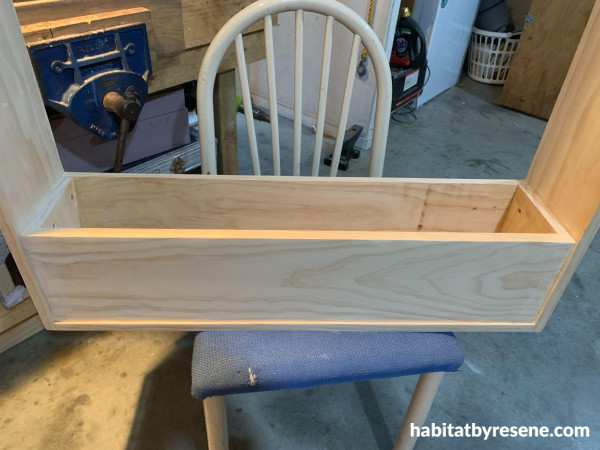
Use the same method to construct the planter box frame approximately 800mm (w) x 180mm (h) x 144mm (d). Check the size to make sure it will fit snuggly into bottom of the larger frame.
Insert the planter box into the base of the larger frame. Screw in the sides to secure it.
Step 4
Add the wall hanger length to the top section of the frame with screws and also make provision for holes to attach it against the wall.
Sand any sharp edges with sanding paper and wipe off the sanding dust.
Step 5
Paint the wall planter with your chosen Resene paint or stain. We used Resene Element for the planter frame and clear Resene Aquaclear satin for the box.
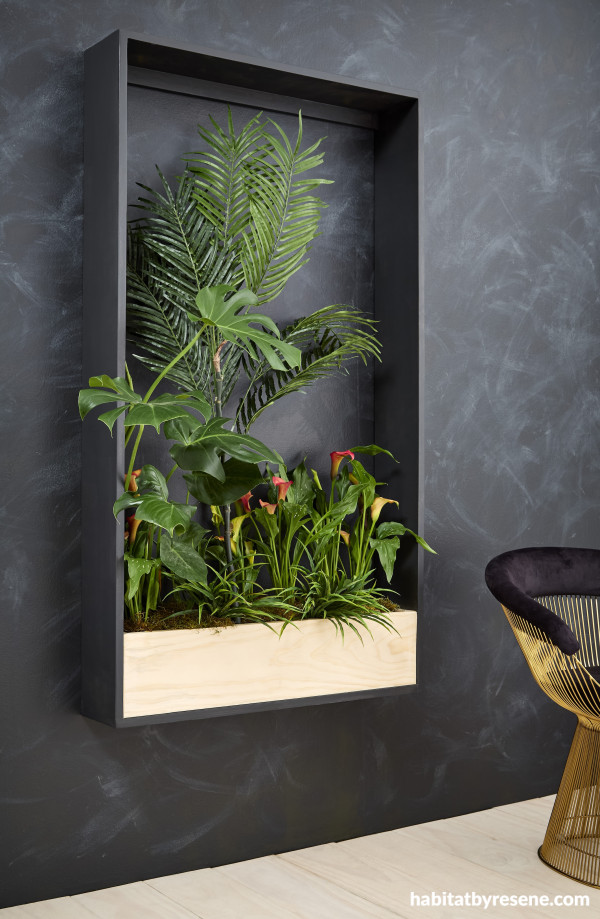
Wall painted in Resene Element with Resene FX Paint Effects Medium mixed with Resene Chicago and planter frame in Resene Element with box in clear Resene Aquaclear satin.
Top tips:
Your living planter wall art box can be as much of a feature as you would like.Use contrasting paint colours and plants with bright blooms to draw attention, or merge the box into the room by continuing your wall paint colour onto the planter box.
You can enhance the timber colour for the planter itself by first staining the timber with Resene Colorwood wood stain or add Resene Colour Enhance into your Resene Aquaclear finish.
For growing smaller plants like herbs, you can reduce the height of your planter box or stack the planters with space in between so you can grow a range of herbs.
project: Ivan Moses
stylist: Megan Harrison-Turner
images: Bryce Carleton
Published: 01 Mar 2025

