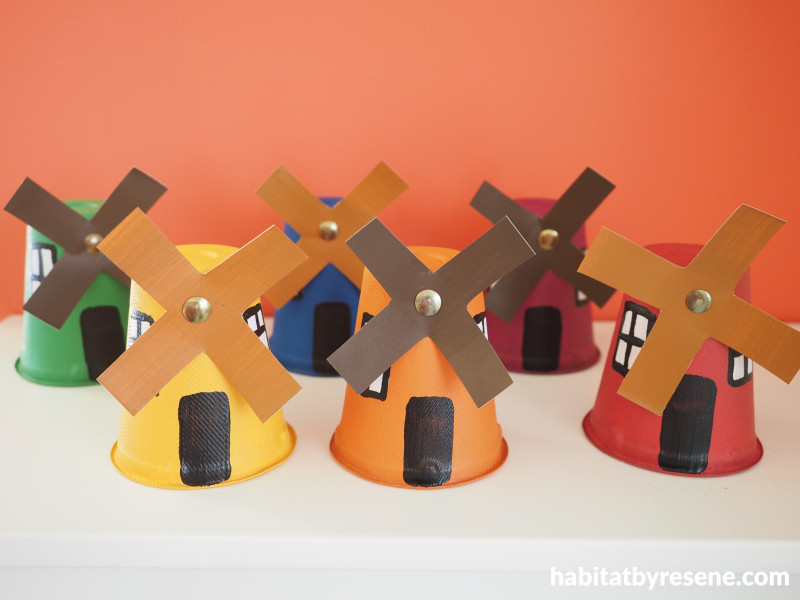
Windmill whimsy: A cup-tivating DIY for kids
11 Jul 2023
If you’re looking for a fun DIY for the kids to do over the school holidays, these paper cup Dutch windmills are both colourful and interactive! This delightful project is perfect for encouraging creativity with children, and for little artists who love arts and crafts. The kids can help to choose their favourite Resene testpot colours and keep busy with these whirling wonders!
You will need:
- Six paper cups
- Paintbrush
- Cardboard
- Scissors
- Six thumb tacks/push pins
- Resene testpots in paint colours of your choice. Fleur used Resene Paprika, Resene Rose Of Sharon, Resene Pirate Gold, Resene Kermit, Resene Plan B, Resene Pompadour, Resene Black, Resene White, Resene Rebel and Resene Cinnamon.
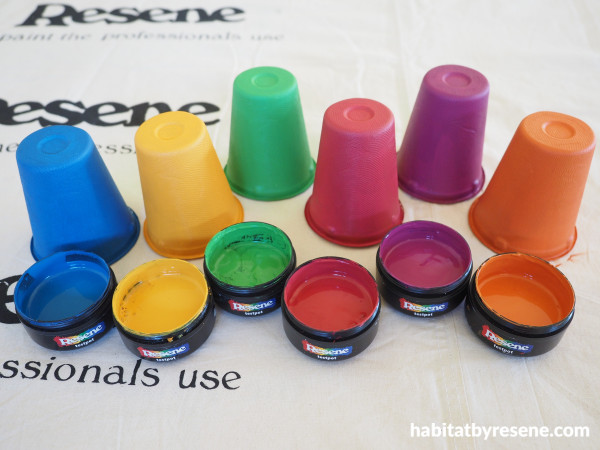
Step 1: Start by painting each of your paper cups in your chosen Resene paint colours. Fleur used (from left) Resene Plan B, Resene Pirate Gold, Resene Kermit, Resene Paprika, Resene Pompadour and Resene Rose Of Sharon.
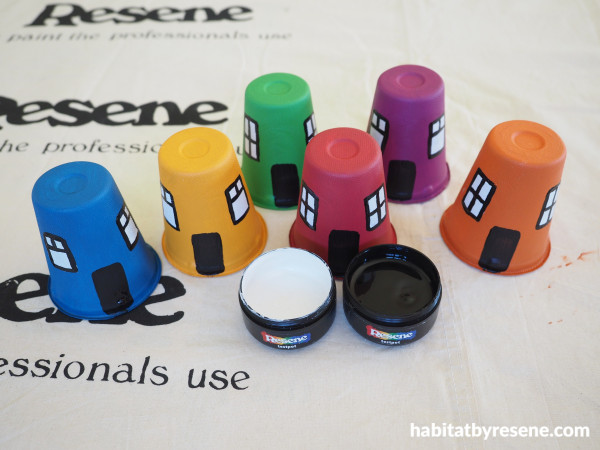
Step 2: Paint windows and a door onto your cups. Fleur used Resene White and Resene Black for this step.
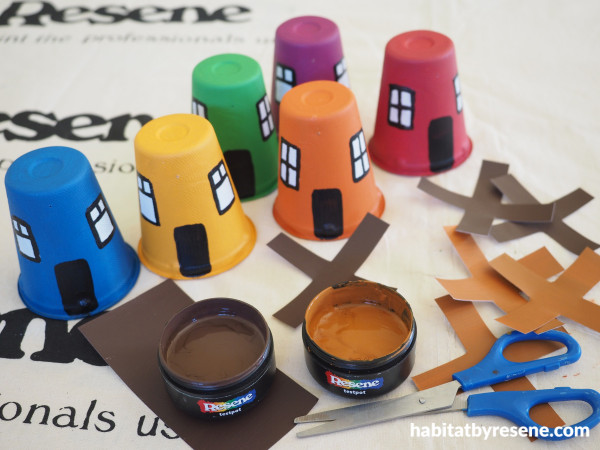
Step 3: Use lightweight cardboard for the windmill blades. Paint each piece of cardboard in two of your chosen Resene paint colours. Fleur used Resene Rebel and Resene Cinnamon. Once the paint has dried, use scissors to cut out the windmill shape.
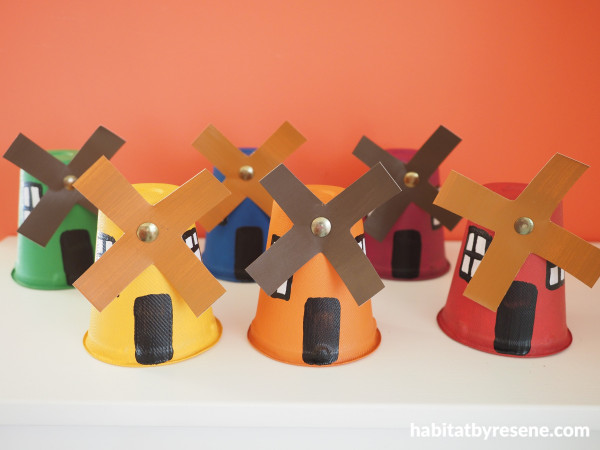
Step 4: Push a thumb tack through the centre of the blades and then push this into the front of the windmill cup to attach the blade to the cup.
Wall painted in Resene Rapture, bookcase in Resene Half Rice Cake.
project and images Fleur Thorpe
Published: 11 Jul 2023


