
latest
habitat tv

Say goodbye to the morning scramble for keys, coats and sunglasses and hello to this… see this and more videos
blog

Brick Bay unveils its poetic new folly for 2026
The winner of the 2026 Brick Bay Folly competition has been unveiled. Within the Wings… more
How to make your own wooden wall shelves
01 Mar 2025
Turn a functional piece of furniture into a beautiful, design feature with this gallery wall of shelving. Perfect for your mementos, books, plants and photos.
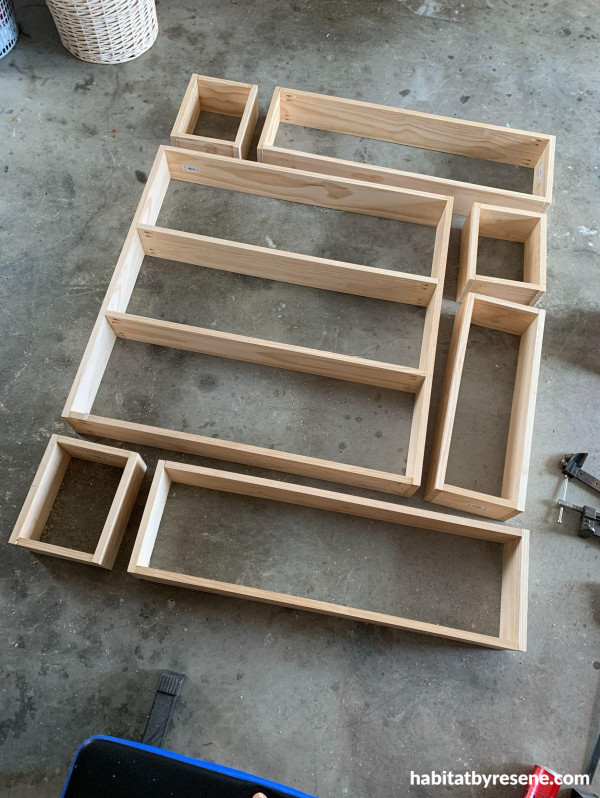
For our shelving unit we have made seven pine boxes in the following sizes:
- Three boxes at 300mm x 200mm x 18mm
- Two boxes at 1000mm x 300mm x 18mm
- One box with shelves at 1000mm x 1000mm x 18mm
- One box at 640mm x 300mm x 18mm
You will need
- Pine timber pieces at these sizes:
- Two pieces – 1000mm x 140mm x18mm
- Eight pieces – 964mm x 140mm x 18mm
- Two pieces – 640mm x 140mm x 18mm
- Ten pieces – 300mm x 140mm x 18mm
- Eight pieces – 200mm x 140mm x 18mm
- One piece 964mm x 40mm x 18mm
- Drop saw or tenon saw
- Drill and 3mm drill bit
- Countersink drill bit
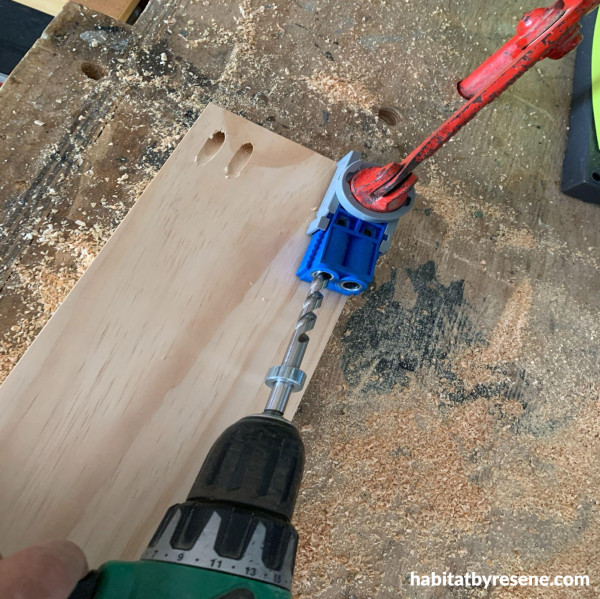
- 12mm dowelling bit, biscuit machine or pocket hole jig
- 10mm pine doweling or size 20 biscuits and biscuit machine, or pocket hole jig with screws and plugs
- Wood screws (40mm)
- Sash clamps
- Try square
- PVA glue
- Spirit level
- Resene paint or stain of your choice. We used Resene Colorwood Matai wood stain
- Resene Aquaclear urethane
- Mini speed brush
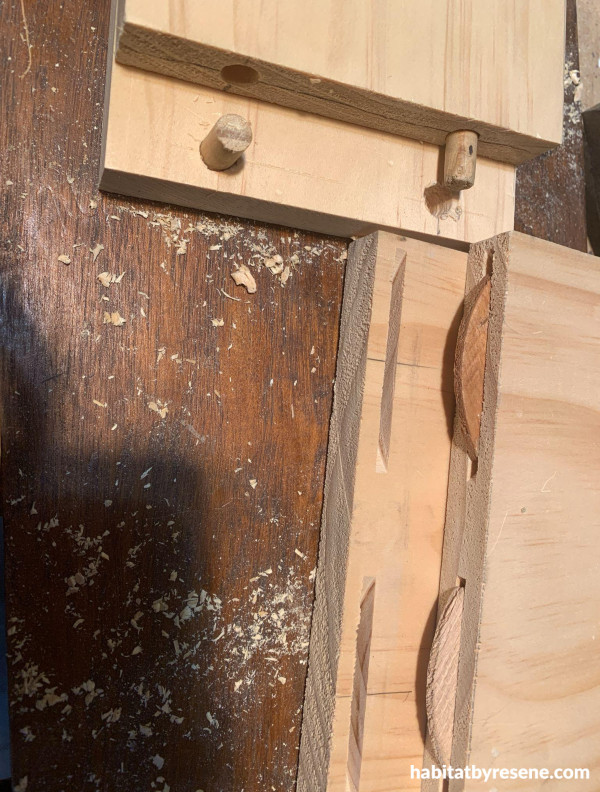
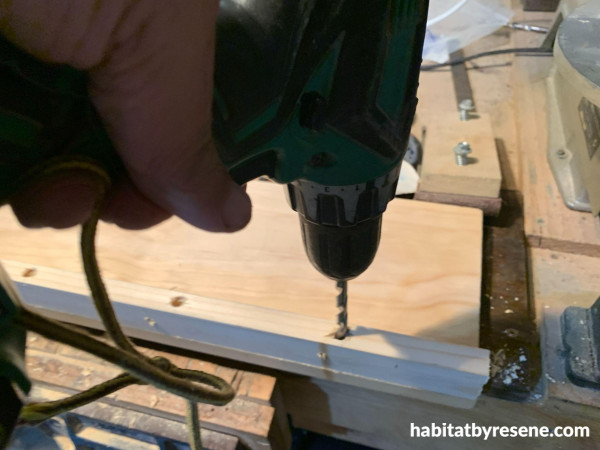
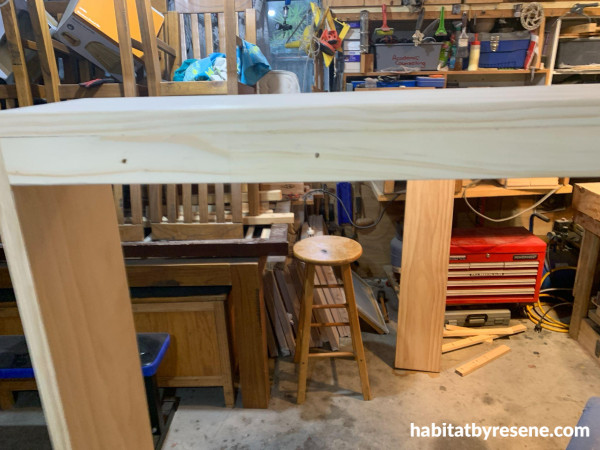
Step 1: Begin by cutting the timber pieces to the appropriate size using a drop saw or hand saw. For assembly, apply PVA glue to the edges of your pieces and secure the corners with one of the following joinery techniques: dowels, biscuits, or a pocket hole jig with screws. These options will give your boxes strong, durable corners.
[photo caption 1] To show the difference in the joinery techniques - dowel joints are visible at the top, while biscuit joints are shown on the right.
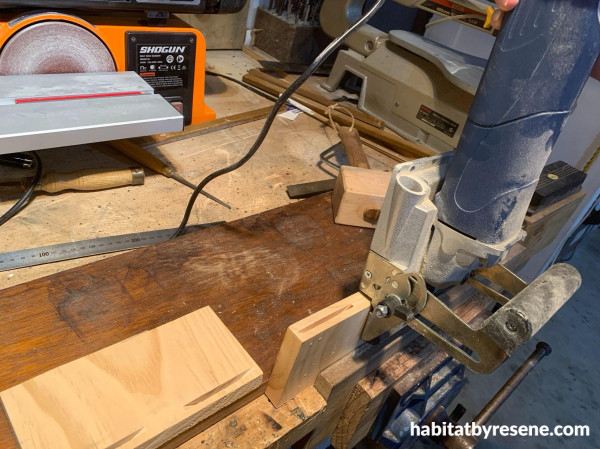
[photo caption 2] Use a biscuit joiner to create precise slots for a strong joint.
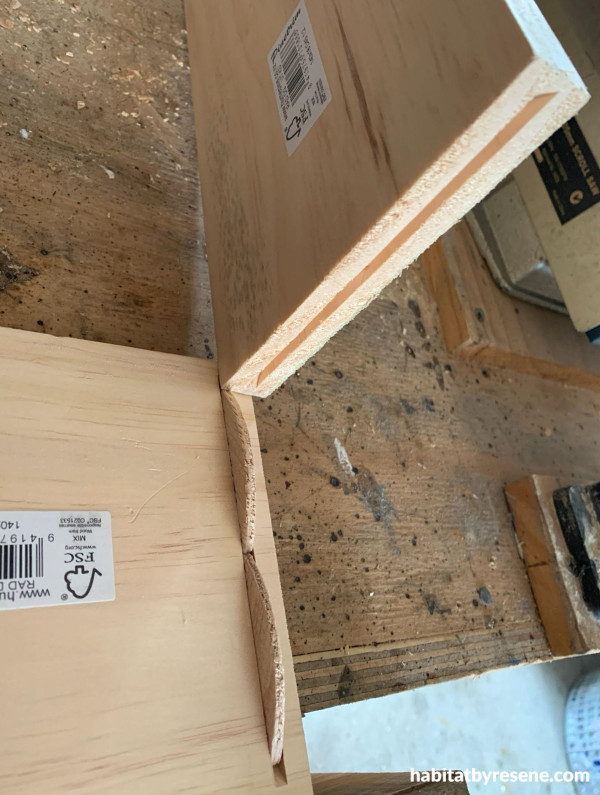
[photo caption 3] Aligning and gluing biscuit cuts for a secure connection.
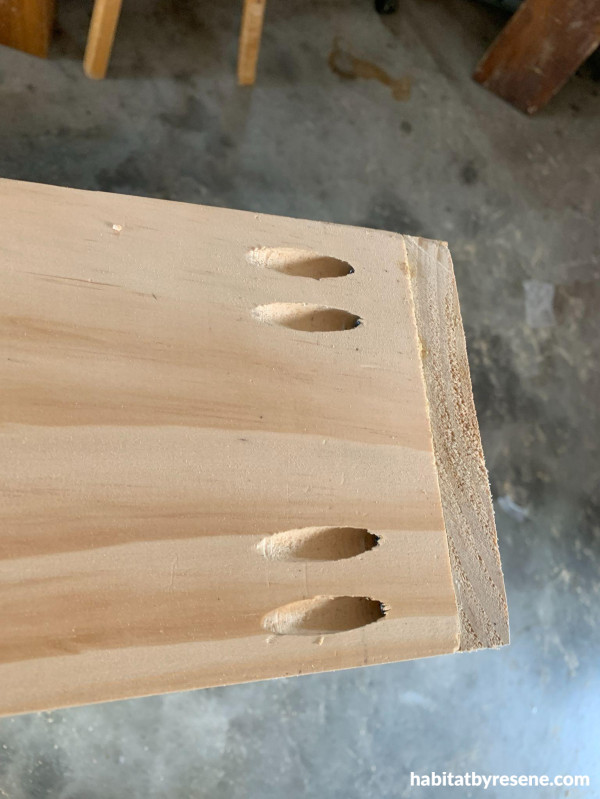
[photo caption 4] Using a pocket hole jig to create strong, hidden joints.
[photo caption 5] Neatly drilled pocket holes ready for assembly.
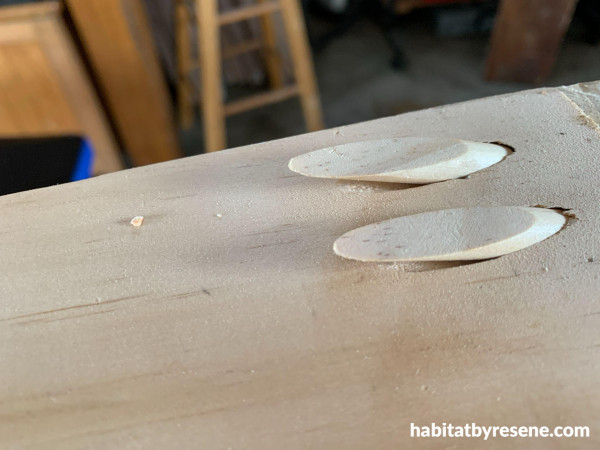
[photo caption 6] Filling pocket holes with plugs for a seamless finish.
Step 2: To ensure perfect, square angles while the glue dries, use sash clamps to hold your box together.
Cut seven 40x18mm wood strips to fit along the top inside edges of each box – these will serve as your wall plates.
Attach each plate securely to the top edge of the box with screws and glue.
Pre-drill pilot holes in the wall plates for screws to anchor the boxes to the wall.
Step 3: After assembling the boxes, sand all edges and corners to smooth any rough. Wipe the surfaces down with a damp cloth to remove any sanding dust. Once dry, stain them with your favourite Resene stain, we used Resene Colorwood Matai for a rich, warm finish. Then finish with Resene Aquaclear urethane.
Once the stain is dry, lay out all the boxes on the floor to plan their arrangement on the wall. Using a spirit level to ensure the boxes are straight, hang each box to the wall with screws. To disguise the appearance of the tops of the screws use a filler.
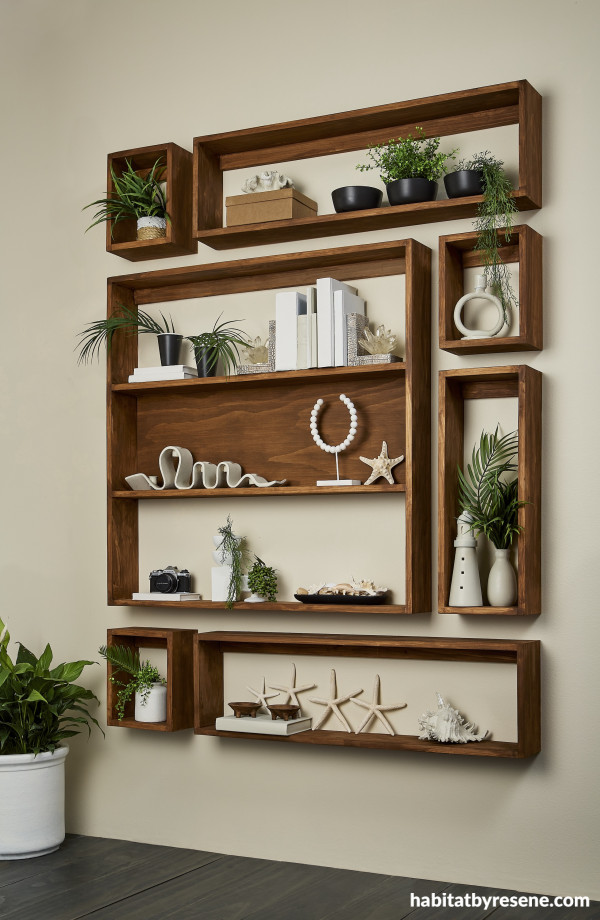
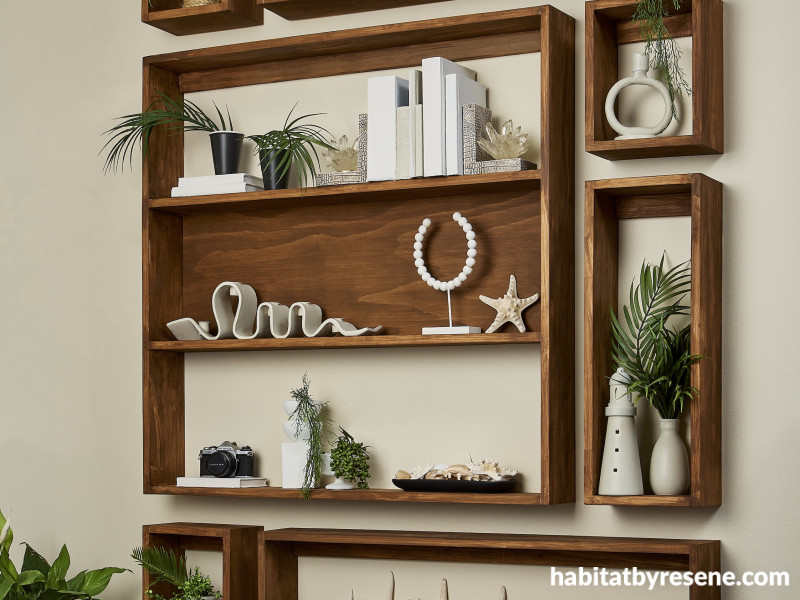
These shelves create a beautiful gallery feature wall that showcases both the wood and the treasures. Shelves stained in Resene Colorwood Matai, wall painted in Resene Spanish White, floor in Resene Colorwood Shade and décor items in Resene Half Blanc, Resene Double Thorndon Cream, Resene Quarter Thorndon Cream and Resene Night Magic.
Project Ivan Moses, Megan Harrison-Turner
images Bryce Carleton
Published: 01 Mar 2025

