
latest
habitat tv

Say goodbye to the morning scramble for keys, coats and sunglasses and hello to this… see this and more videos
blog

Brick Bay unveils its poetic new folly for 2026
The winner of the 2026 Brick Bay Folly competition has been unveiled. Within the Wings… more
Crack open your creativity with these DIY Easter crafts for all ages
14 Mar 2024
Easter is right around the corner and what better way to ‘hop’ into the spirit then doing some bright and colourful DIY projects. Get the kids involved and pop into your local Resene ColorShop to pick up your favourite Resene testpot colours! Or buy them online if you prefer.
Wood you like an easter egg?
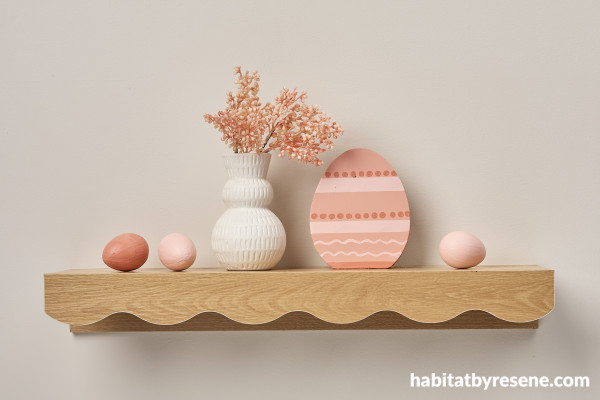
While some people like to really go to town with Easter decorating, a lot prefer to keep things simple. This cute little easter display on the shelf says happy easter without all the fuss. The best thing about this project is it is quick and easy to make, can be made from an off cut of wood and a few of your favourite Resene testpots colours.
You will need:
- A piece of pine – 15cm tall, 12.5cm wide and 2cm thick
- Egg shaped template with flat bottom
- Resene testpot paintbrush
- Jig saw
- Sandpaper
- Fine paintbrush
- Resene testpots in colours of your choice. We used Resene New York Pink, Resene Sunglo and Resene Cornflower
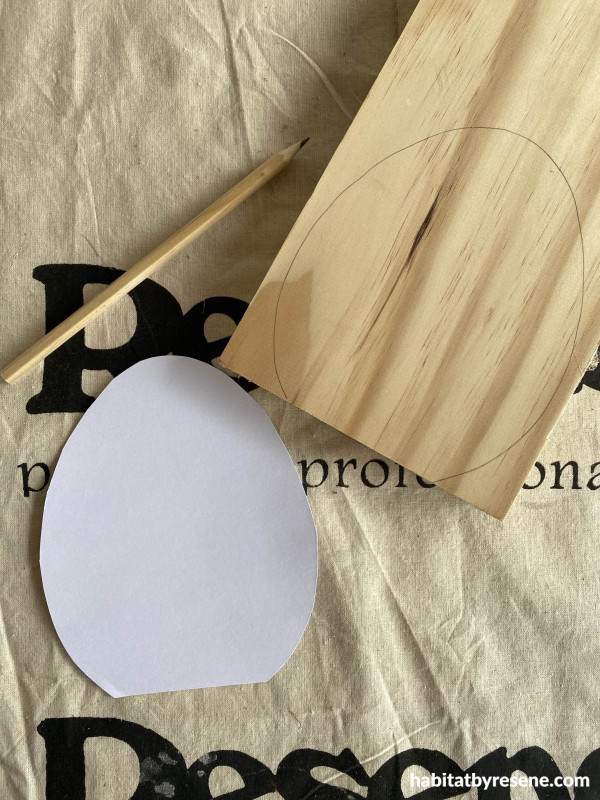
Step 1: Take your egg shaped template and trace the shape onto your wood with a pencil.
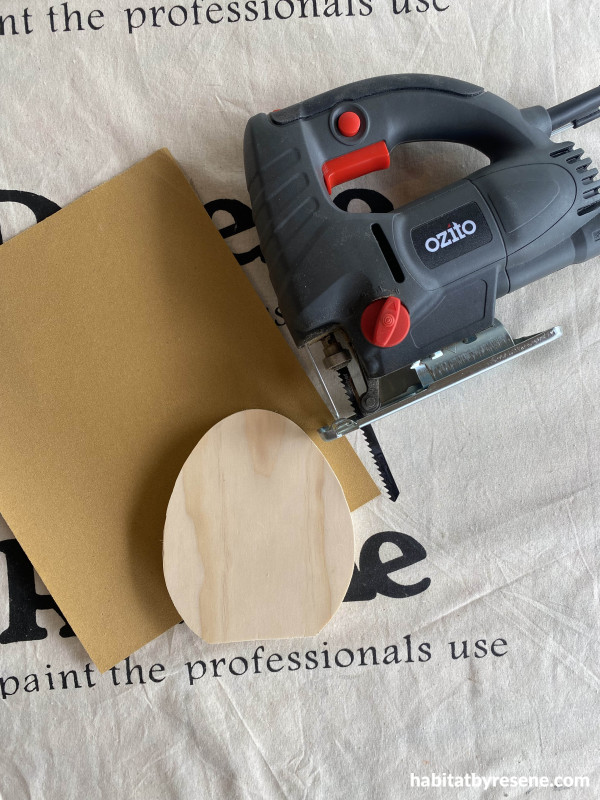
Step 2: Using a jig saw, cut out the egg shape. Give the edges a light sand using sandpaper and wipe off the sanding dust with a damp cloth.
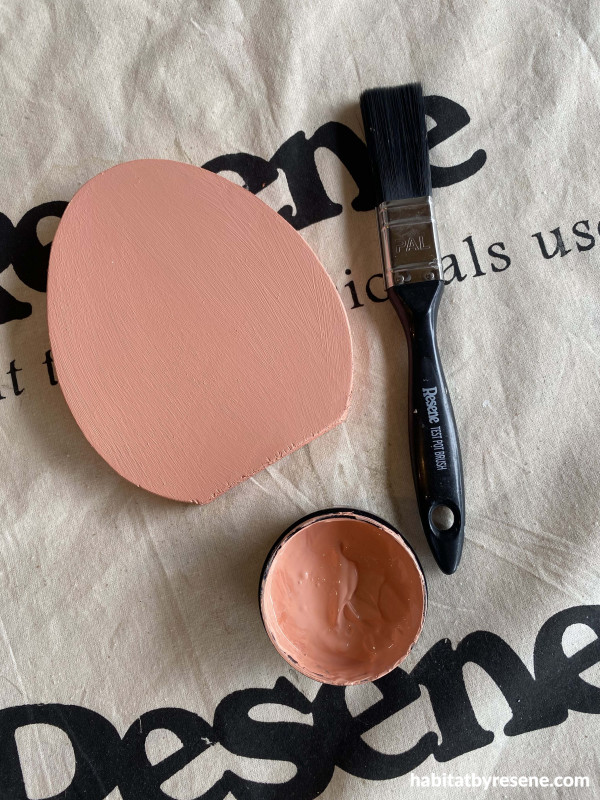
Step 3: Paint your wooden egg in your chosen Resene paint colour. We used two coats of Resene New York Pink. Remember to allow dry time between coats.
Step 4: Using a fine paintbrush paint your pattern onto the wooden egg in your chosen Resene paint colours. We used Resene Sunglo and Resene Cornflower.
Wall and vase painted in Resene Half Spanish White and papier mache eggs in Resene Sunglo and Resene Cornflower.
Hopping good cake
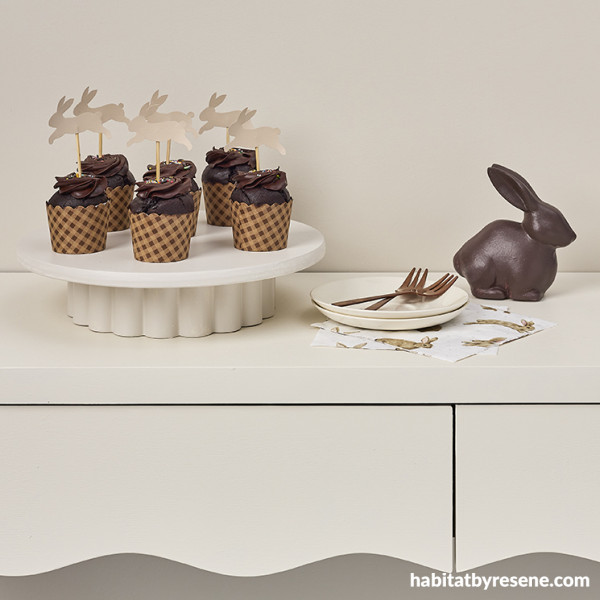
Dress up store bought or homemade cupcakes with these cute cardboard bunny toppers. Easy and quick to make, these will make your baking look super festive for Easter.
You will need:
- A sheet of cardboard
- A bunny shape template
- Toothpicks or small skewers
- Sellotape
- Pencil
- Scissors
- Resene testpot brush
- Resene testpot in colours of your choice. We used Resene Sandcastle, but you could use a range of colours if you prefer
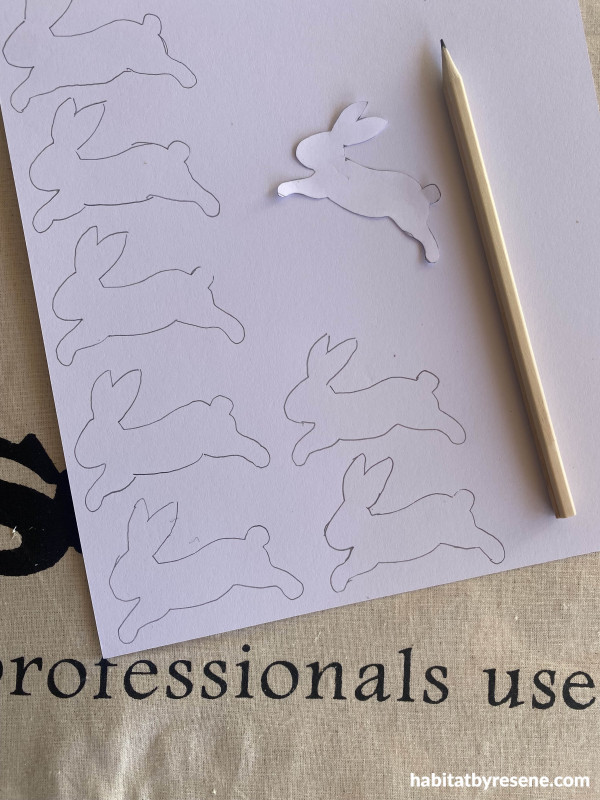
Step 1: Take your bunny template and trace around it onto your piece of cardboard.
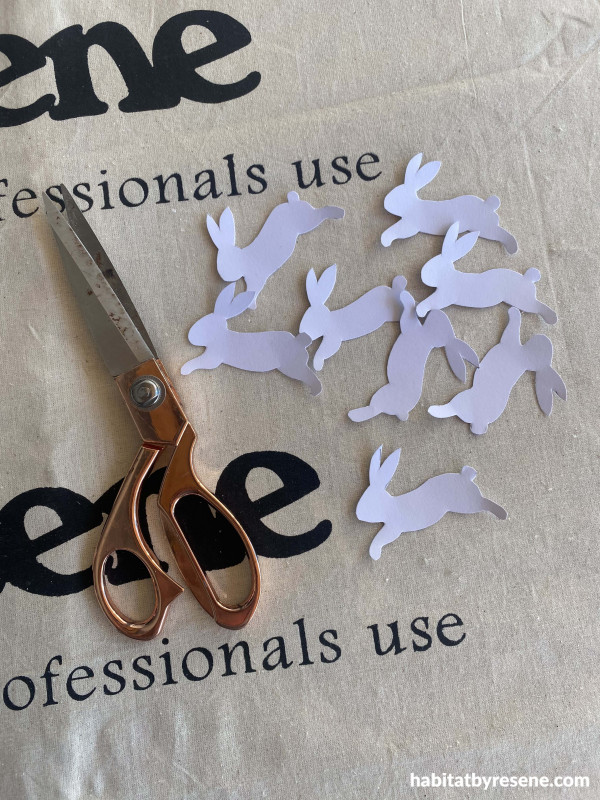
Step 2: Cut out the bunnies using scissors.
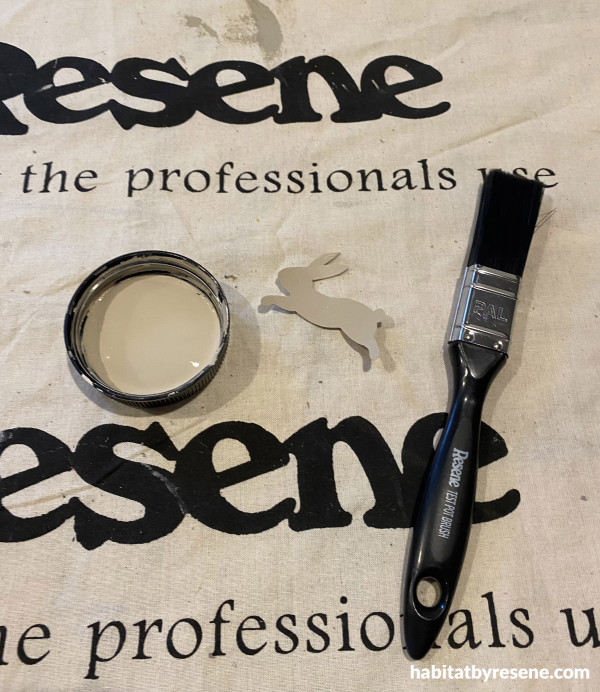
Step 3: Paint your bunnies using your chosen Resene paint colour. We used Resene Sandcastle.
Step 4: Attach your bunnies to the skewers using a small piece of sellotape and pop them in your cupcakes.
Wall painted in Resene Half Fossil, cake stand in Resene Half Tea, bunny decoration in Resene Mission Brown and cake toppers in Resene Sandcastle.
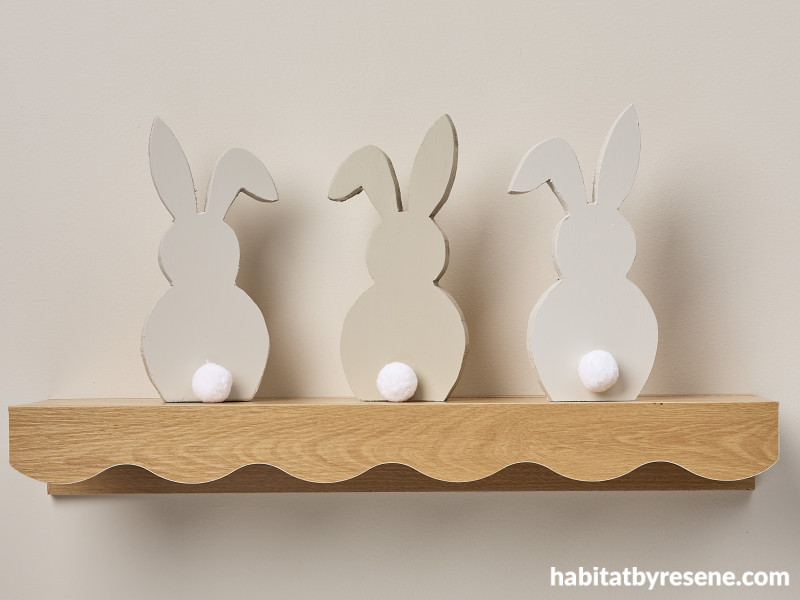
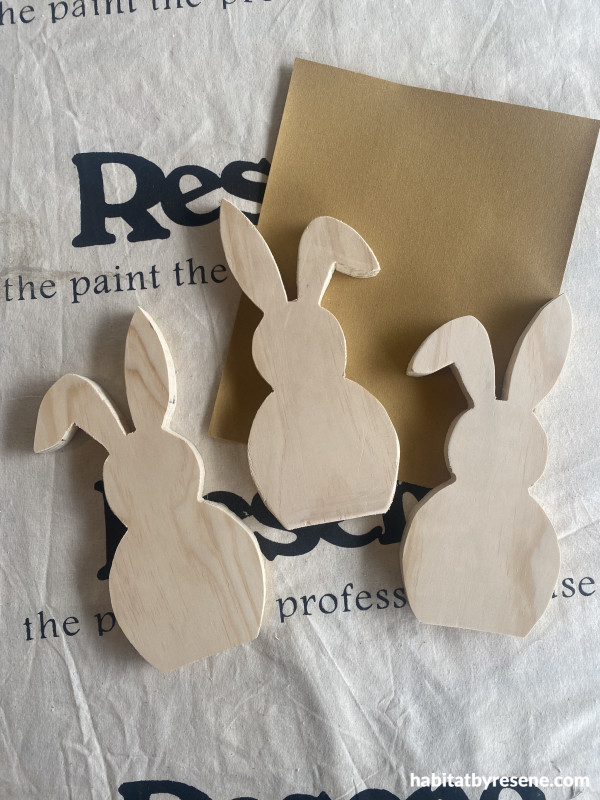
Wooden wabbits
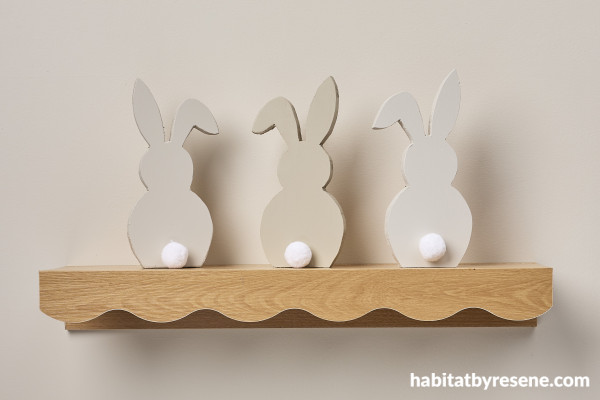
If pastel or bright Easter décor is not your style then why not give these wooden bunnies a try. These back facing bunnies are super cute and easy to make and can be painted any colour to suit your interior style. They are also a lovely piece of artwork to keep out all year round! You can even let the kids paint their own in their favourite colour.
You will need:
- A piece of pine – 23cm tall and 2cm thick
- Bunny template
- Pencil
- 3x pom poms
- Clear craft glue
- Sandpaper
- Jig saw to cut bunnies out
- Resene testpots in your chosen colours. We used Resene Tea, Resene Half Tea and Resene Triple Tea
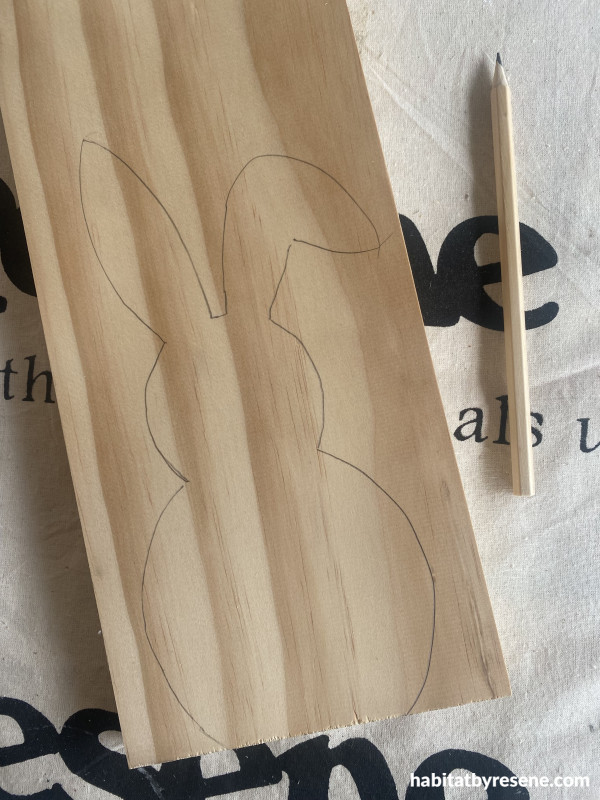
Step 1: Using your bunny template trace the shape three times onto the wood.
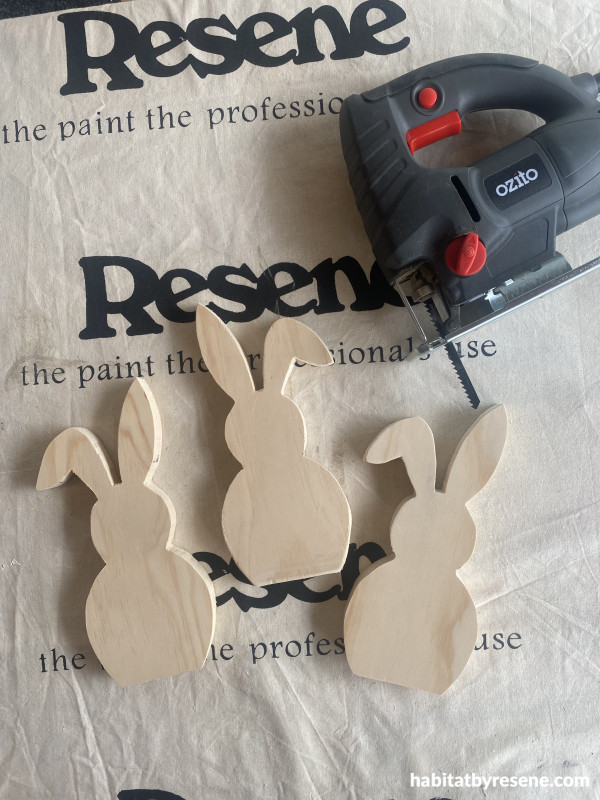
Step 2: Use your jig saw to cut the bunnies out.
Step 3: Give the bunnies a light sand around the edges using the sandpaper. Wipe with a damp cloth to remove all sanding dust.
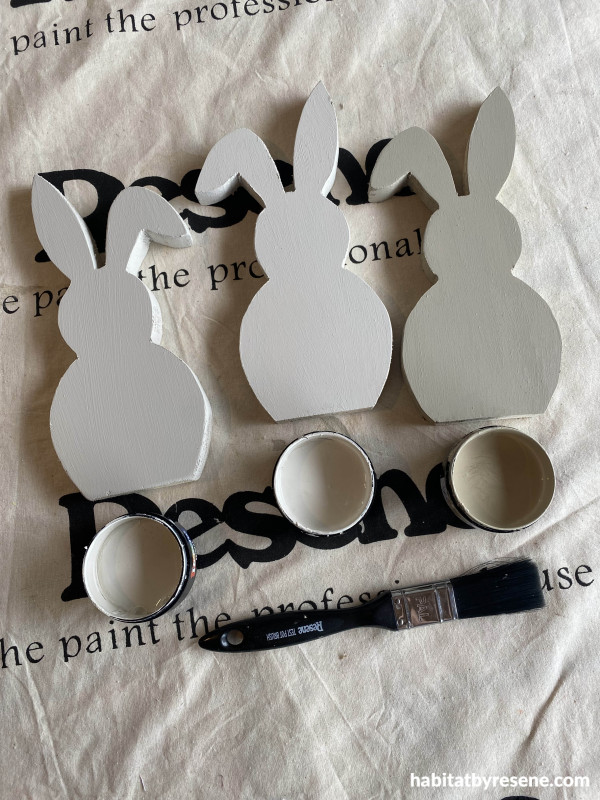
Step 4: Paint your bunnies front and back in your chosen Resene paint colours. We used Resene Tea, Resene Half Tea and Resene Triple Tea.
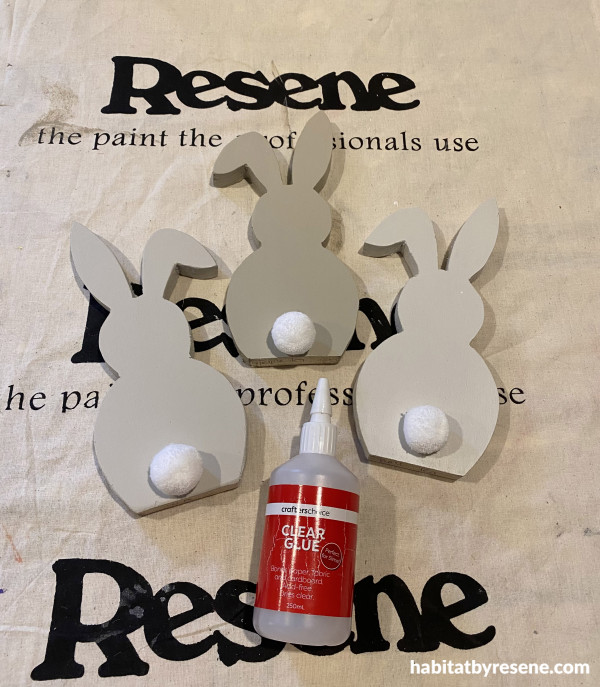
Step 5: Glue the pom poms onto the bunnies using clear craft glue.
Step 6: Place your bunnies on a shelf, entrance way or on a windowsill.
Wall painted in Resene Half Spanish White and bunnies in Resene Tea, Resene Half Tea and Resene Triple Tea.
projects Vanessa Nouwens
images Bryce Carleton
Published: 14 Mar 2024

