
latest
habitat tv

Say goodbye to the morning scramble for keys, coats and sunglasses and hello to this… see this and more videos
blog

Re-living the 1980s through art
Clint C is an artist whose work instantly sparks recognition and joy. Based in Hamilton,… more
Get colourful with crates
09 Nov 2017
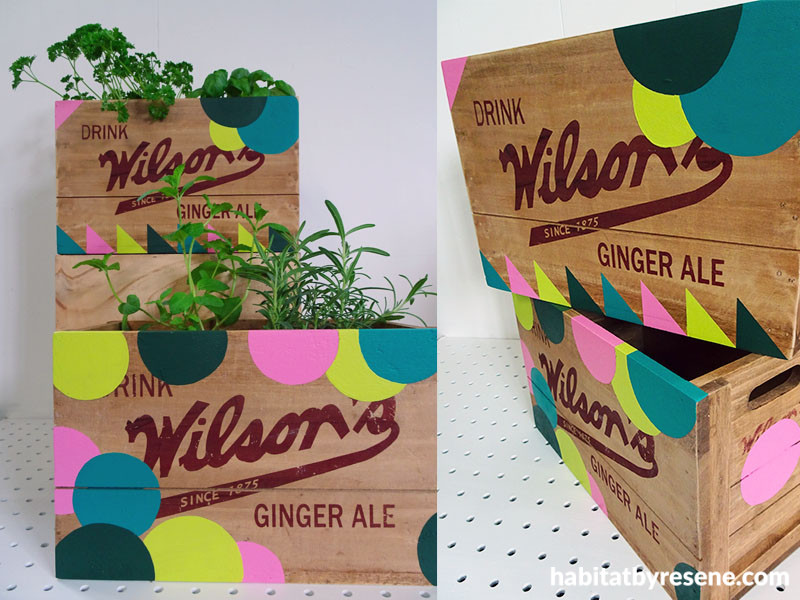
Use unexpected patterns and bright colours to update a couple of retro wooden crates. Sarah Herring shows us how.
You will need
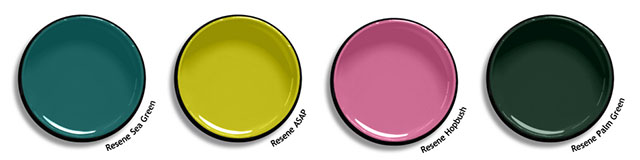
- Testpots in Resene Sea Green, Resene ASAP, Resene Hopbush and Resene Palm Green
- Paint brushes
- Detail brush
- Painter’s tape
- Pencil, ruler and eraser
1. If your wooden crates have a rough surface, give them a light sand by hand to prepare them for painting.
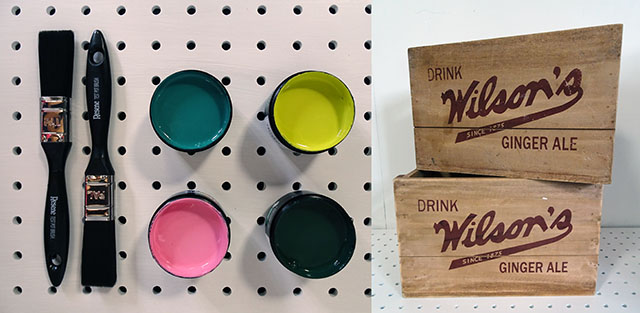
2. Select your paint colour combination. Sarah chose four bright colours that looked fun together: Resene Sea Green, Resene ASAP, Resene Hopbush and Resene Palm Green.
3. Think up some unique patterns for each side of the crates. Use a pencil and ruler or stencils to measure out your chosen designs, and mask them all ready for painting. Sarah used stripes, diamonds and circles.
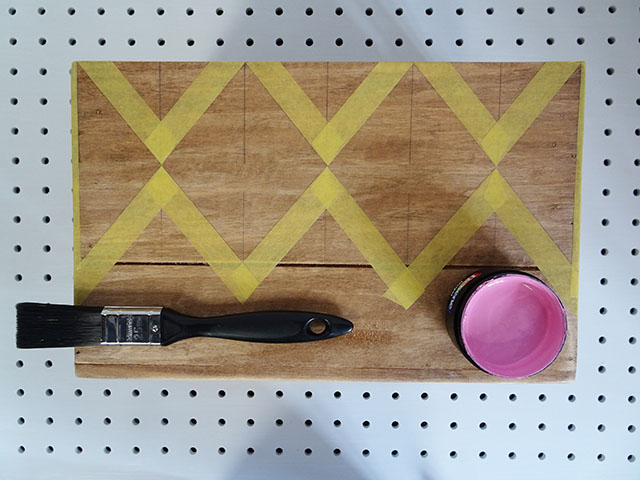
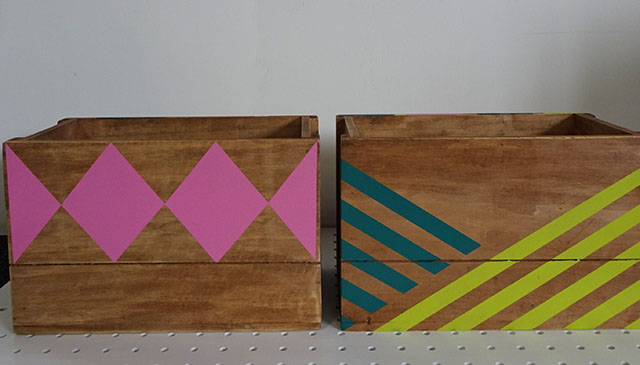
4. Paint the patterns, and remove the masking tape.
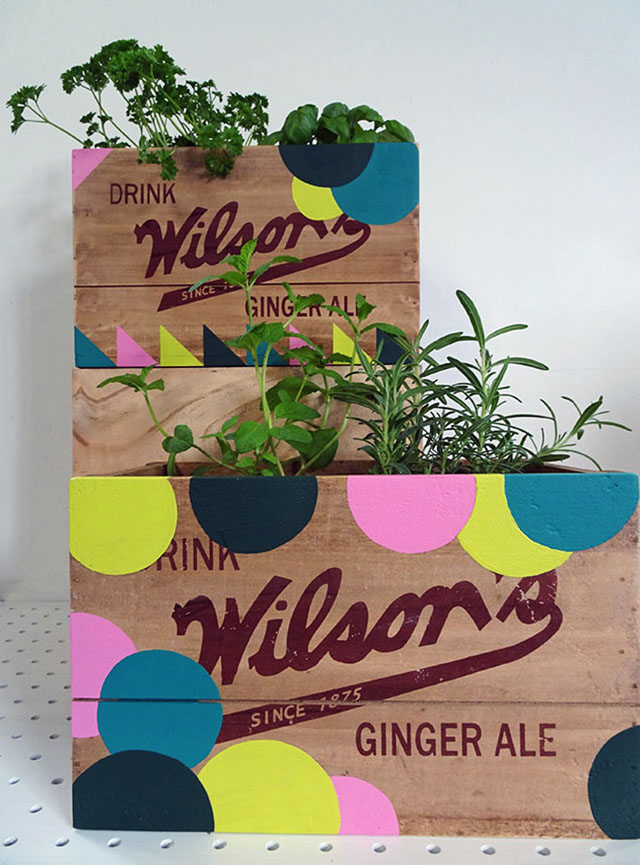
5. Enjoy your newly colourful crates anywhere in the home. They make great kitchen counter storage, planters, or even shelves if you fix them up onto a wall.
This DIY is brought to you by Upcycling for Good, a collaboration between Resene and The Salvation Army family stores. The project asks keen DIYers to upcycle second-hand items using Resene paint – look out for this regular feature on Habitat by Resene.
Published: 09 Nov 2017

