
latest
habitat tv

Say goodbye to the morning scramble for keys, coats and sunglasses and hello to this… see this and more videos
blog

Reader roundup: See what our readers have been up to!
Refurbished vintage furniture, charming exteriors and magnet walls for kids. These projects are sure to… more
Unmasking tape types
27 Jan 2016
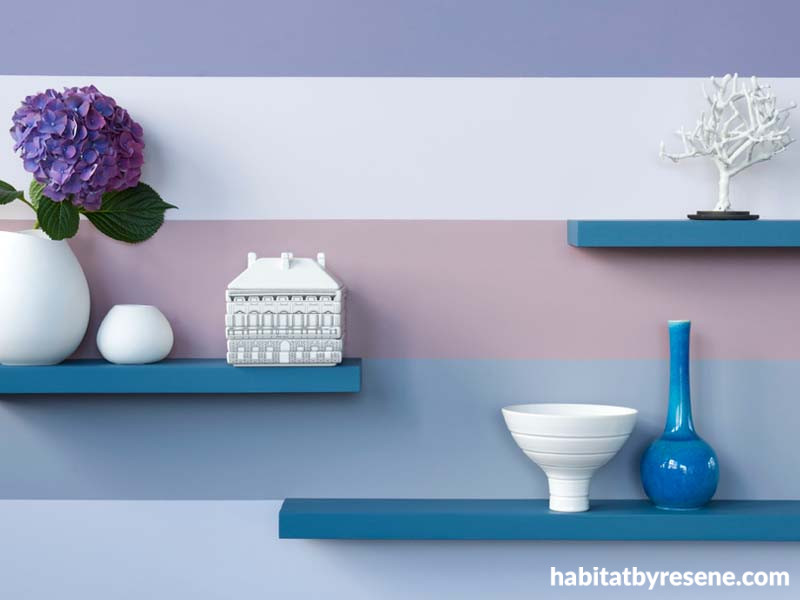
Snappy geometrics, cool herringbone patterns, slick stripes... these design techniques are proving very popular in home styling right now.
If you're looking to try it yourself, all you need is a bit of inspiration, the right tools and patience (most designs will take a few hours depending on the project). And always remember one of the key ingredients in this type of pattern making… The right masking tape.
Below, we've compiled a guide to painter's masking tape so that you can get started right away with your own wall designs. If you're still unsure, talk to the knowledgeable team at your local Resene ColorShop. All these tapes listed are available to buy instore.
Choosing your tape
There are four details to look at before choosing the right tape for the project.
Surface type Is it coated, delicate, indoor or outdoor?
Tack level Choose a stickiness level compatible with the surface type.
Clean removal time If unsure, choose a tape with a longer removal time.
Other What other conditions may affect the tack? Think about temperature, proximity to water or U.V., whether your job needs fine lines, etc.
Types of tape
General purpose Industry standard general purpose tape. Works well around curves and irregular surfaces. Your go-to short term masking tape. High tack.
Professional Designed for both professional and major DIY projects. The five-day mask is coated with a special adhesive to leave a clean finish on a wide variety of surfaces. Tear resistant and easily conforms around curves and irregular surfaces. Medium tack.
PVC Fineline This tape is resistant to moisture, and can be used on a high range of surface types. Especially great for marine applications and exterior painting. Recommended for intricate work and pattern detailing. High tack.
Low tack This tape is perfect for wallpaper, newly painted dry surfaces, second coat painting and varnishes. A breeze to remove.
Washi Advanced Perfect for painting sharp lines. The tape lasts 60 days, and works well on painted furniture and walls to create those trendy geometric patterns. Low tack.
habitat tips
· Always apply tape to a clean surface. Usually a quick brush with a dust cloth will work, but if the surface is greasy give it a proper clean.
· To avoid paint creeping under the tape, press edges firmly with your fingertips.
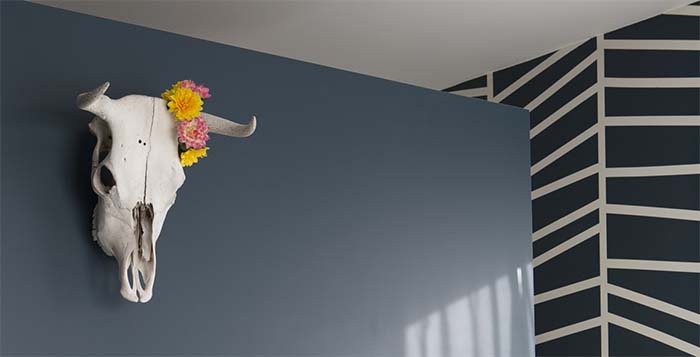
· For the herringbone effect above, use Washi Advanced tape. The homeowners used Resene Elephant and Resene Half Ecru White for the feature wall in their bedroom.
· Don’t overload your roller or brush. This is very important – less is more to prevent bleeding under the tape. When applying the paint, brush away from the tape.
· When painting horizontal stripes, start from the top and work your way down.
· For a clean result, remove the tape away from the painted surface at a 45-degree angle. If the tape starts to tear, try it at a 90-degree angle instead.
· Make sure to remove the tape before the paint is dry.
Get the technique
In this episode of Create with Paint, stylish Claudia Kozub shows us how to create a striking set of placemats using a herringbone pattern and a collection of citrus coloured Resene paints.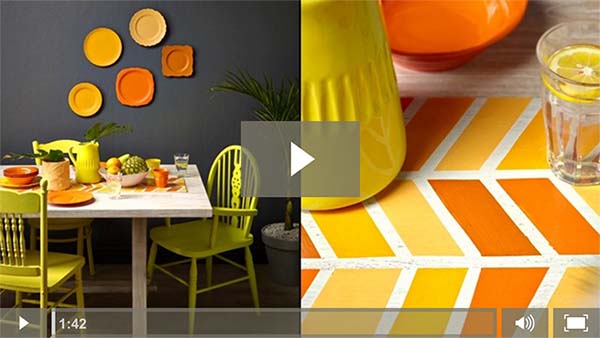
Published: 27 Jan 2016

