
latest
habitat tv

Say goodbye to the morning scramble for keys, coats and sunglasses and hello to this… see this and more videos
blog

Reader roundup: See what our readers have been up to!
Refurbished vintage furniture, charming exteriors and magnet walls for kids. These projects are sure to… more
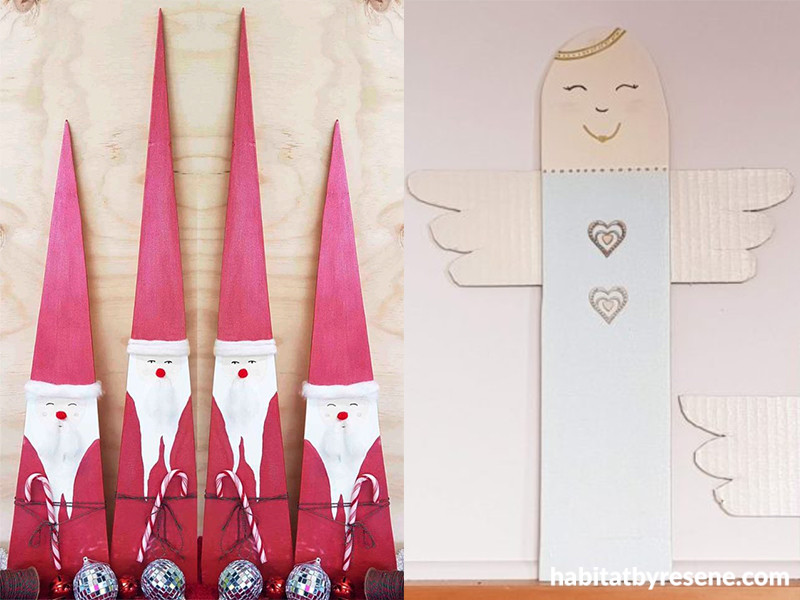
Two simple Christmas crafts to make with your family
11 Dec 2019
Looking for some extra décor to dress up those empty shelves this Christmas? Get the kids involved and spread festive joy with these two child-friendly Christmas DIY projects from Kiwi Families.
Make a wooden Christmas angel
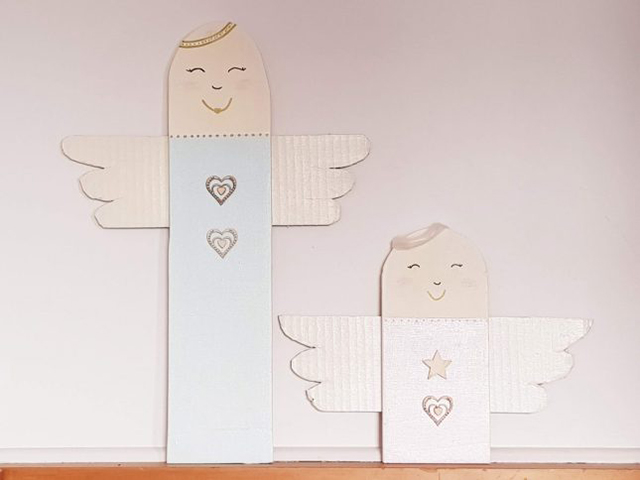
Making cute and colourful décor for Christmas is easy with a bit of paint and plywood. Get your kids together for this cool little project that’ll keep your wee angels happily occupied. You can either display your angels using hanging strips, or prop them up on a shelf or mantel.
You will need:
- Plywood
- Jigsaw, scroll saw or similar tool
- Stiff cardboard (if you are using this for the wings)
- Resene testpots in your choice of colours – Alayna used Resene Pearl Shimmer, Resene Pretty In Pink, Resene Dutch White and Resene Reservoir
- Resene Quick Dry primer
- High quality masking tape
- Small wooden decorations
- Strong craft glue
- Gold pen
- Black permanent marker
- Pink coloured pencil
- Wool (optional)
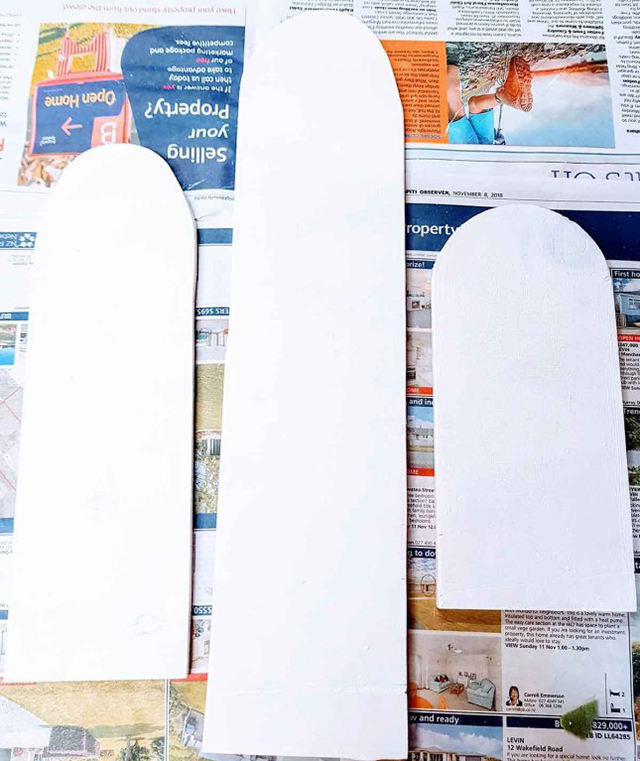
Step 1 Draw an elongated arch, which will become your angel’s body shape, onto the plywood. Depending on how many angels you are making, it’s a good idea to draw them at different heights to create more interest.
Step 2 Cut out your shapes using a jigsaw, scroll saw or similar tool.
Step 3 Paint your angels with a coat of Resene Quick Dry primer.
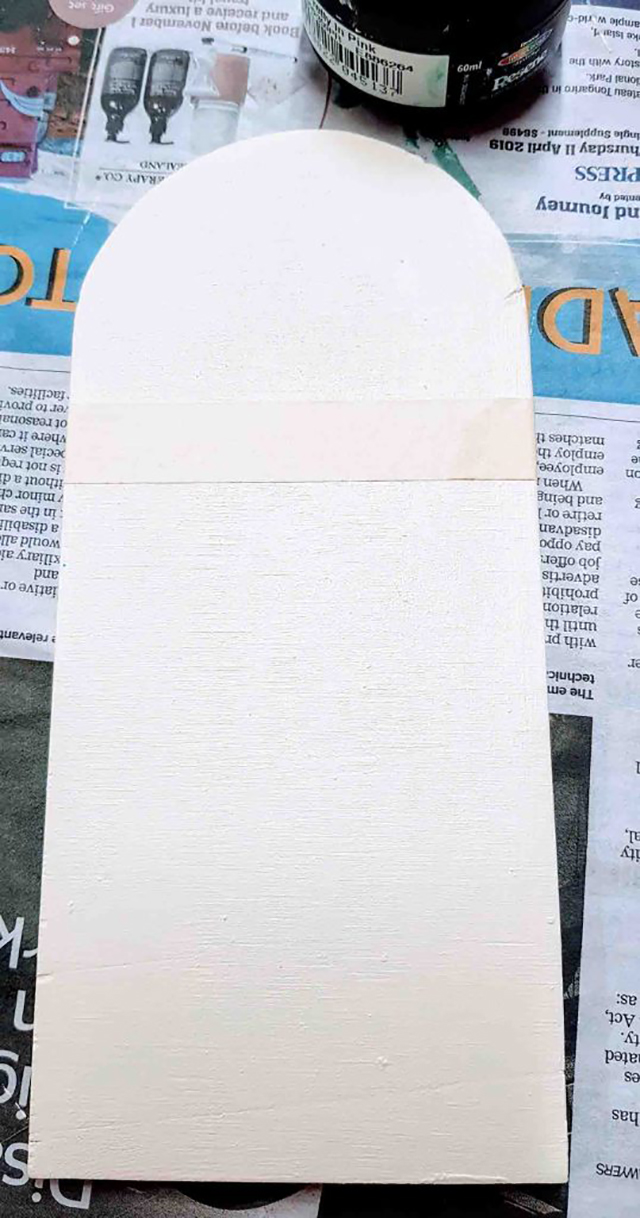
Step 4 Give your Christmas angels two coats of Resene Dutch White, allowing the paint dry fully between coats.
Step 5 Once the paint is dry, use high quality masking tape to tape off the angel’s head so that you can paint the body. Alayna painted one of the angel bodies in Resene Pretty In Pink and one in Resene Reservoir. Give them two coats.
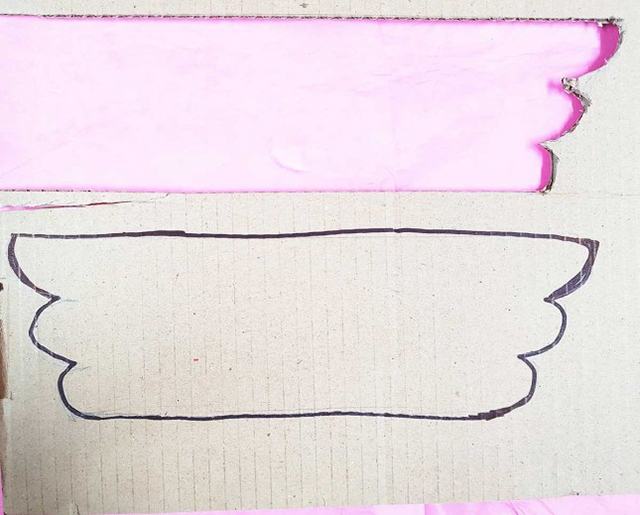
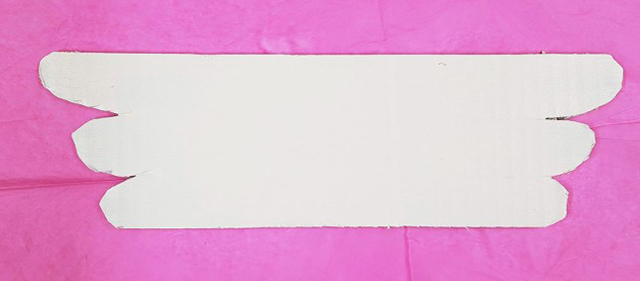
Step 6 While the paint is drying, draw the wings onto the piece of cardboard and cut them out. If you plan to display your angel outdoors, make sure you cut the wings out of plywood as well.
Step 7 Paint the wings in two coats of Resene Dutch White, allowing each coat to dry fully before applying the next one.
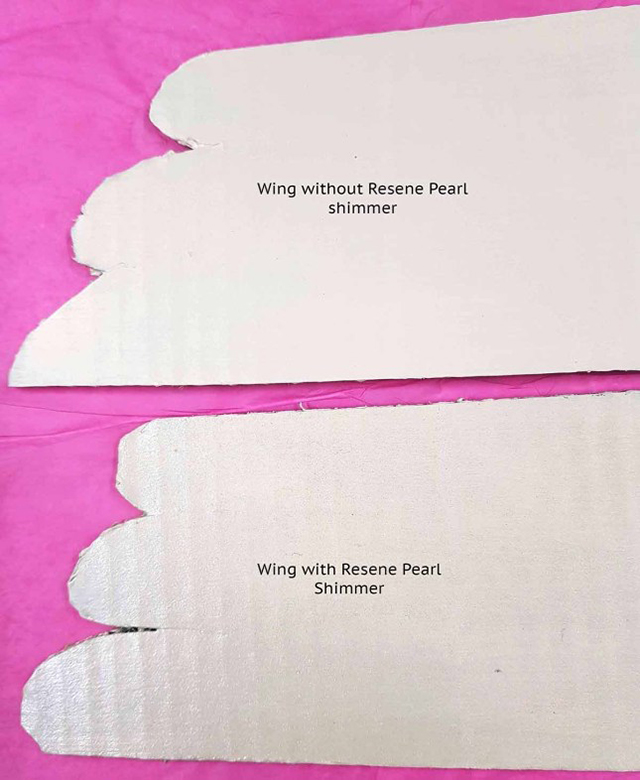
Step 8 Once all the basecoats are dry, paint two coats of Resene FX Pearl Shimmer onto the angel body and wings and let it dry.
Step 9 Attach the wings to the back of your Christmas angel’s body. Alayna used a strong craft glue and applied glue to both parts. Allow the glue to dry fully before moving on.

Step 11 Attach your wooden decorations. Alayna used stars and hearts to add personality to hers.

Step 12 Using a gold pen, draw on the mouth and add some dots along the neck for detail. Or paint on using metallic Resene Gold paint.
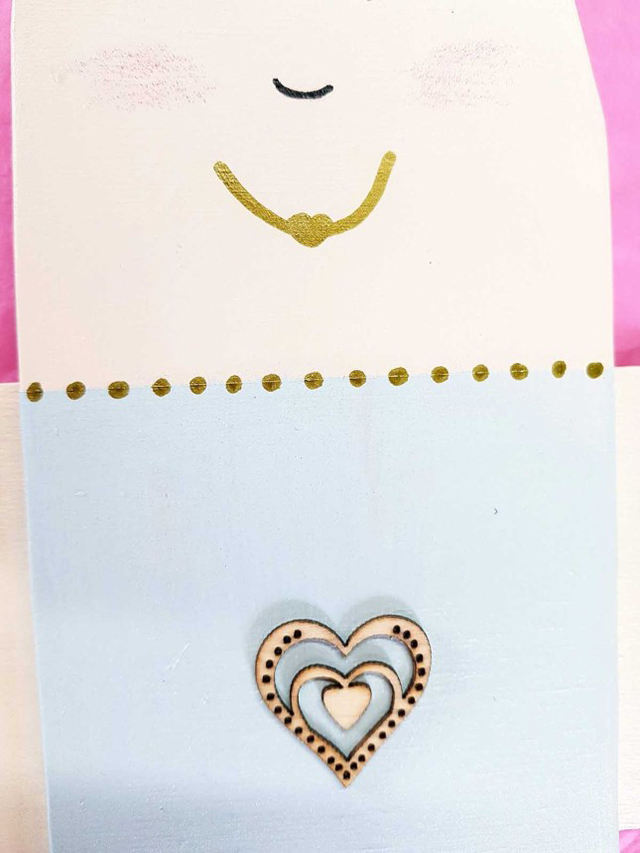
Step 13 To give your angel pink cheeks, use a pink coloured pencil to lightly shade them in. Or, mix a little Resene Dutch White with Resene Pretty In Pink to get a very light pink colour and use that to paint on cheeks.
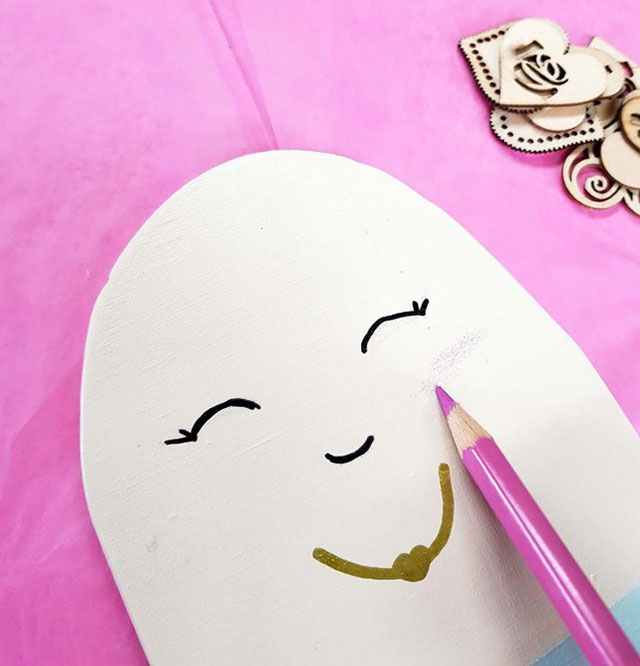
Step 14 Use a black permanent marker to draw on the eyes and nose. Or use a Resene Black testpot.
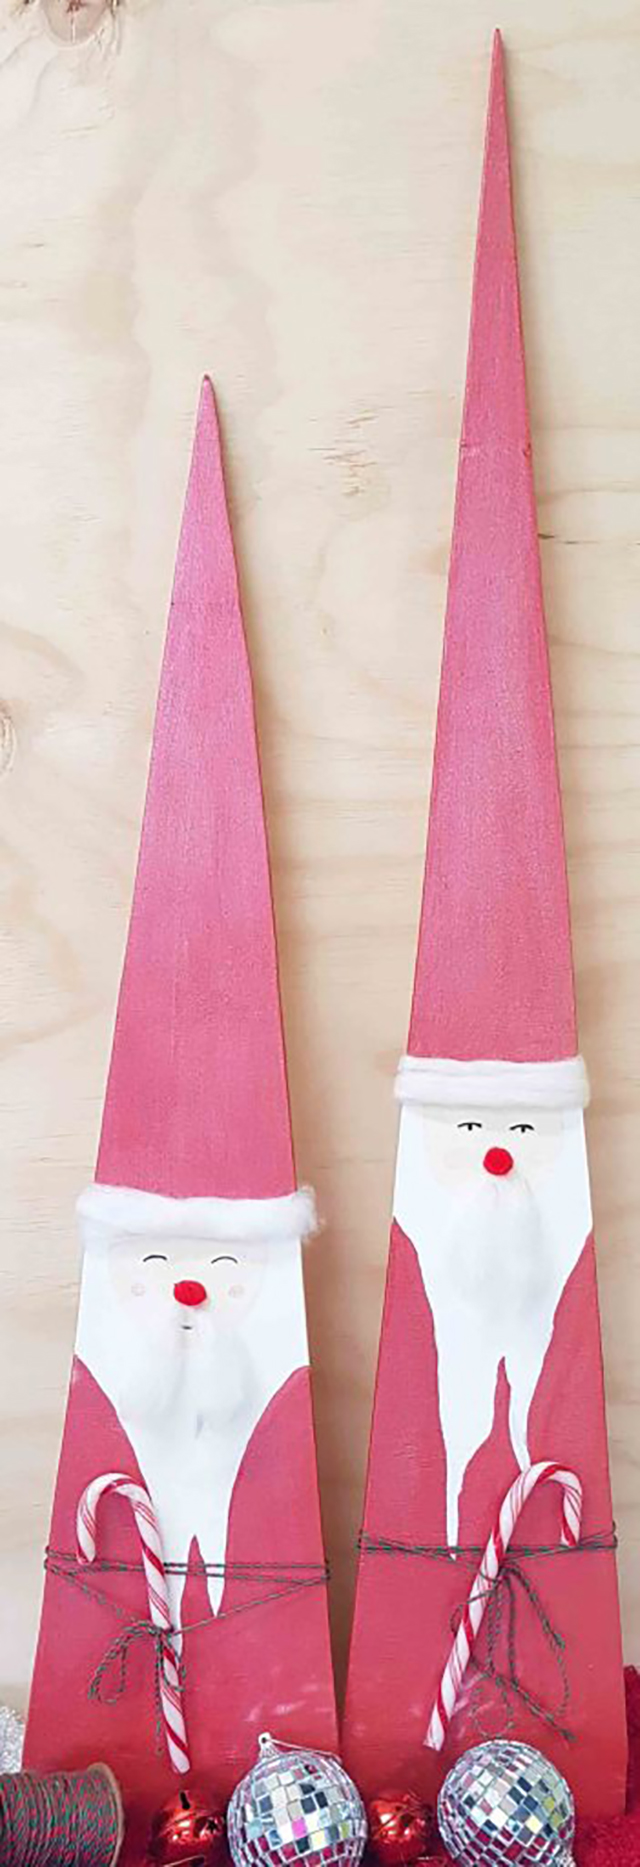
Make a wooden Santa
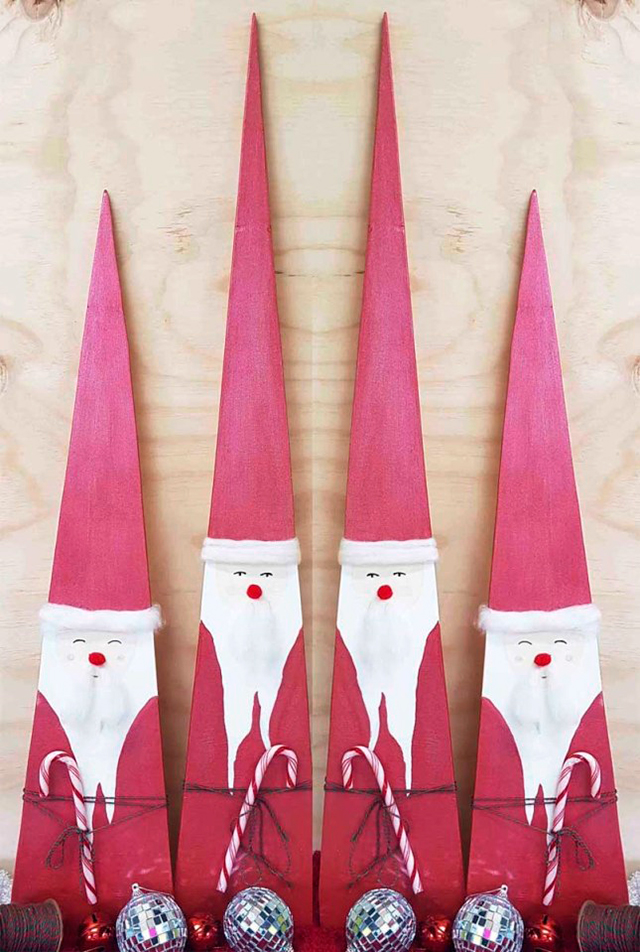
Santa Claus is coming to town in the form of these quirky and easy DIY decorations made from plywood and colourful Christmassy Resene testpots.
You will need:
- Plywood
- Jigsaw, scroll saw or similar tool
- Resene testpots in your choice of colours – Alayna used Resene Glitterbug, Resene Dutch White and Resene Half Alabaster
- Resene Quick Dry primer (optional)
- High quality masking tape
- Candy cane
- Strong craft glue
- Black permanent marker
- Red coloured pencil
- Wool or cotton wool
- Christmas-coloured string
- Small red pompom
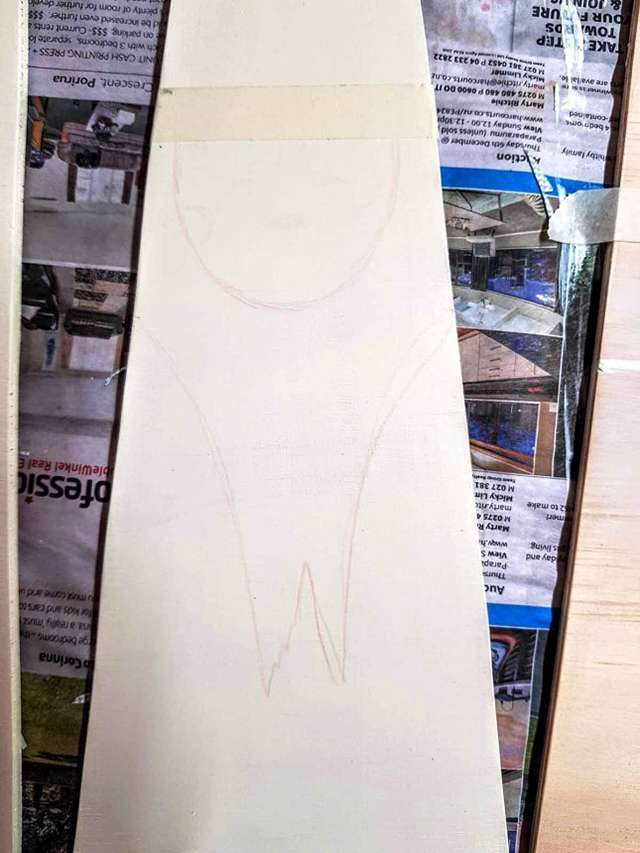
Step 1 Draw a long, thin triangle shape onto your plywood and cut it out with the jigsaw. Use some light sandpaper to sand down the rough edges.
Step 2 If you are using a primer, apply it now to your triangle shape. Alayna didn’t have any primer left for this project so she used two coats of Resene Dutch White to seal her plywood.
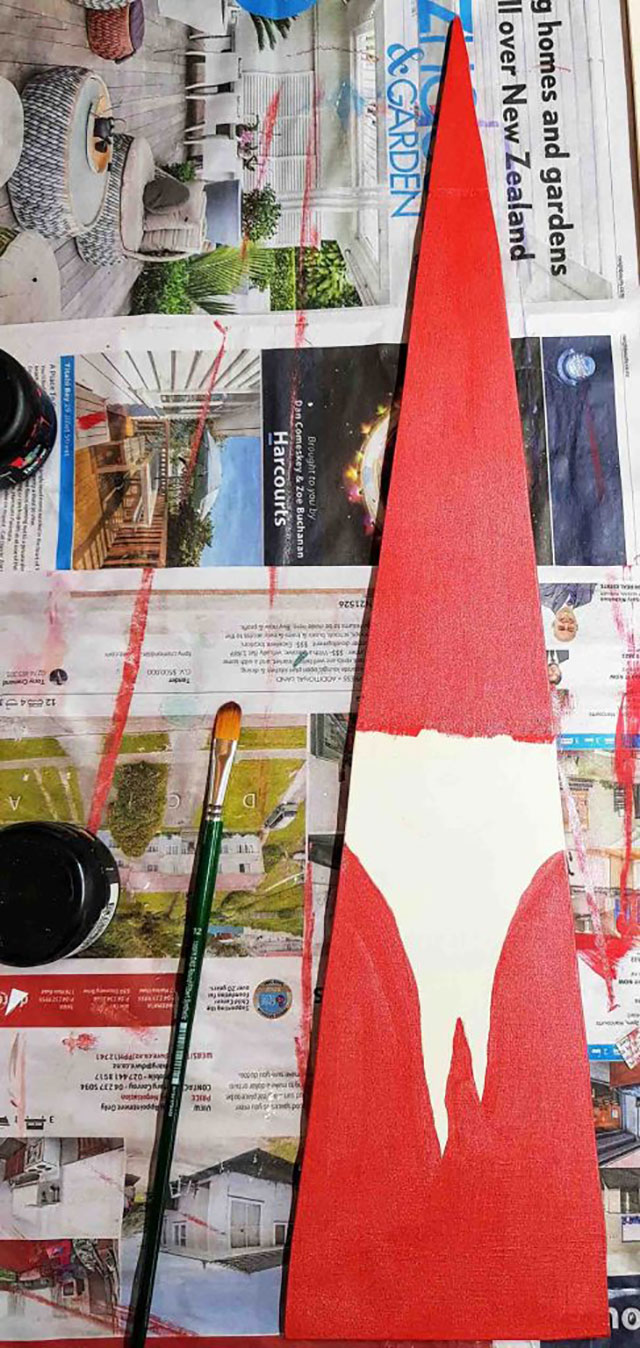
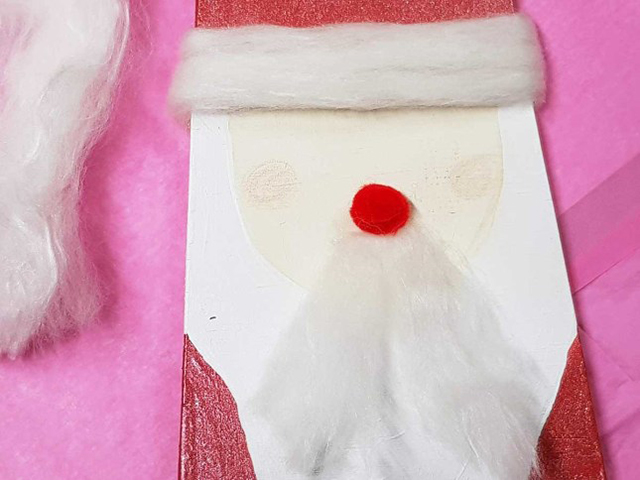
Step 3 Tape off the hat just above the halfway mark then draw in the shape of Santa’s face and beard using the coloured pencil.
Step 4 Give your Santa two coats of Resene Glitterbug, taking care to allow each coat to dry completely before applying the second.
Step 5 Once all the paint is dry, glue on the small red pompom for the nose, add some wool or cotton wool for a moustache and a little more wool for the trim around the hat.
Step 6 Use the black permanent marker to draw in the eyes and mouth and colour two red circles for the cheeks using the red coloured pencil. Or, use a Resene Black testpot and a Resene Red Berry testpot to paint them on. Thin shapes work well for this, but so would small dots and other shapes. Have a play on some paper to plan out your design before you draw or paint it onto your Santa.
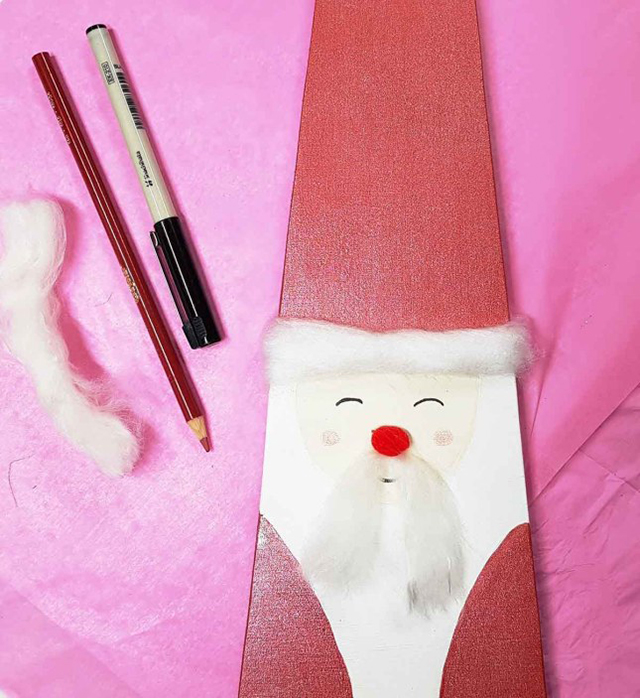
Step 7 Lastly tie a piece of string, or twine around your Santa and attach a candy cane.
projects and images Alayna Flighty, Kiwi Families
Published: 11 Dec 2019

