
latest
habitat tv

Say goodbye to the morning scramble for keys, coats and sunglasses and hello to this… see this and more videos
blog

A blooming nursery: Kelly’s hand-painted floral haven for baby Maisy
Creating a nursery is one of the most exciting parts of preparing for a new… more

How to make your own family key holder
07 Mar 2025
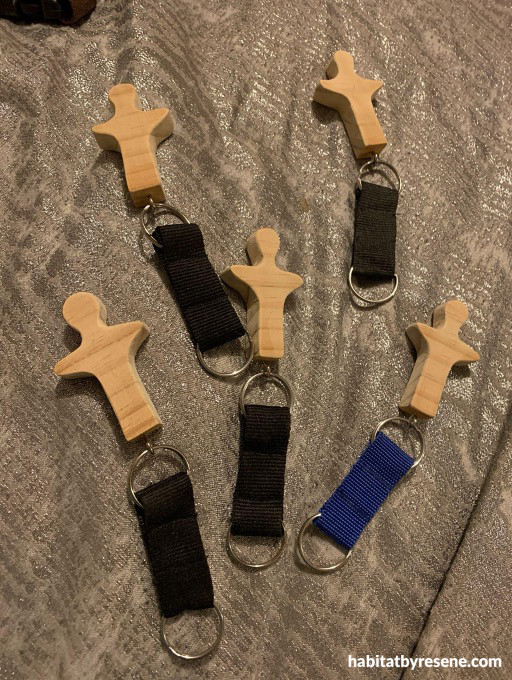
Make it simple to always find your keys in the same place with this clever cut-out key ring and holder. Keep it in a neutral finish for a minimalist approach or paint each figure to match your family members’ favourite colours so they can easily identify their keys.
You will need
·
· Coping saw or scroll saw
· Drill
· Rotary tool or sandpaper
· Needle file or sandpaper
· Pencil and tracing paper or butter paper
· Pine for back board (150x400x12 mm)
· Pine for inserts and holders (100x400x16 mm)
· Metal hangers
· PVA glue
· Sandpaper and sander
· Key rings
· Ring screw eye hooks
· Washi tape
· Paintbrush
· Resene Aquaclear Satin
· Resene Quick Dry undercoat
· Resene testpots in your chosen colours. We used Resene Half Blanc, Resene Melting Moment, Resene Soothe and Resene Half Halcyon.
Step 1
Cut a backboard from pine and round off the edges with either a scroll or coping saw. Or sand the edges with sandpaper for a squarer look.
Step 2
Finish the backboard in two coats of Resene Aquaclear Satin, allowing dry time between coats and leave to dry.
Step 3
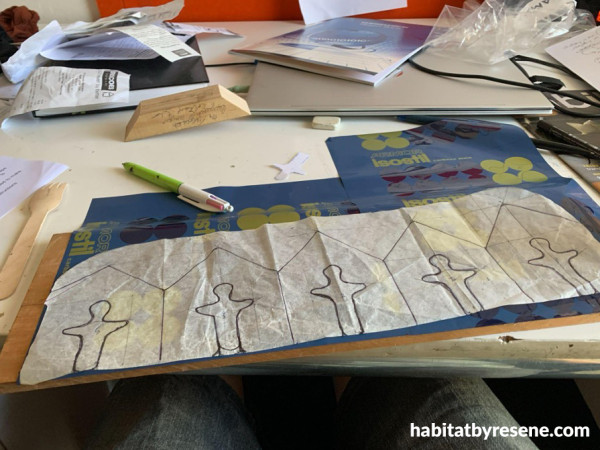
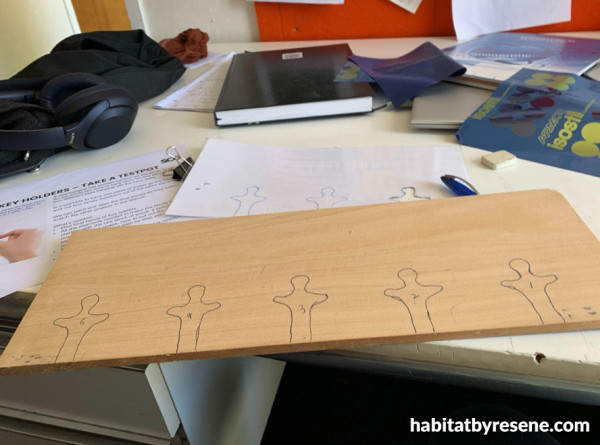
To ensure each figure and house is the same size, trace the outlines for each onto 100x400x16 mm pine using pencil and tracing paper. Or if you want some variety in the shapes and sizes then freehand draw what you would like onto the board with a pencil. Each family member could have their own favourite icon, animal or even the first letter of their name as their figure.
Step 4
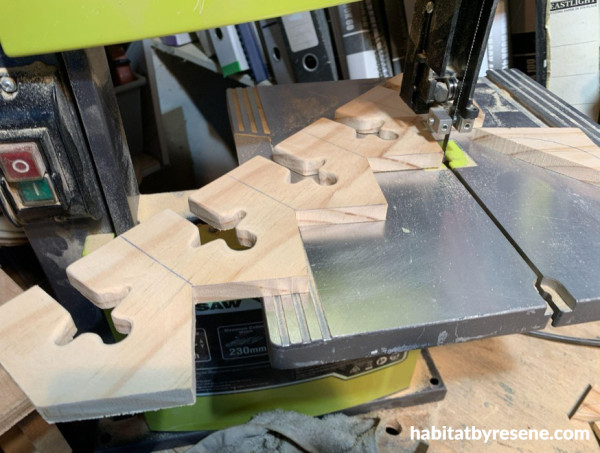
Use a rotary machine to cut out the figure shapes.

Step 5
Use a scroll saw or coping saw to cut out the top roof shape of the houses.
Step 6
Use a needle file or sandpaper to smooth all the edges and make the people fit easily into the house shapes.
Step 7
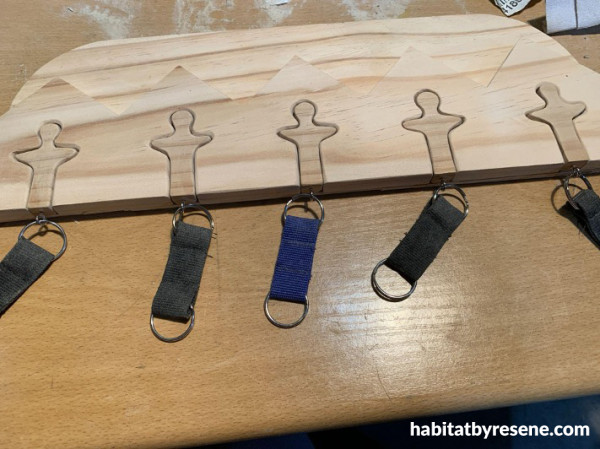
Screw the ring screw eye hooks at the bottom of the figure shape and attach the key rings.
Step 8
Glue the house keyholder board to the backboard, making sure the figure pieces are not inside their houses as you don’t want them to be glued in place by accident. Use clamps to keep it tightly together until dry.
Attach the metal hangers to the backboard.
Apply one coat of Resene Quick Dry undercoat then mark and tape around the houses with Washi tape
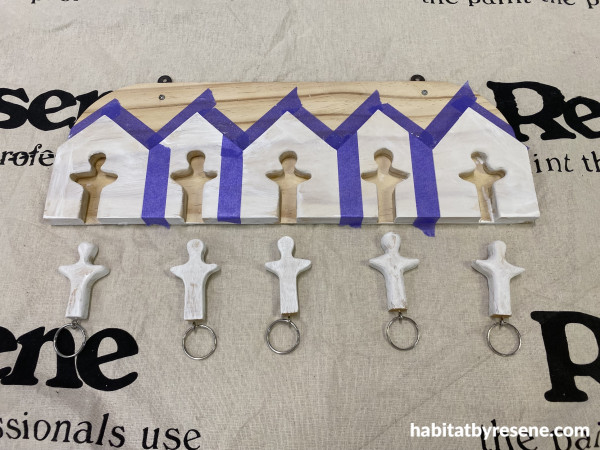
Step 9
Paint both the houses and people with your chosen colours. Make sure the right person fits in the right house!
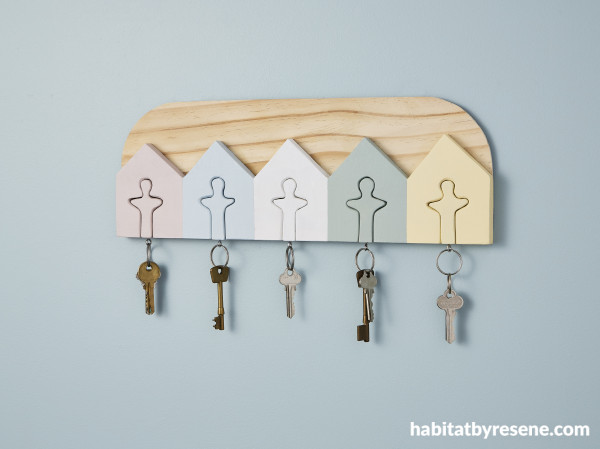
Caption: Wall painted in Resene Quarter Powder Blue, backboard varnished in Resene Aquaclear satin, key holders in, from left, Resene Soothe, Resene Half Halcyon, Resene Half Blanc, Resene Haven and Resene Melting Moment.
Top tips:
· For a little each bling, paint the figures and houses with Resene FX Metallic paint and finish with Resene Concrete Clear to protect the finish.
· If you prefer a natural wood look finish, use Resene Colorwood wood stain finished in Resene Aquaclear instead of paint colours.
project: Ivan Moses
stylist: Megan Harrison-Turner
images: Bryce Carleton
Published: 07 Mar 2025
more inspiration

How to make your own scrap wood table
This clever table is a smart and stylish way to… more

Add extra, inexpensive storage to your home with this chic… more

Headphones are a common part of our daily lives these… more

Create a striking, modern desk lamp by repurposing a sturdy wooden… more

How to make your own vertical chess board
Take a fresh approach to chess by flipping it into… more


 look book